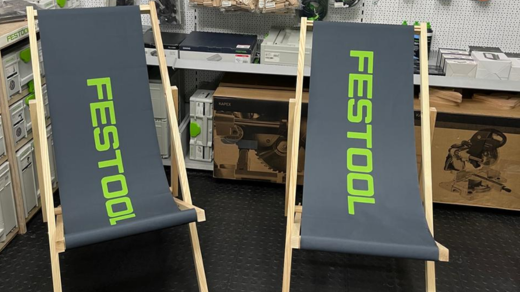
Are you ready to take your woodworking skills to the next level while creating a stylish and comfortable outdoor lounger? Look no further than the Festool sunchair! This DIY project combines precision craftsmanship with the reliability of Festool tools to produce a stunning piece of outdoor furniture that you'll enjoy for years to come.

In this comprehensive guide, we'll walk you through the process of building your own Festool sunchair, from gathering materials to putting on the finishing touches. Let's start by exploring what makes this project special.
The Unique Appeal of the Festool Sunchair
- Durability: Constructed with high-quality materials, this chair is built to withstand outdoor conditions.
- Comfort: The ergonomic design ensures maximum relaxation during those lazy summer days.
- Style: With its sleek lines and modern aesthetic, the Festool sunchair will be the envy of your neighbors.
- Customization: By building it yourself, you have the freedom to choose woods and finishes that match your personal style.
- Satisfaction: There's nothing quite like the pride of creating something beautiful with your own hands.
With these benefits in mind, let's gather our materials and tools.
Gathering Your Materials and Tools
|
Material list (e.g. ash material 4x 2500 mm x 35mm x 25mm)
|
|||||
| Nr. | designation | piece | length | width | thickness |
| Side outer frame | 2 | 1360mm | 35mm | 25mm | |
| Cross strut frame | 2 | 488mm | 35mm | 25mm | |
| Side inner frame | 2 | 1050mm | 35mm | 25mm | |
| Cross strut inner frame | 3 | 436mm | 35mm | 25mm | |
| side support | 2 | 565mm | 35mm | 25mm | |
|
round bar D 30mm
|
1 | 540mm | D 30mm | ||
| Safety bar for fabric | 2 | 420mm | 10mm | 3mm | |
|
Lying cloth Festool
|
1 | ≈1400mm | 425mm | ||
| Accessories: | |||||
| carriage bolts | |||||
|
Stainless steel M6x50
|
4 | ||||
|
M6 self-locking nut
|
4 | ||||
| Washer | 4 | ||||
| Domino beech 6x40 (frame) | 12 | ||||
| Domino beech 8x50 (locking) | 6 |
To build your Festool sunchair, you'll need the following materials, using ash wood as an example:
- 4 pieces of ash wood, 2500mm x 35mm x 25mm each
- 1 round bar, 540mm x 30mm diameter
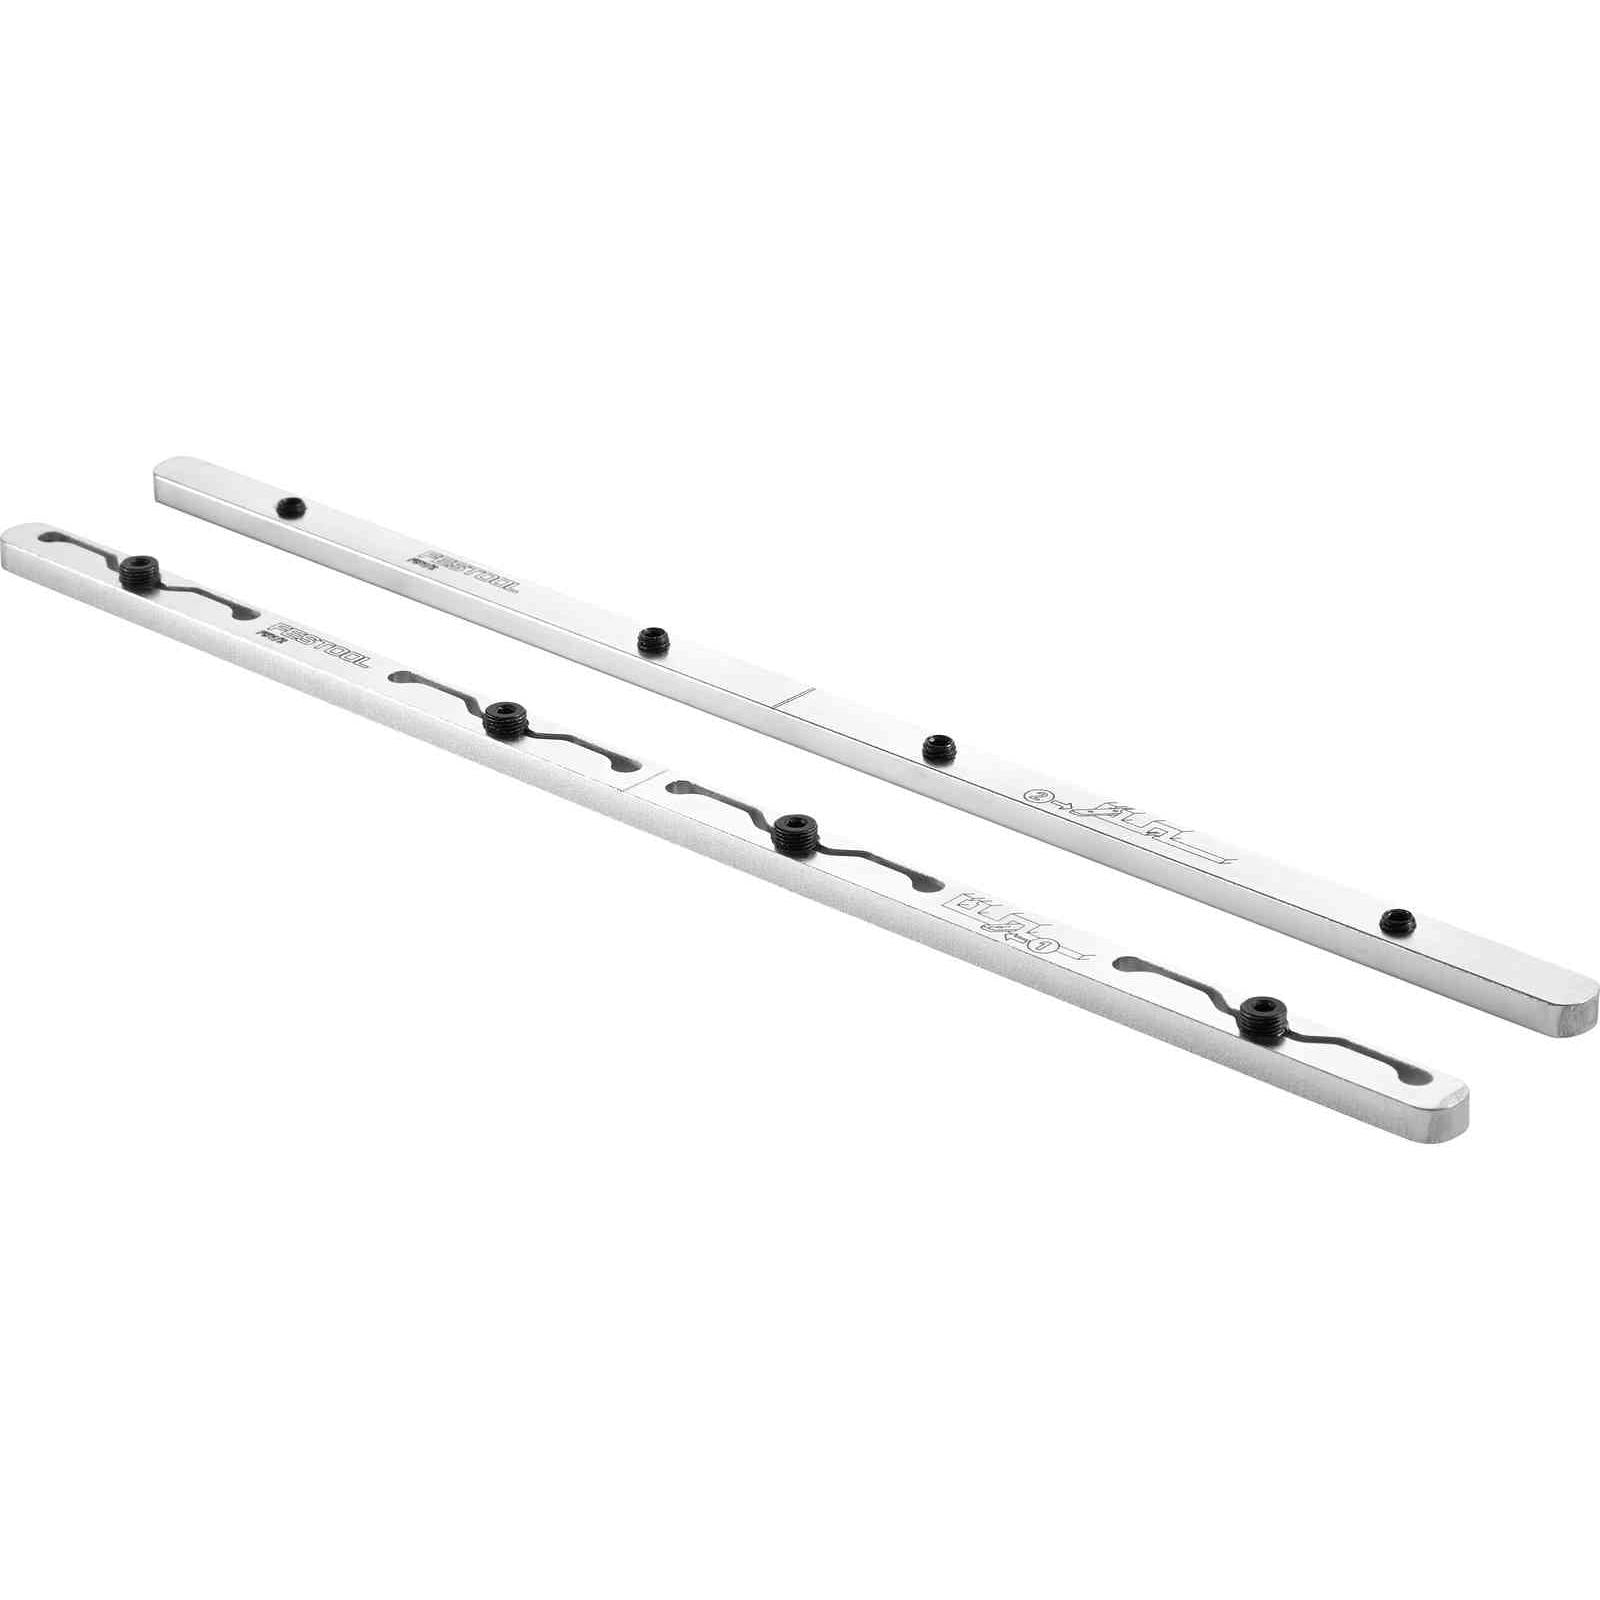
- 2 safety bars for fabric, 420mm x 10mm x 3mm
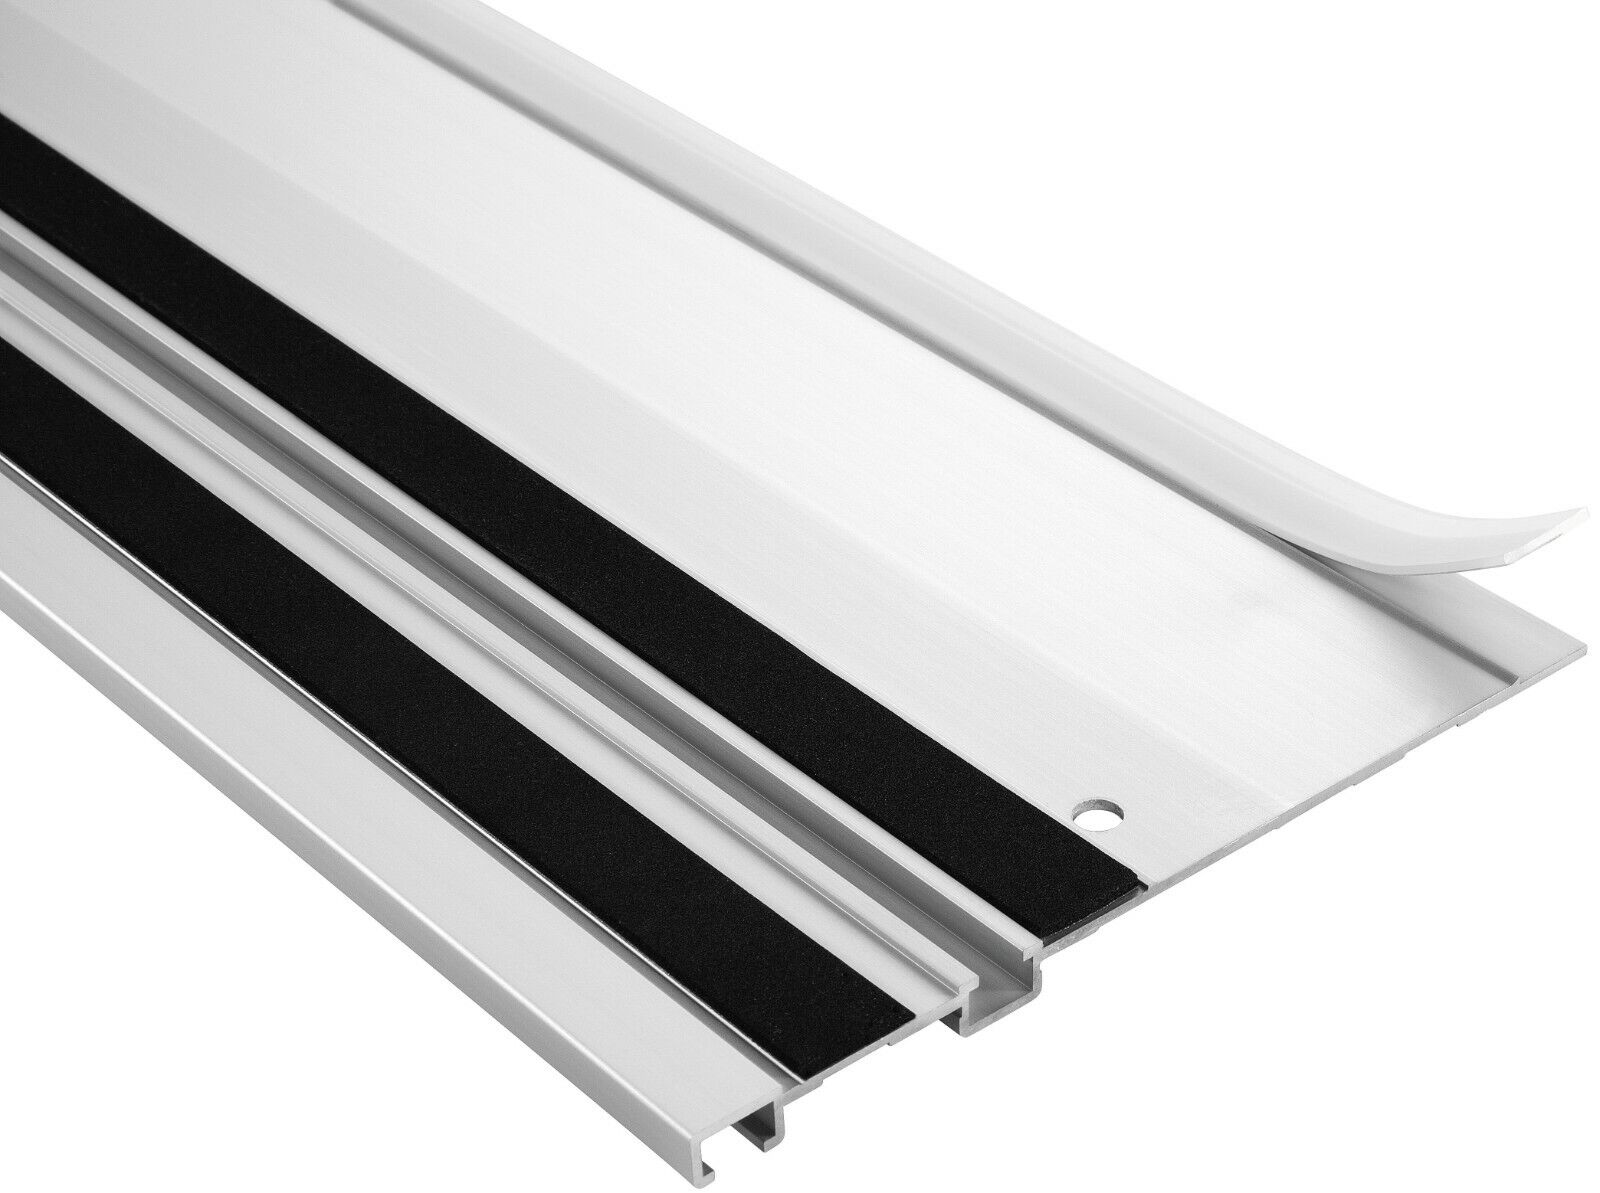
- 1 piece of Festool lying cloth, approximately 1400mm x 425mm
- 4 stainless steel carriage bolts, M6x50
- 4 M6 self-locking nuts
- 4 washers
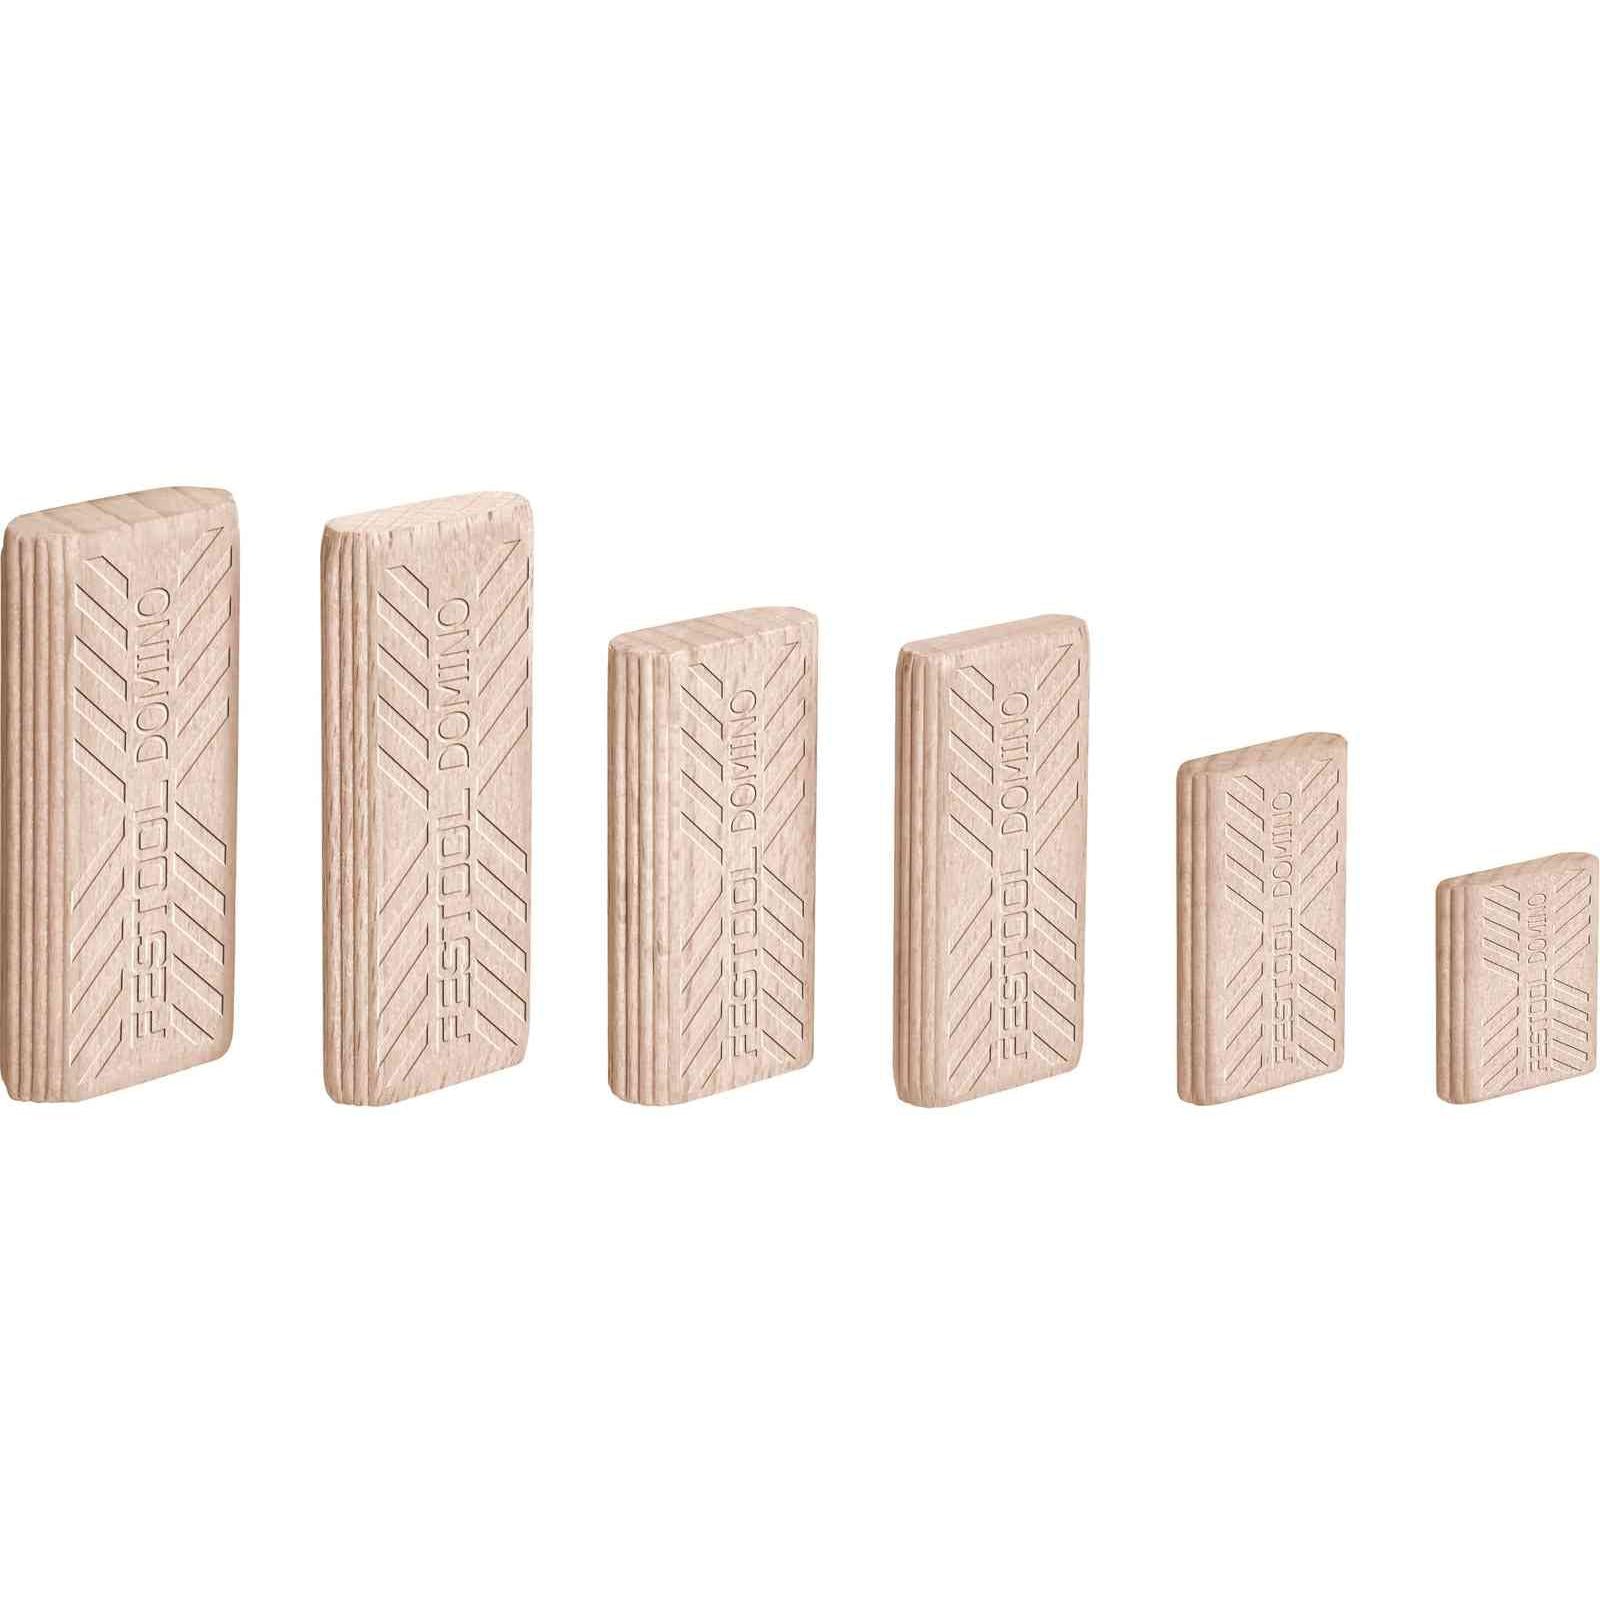
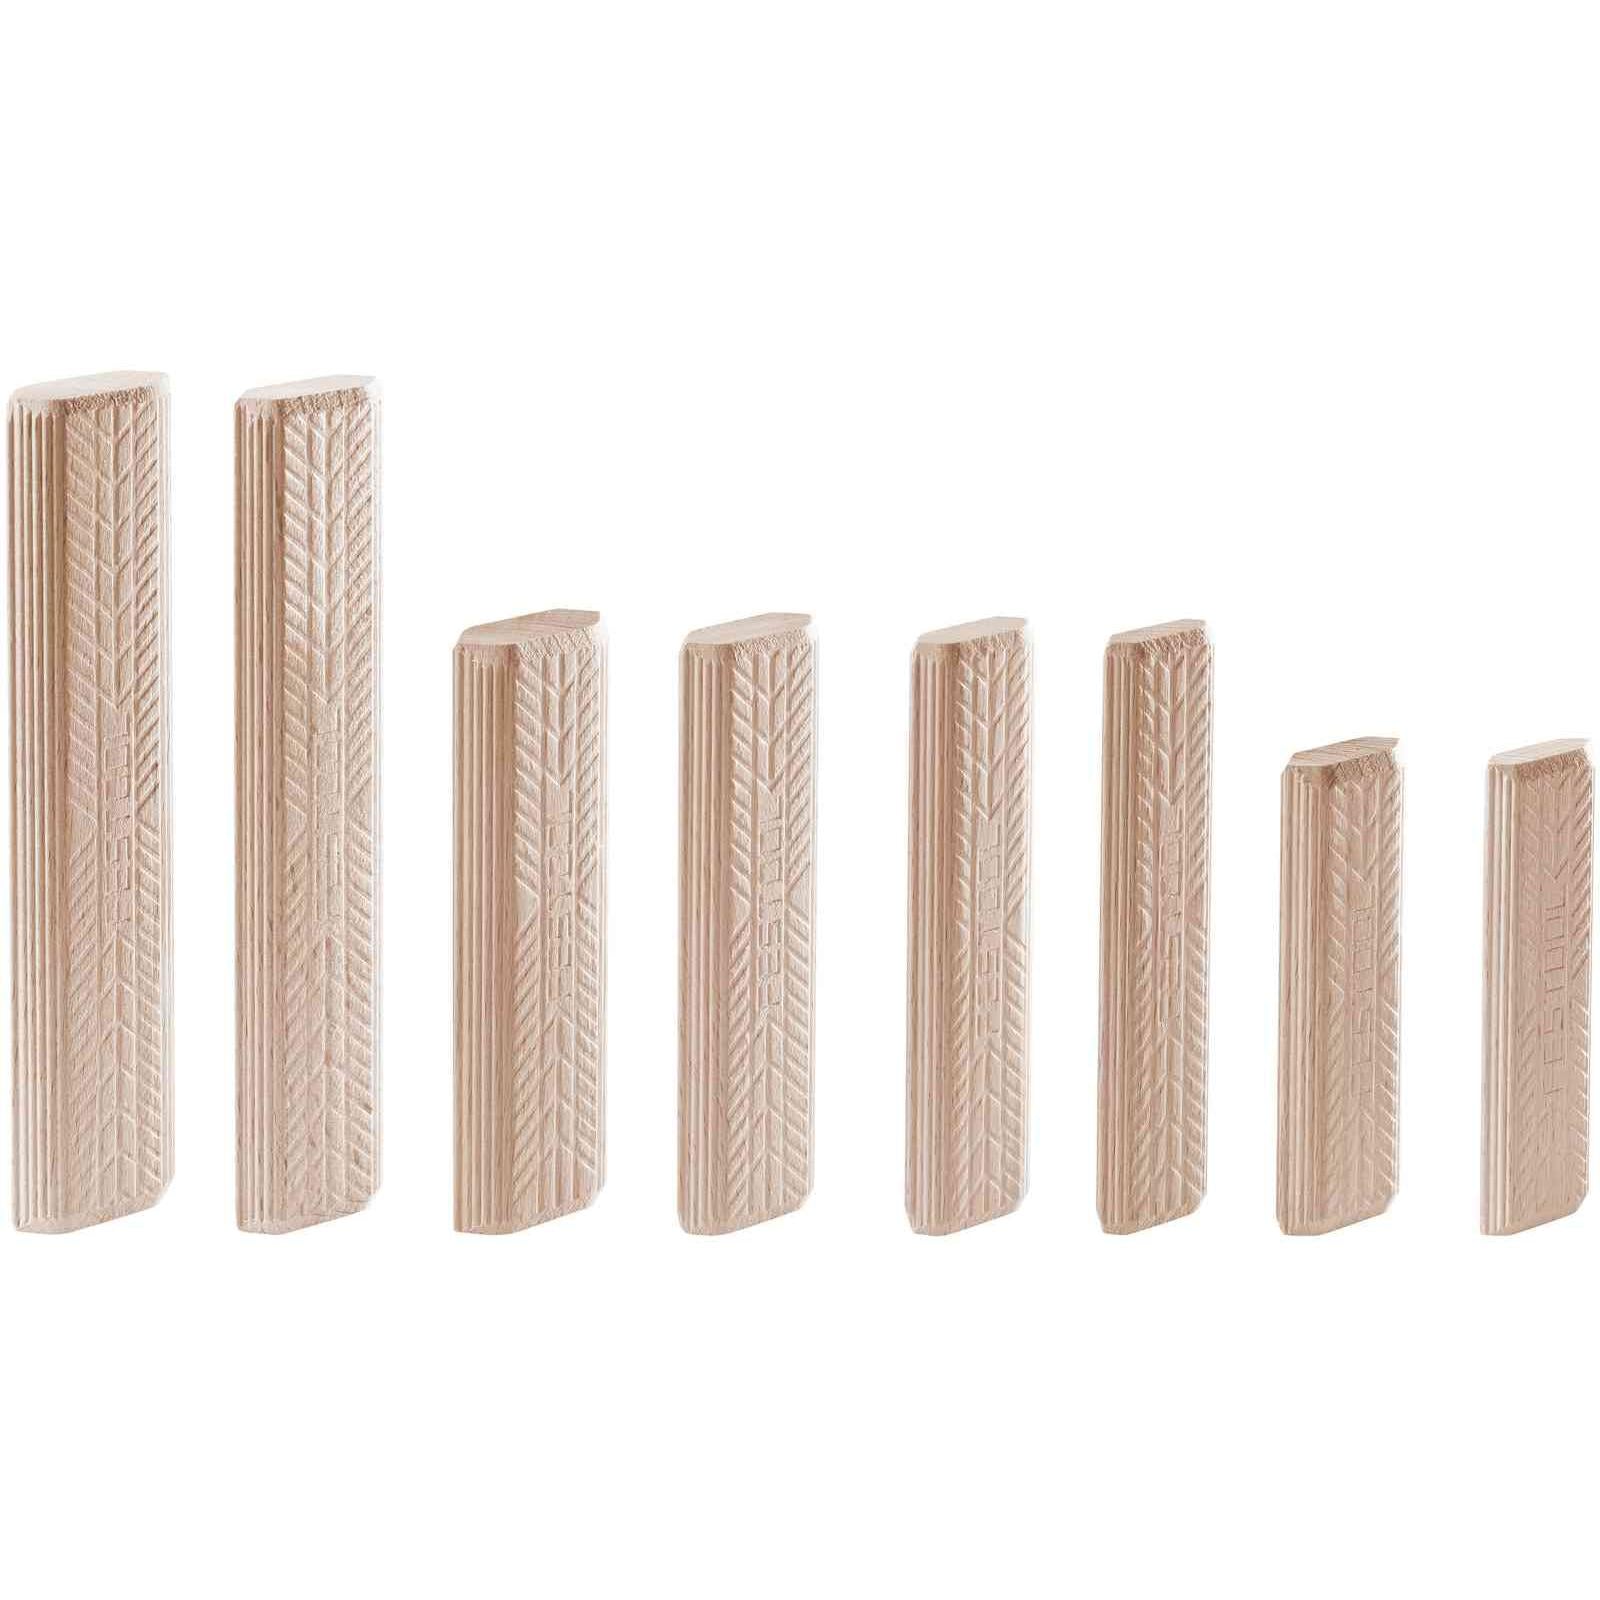
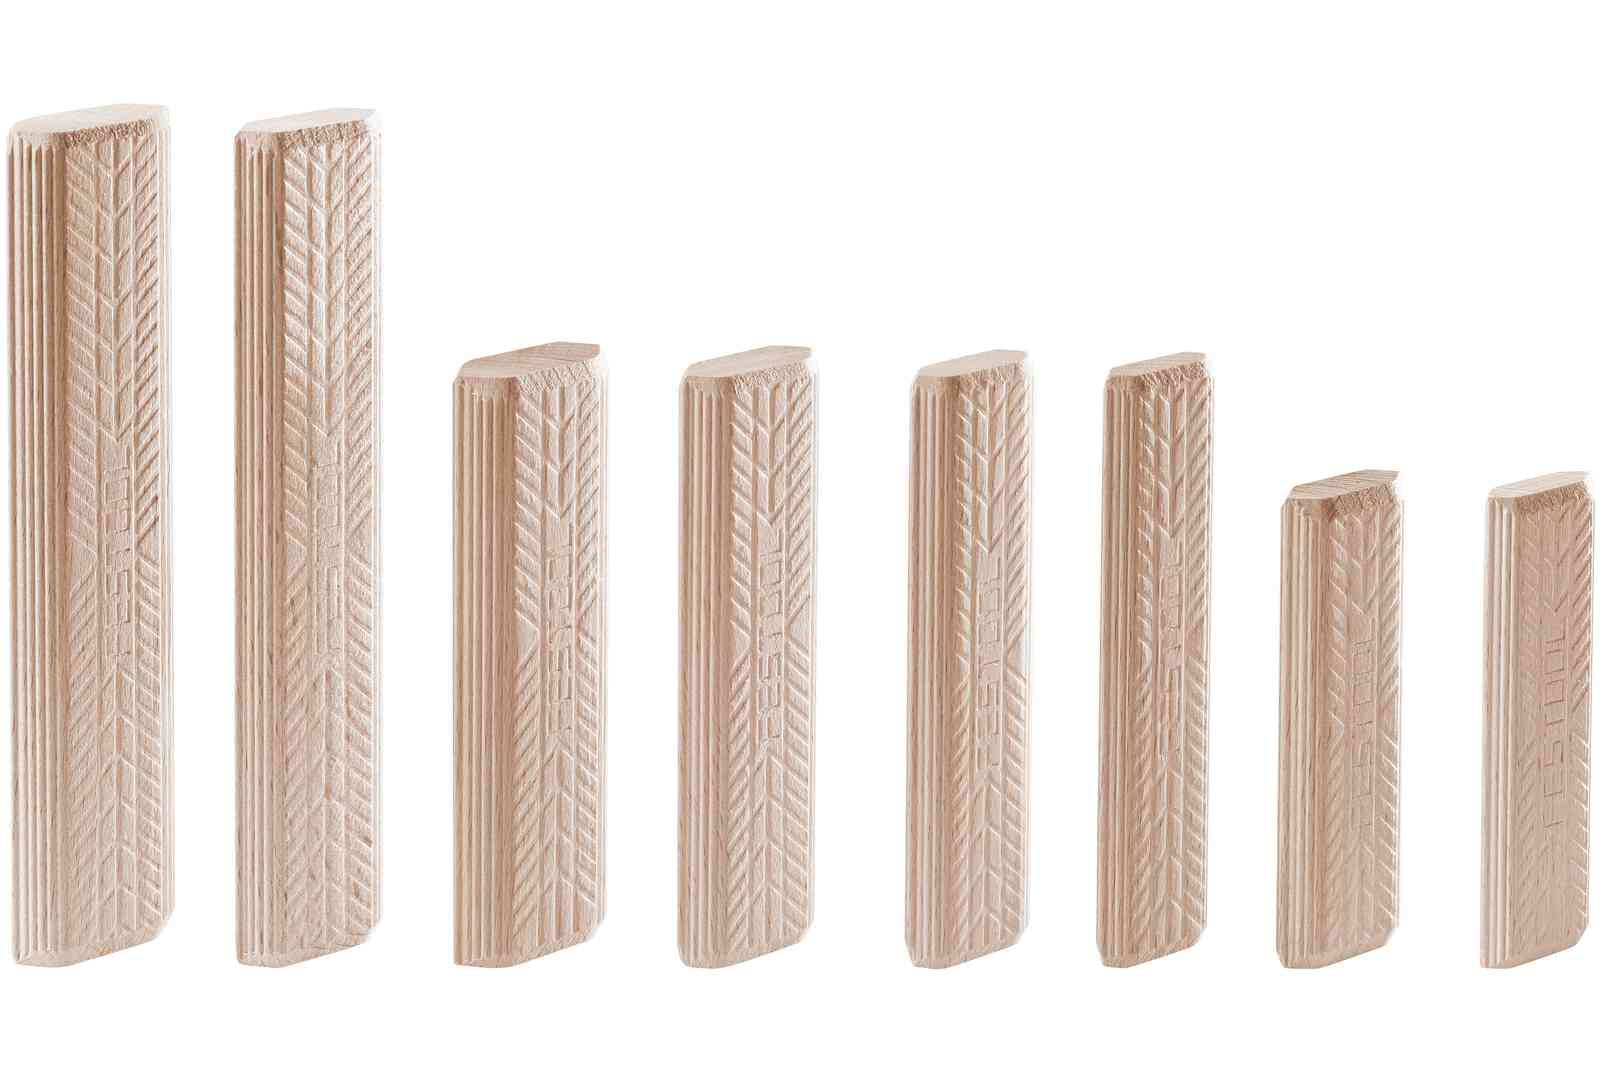
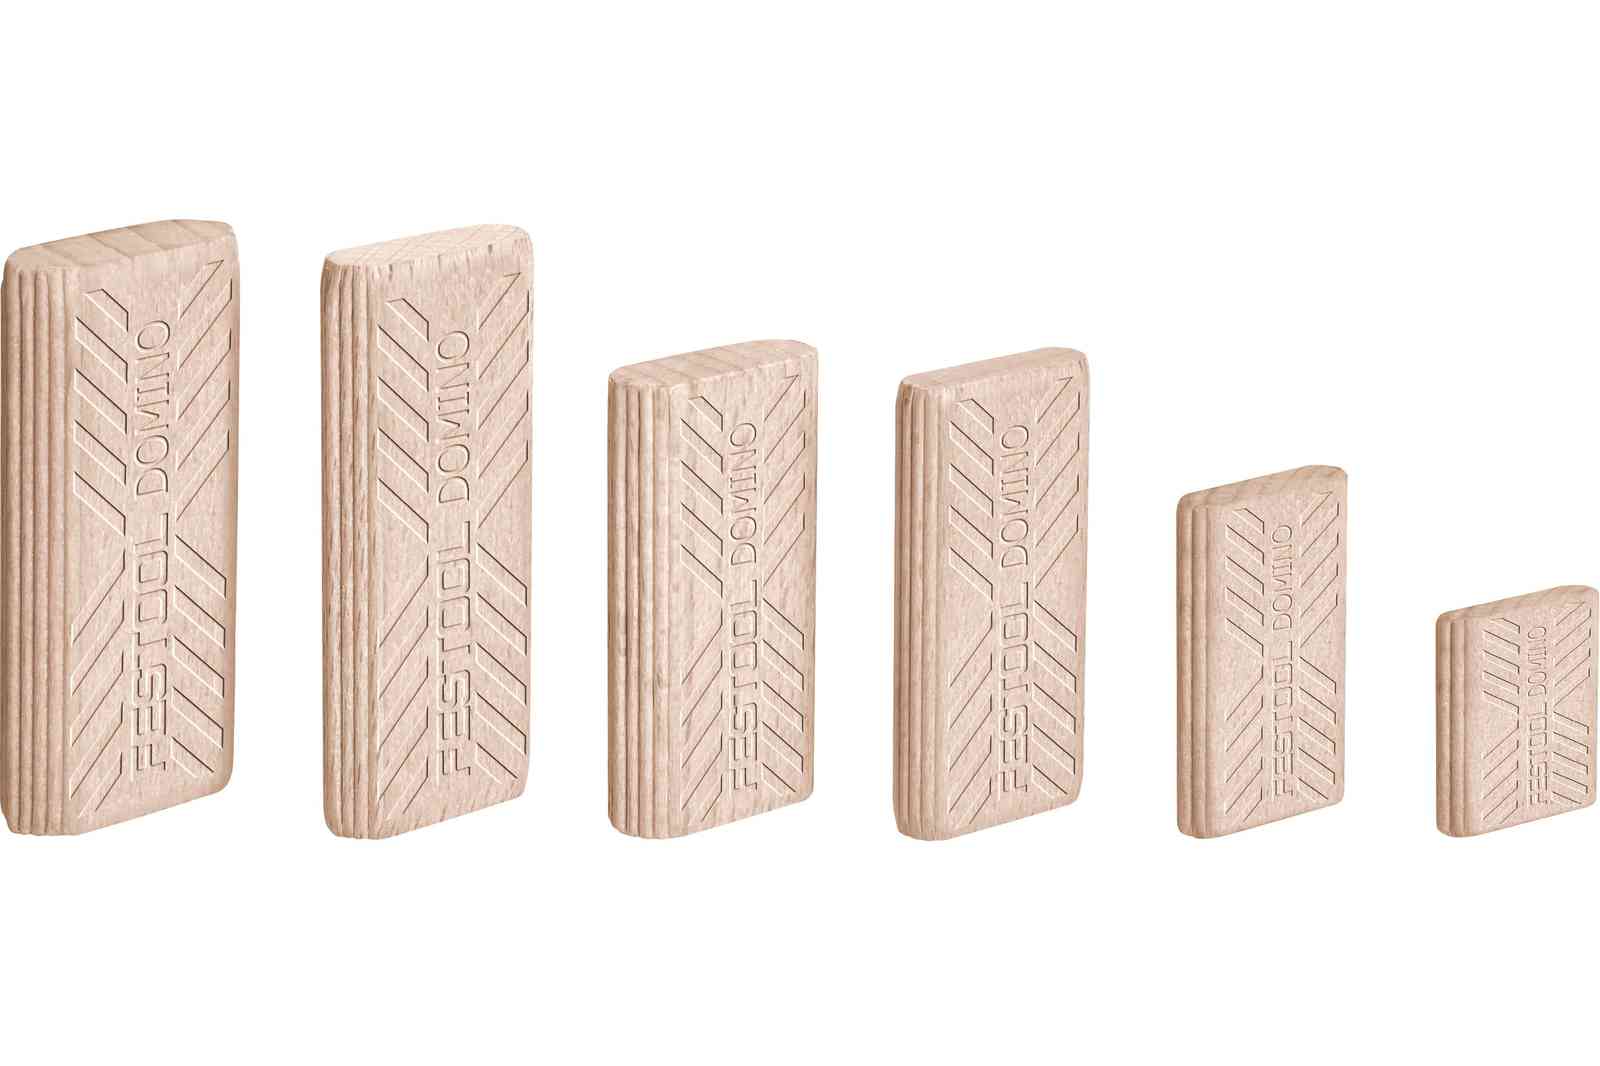
- 12 beech Domino tenons, 6x40mm (for the frame)
- 6 beech Domino tenons, 8x50mm (for locking)
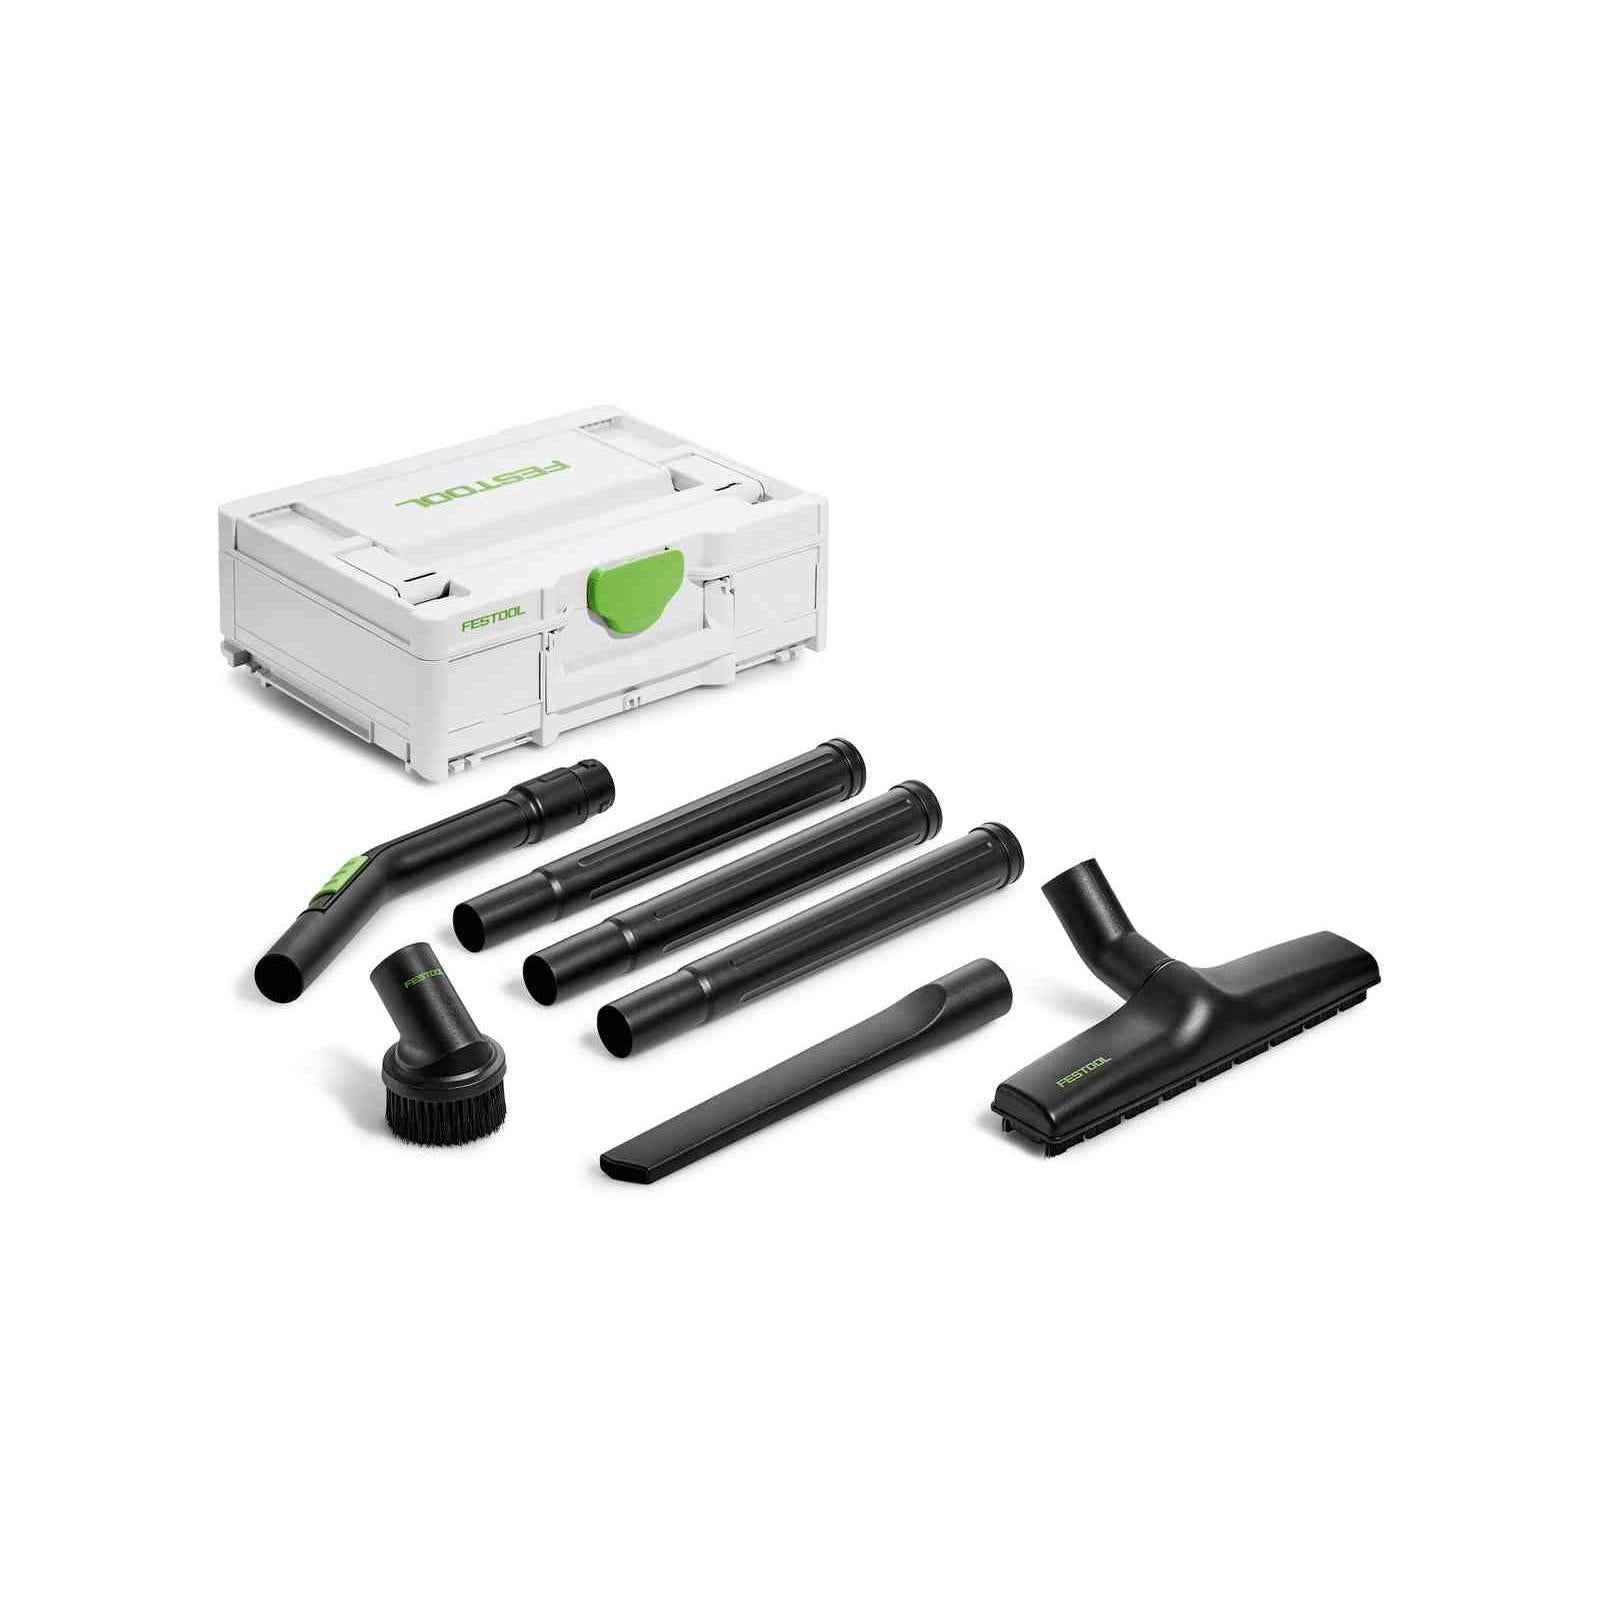
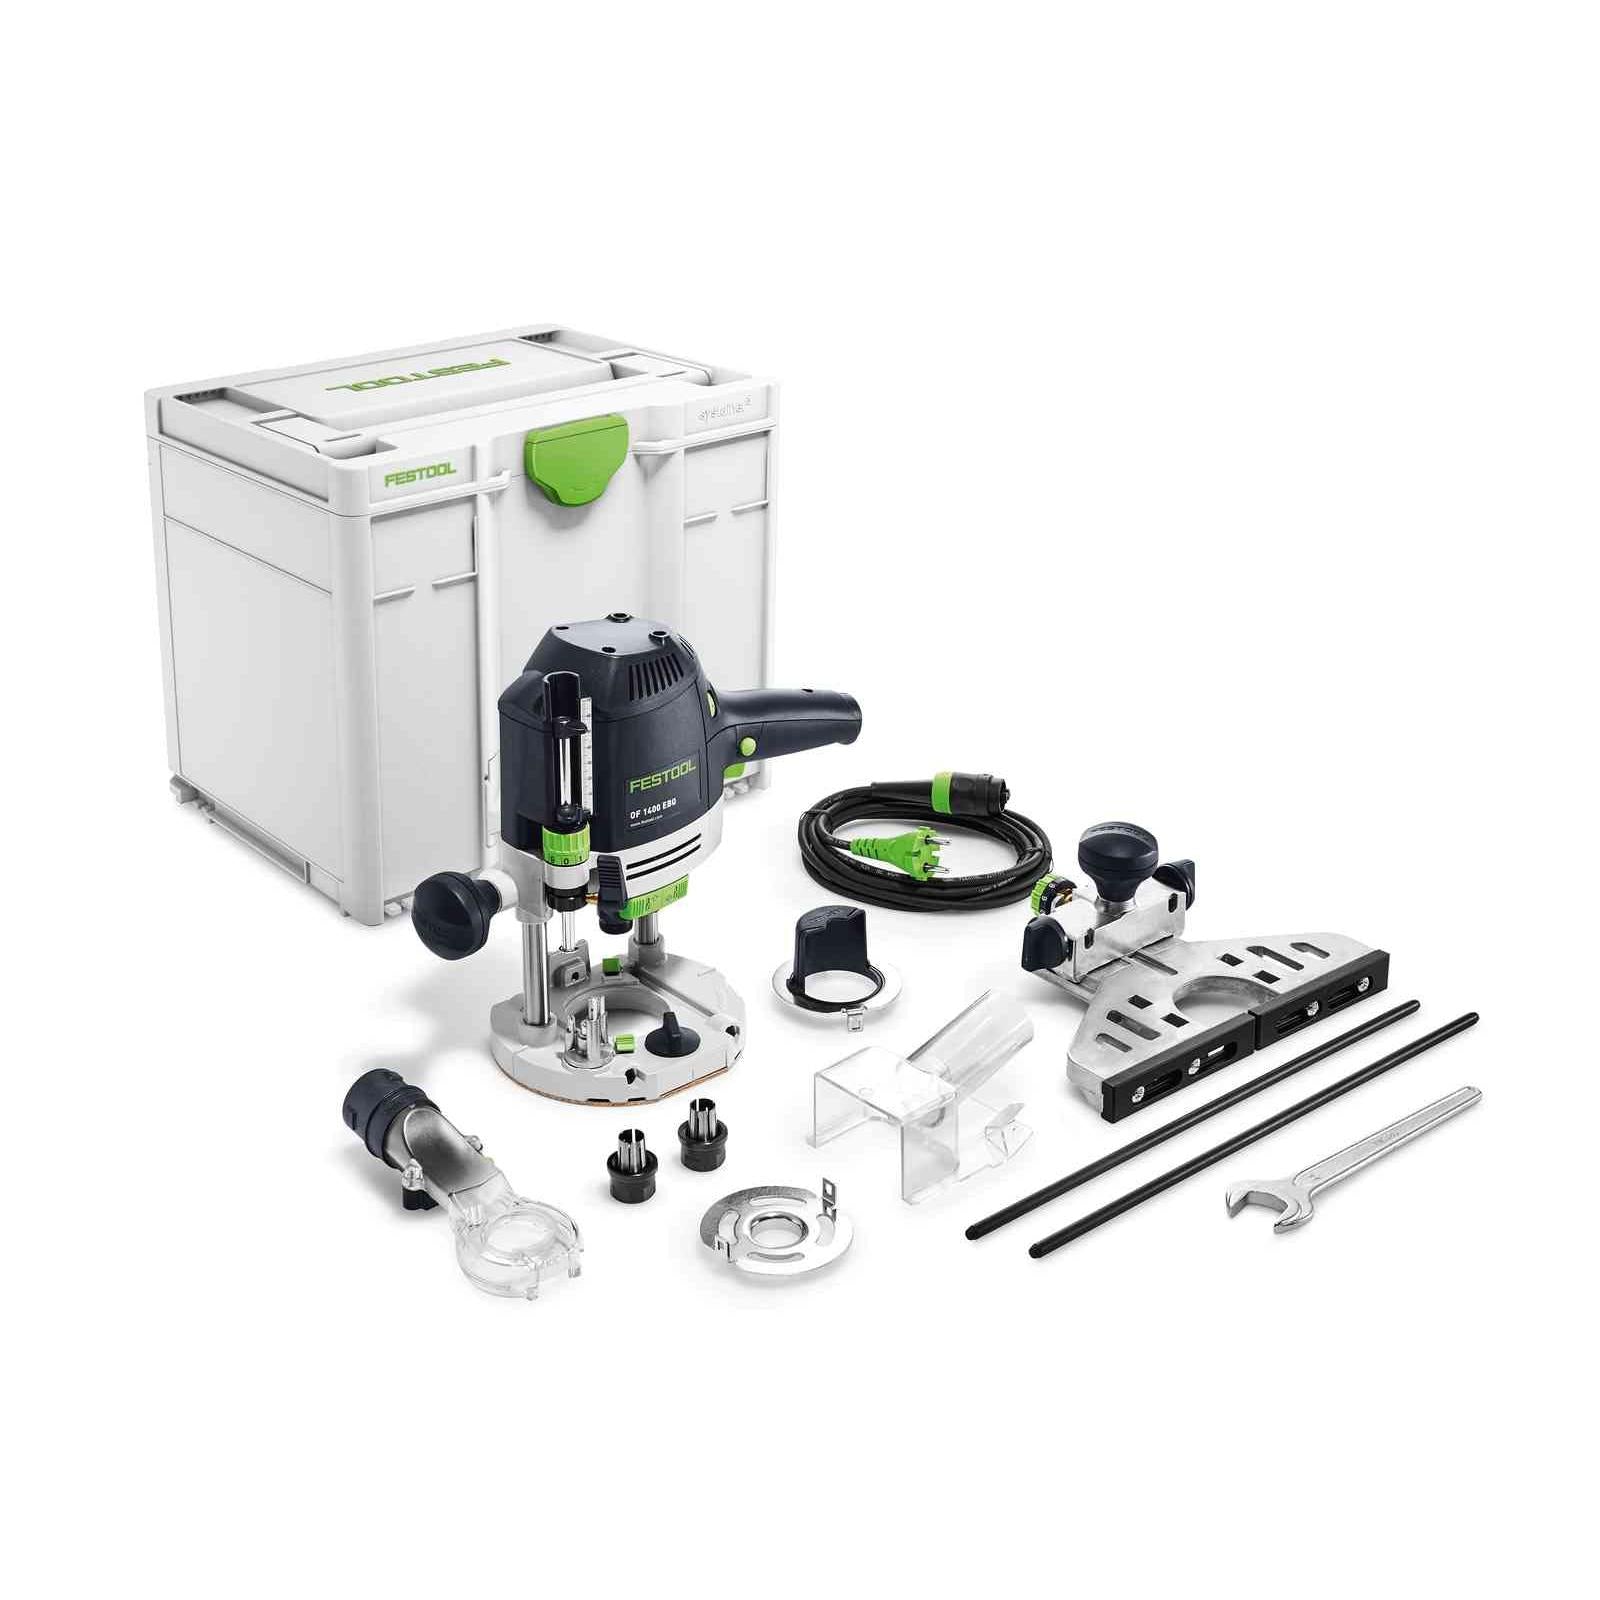
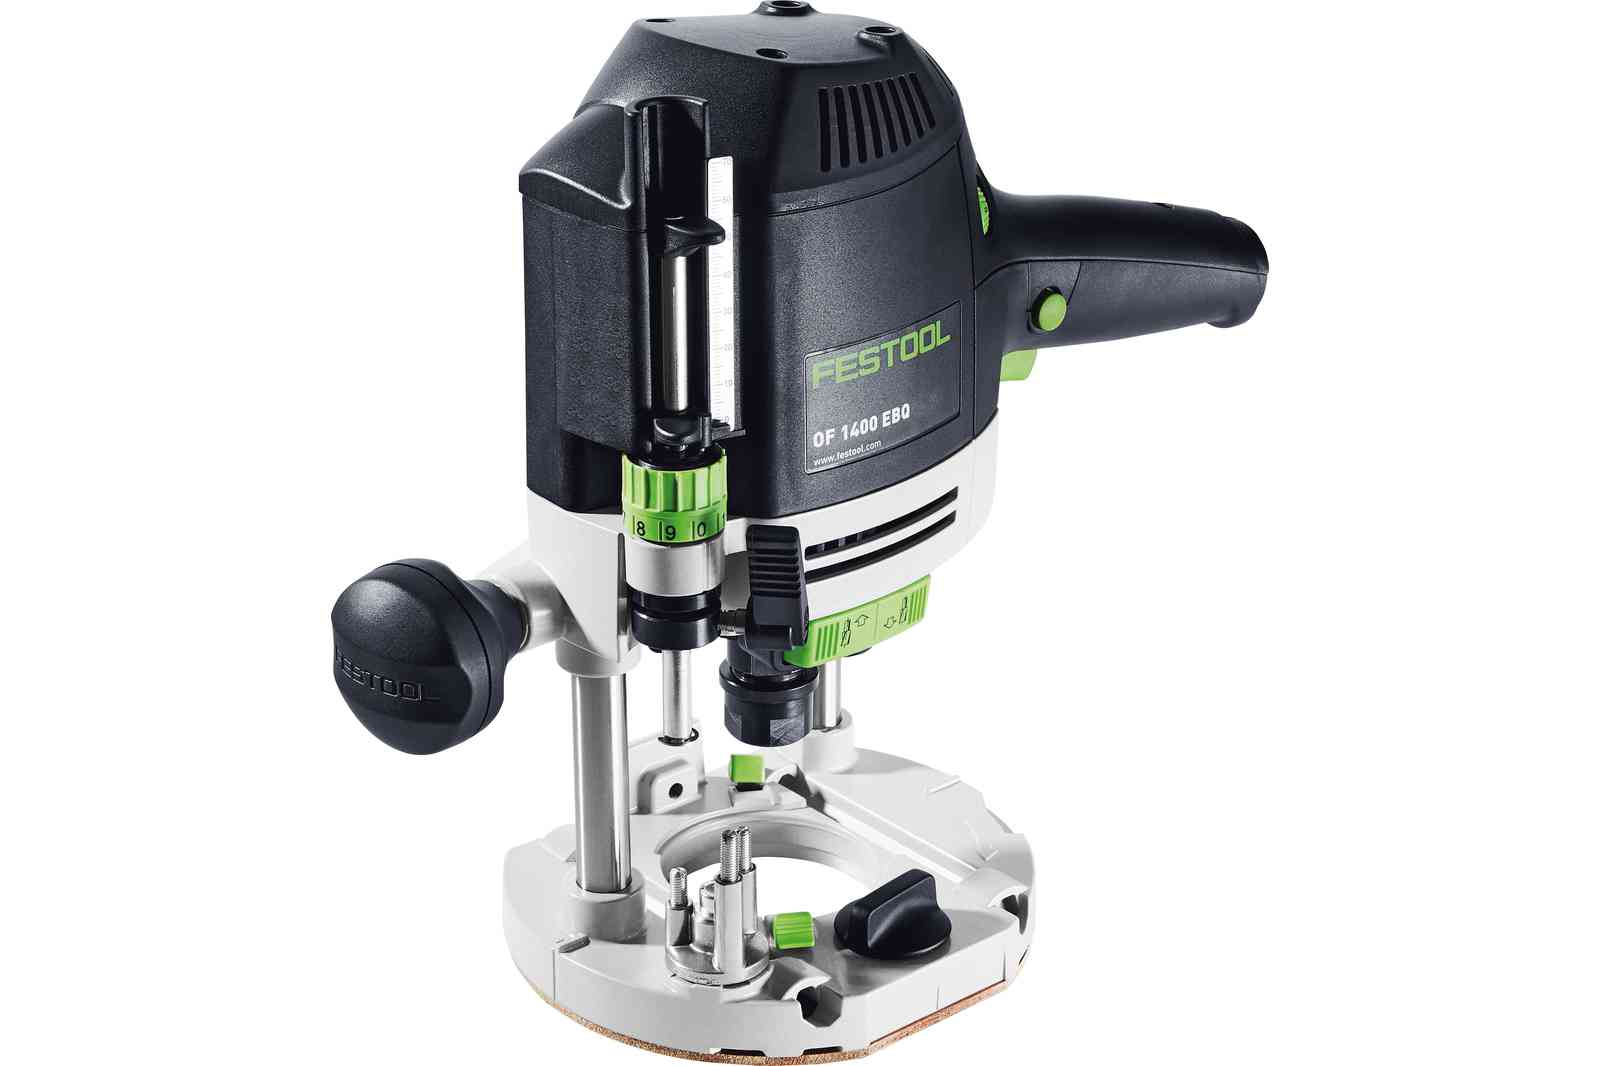
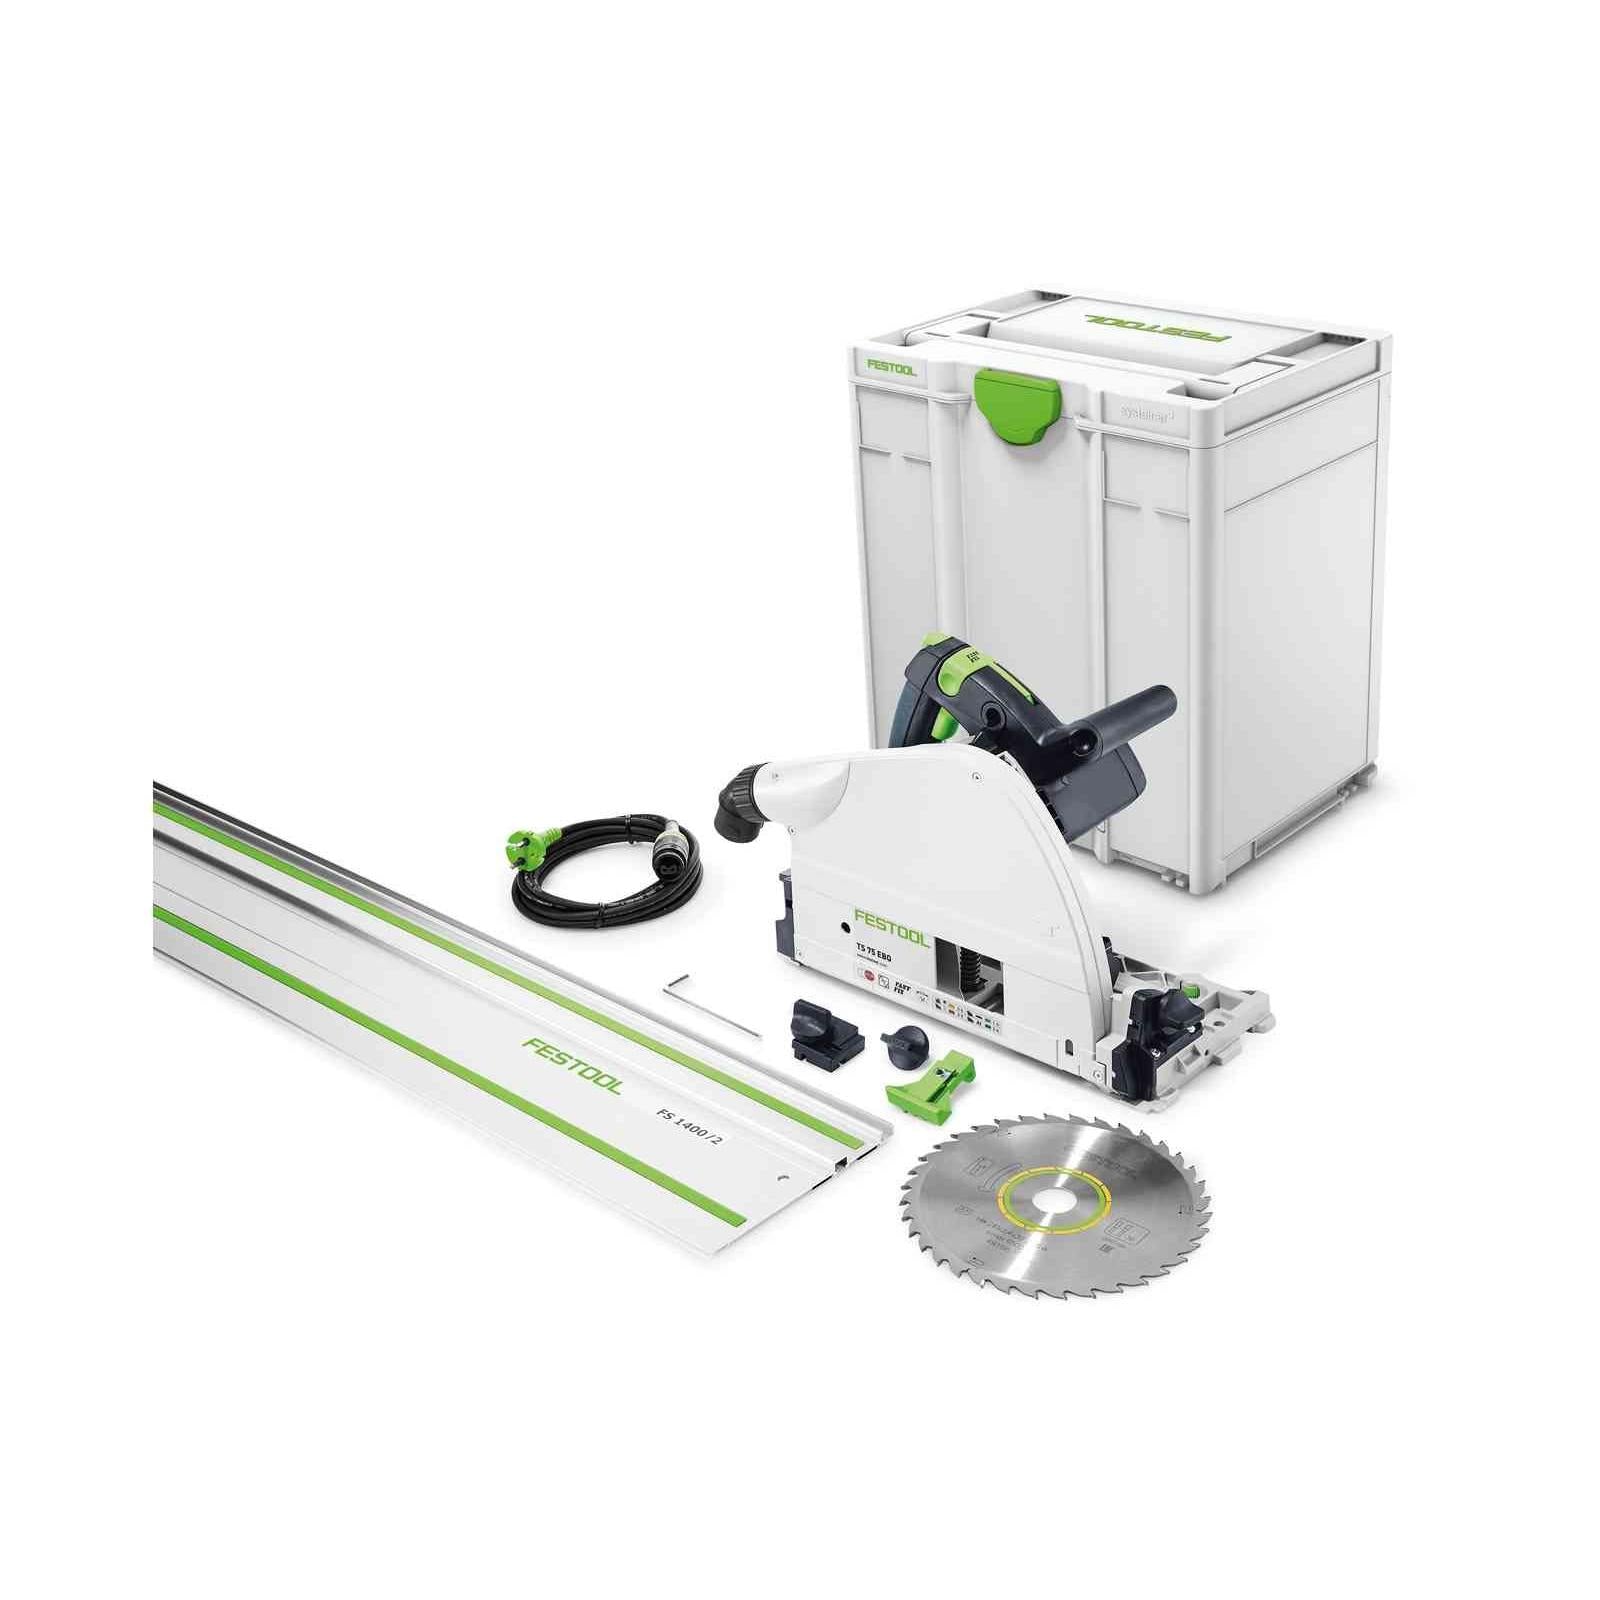
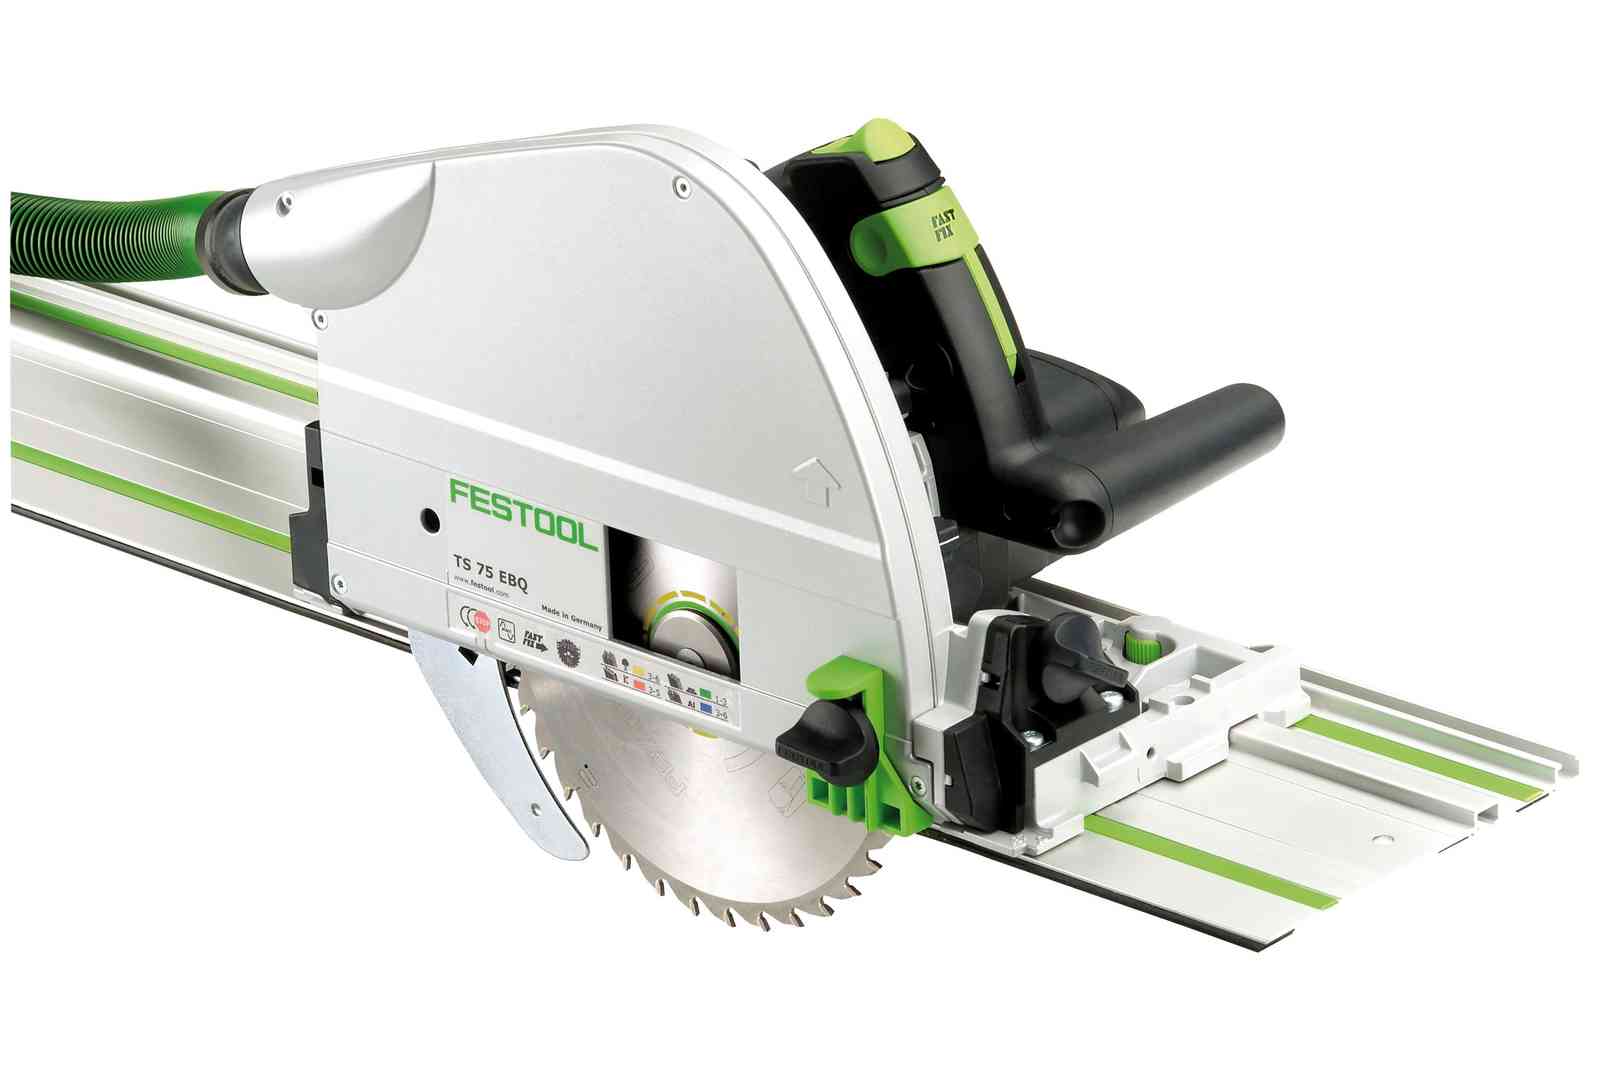
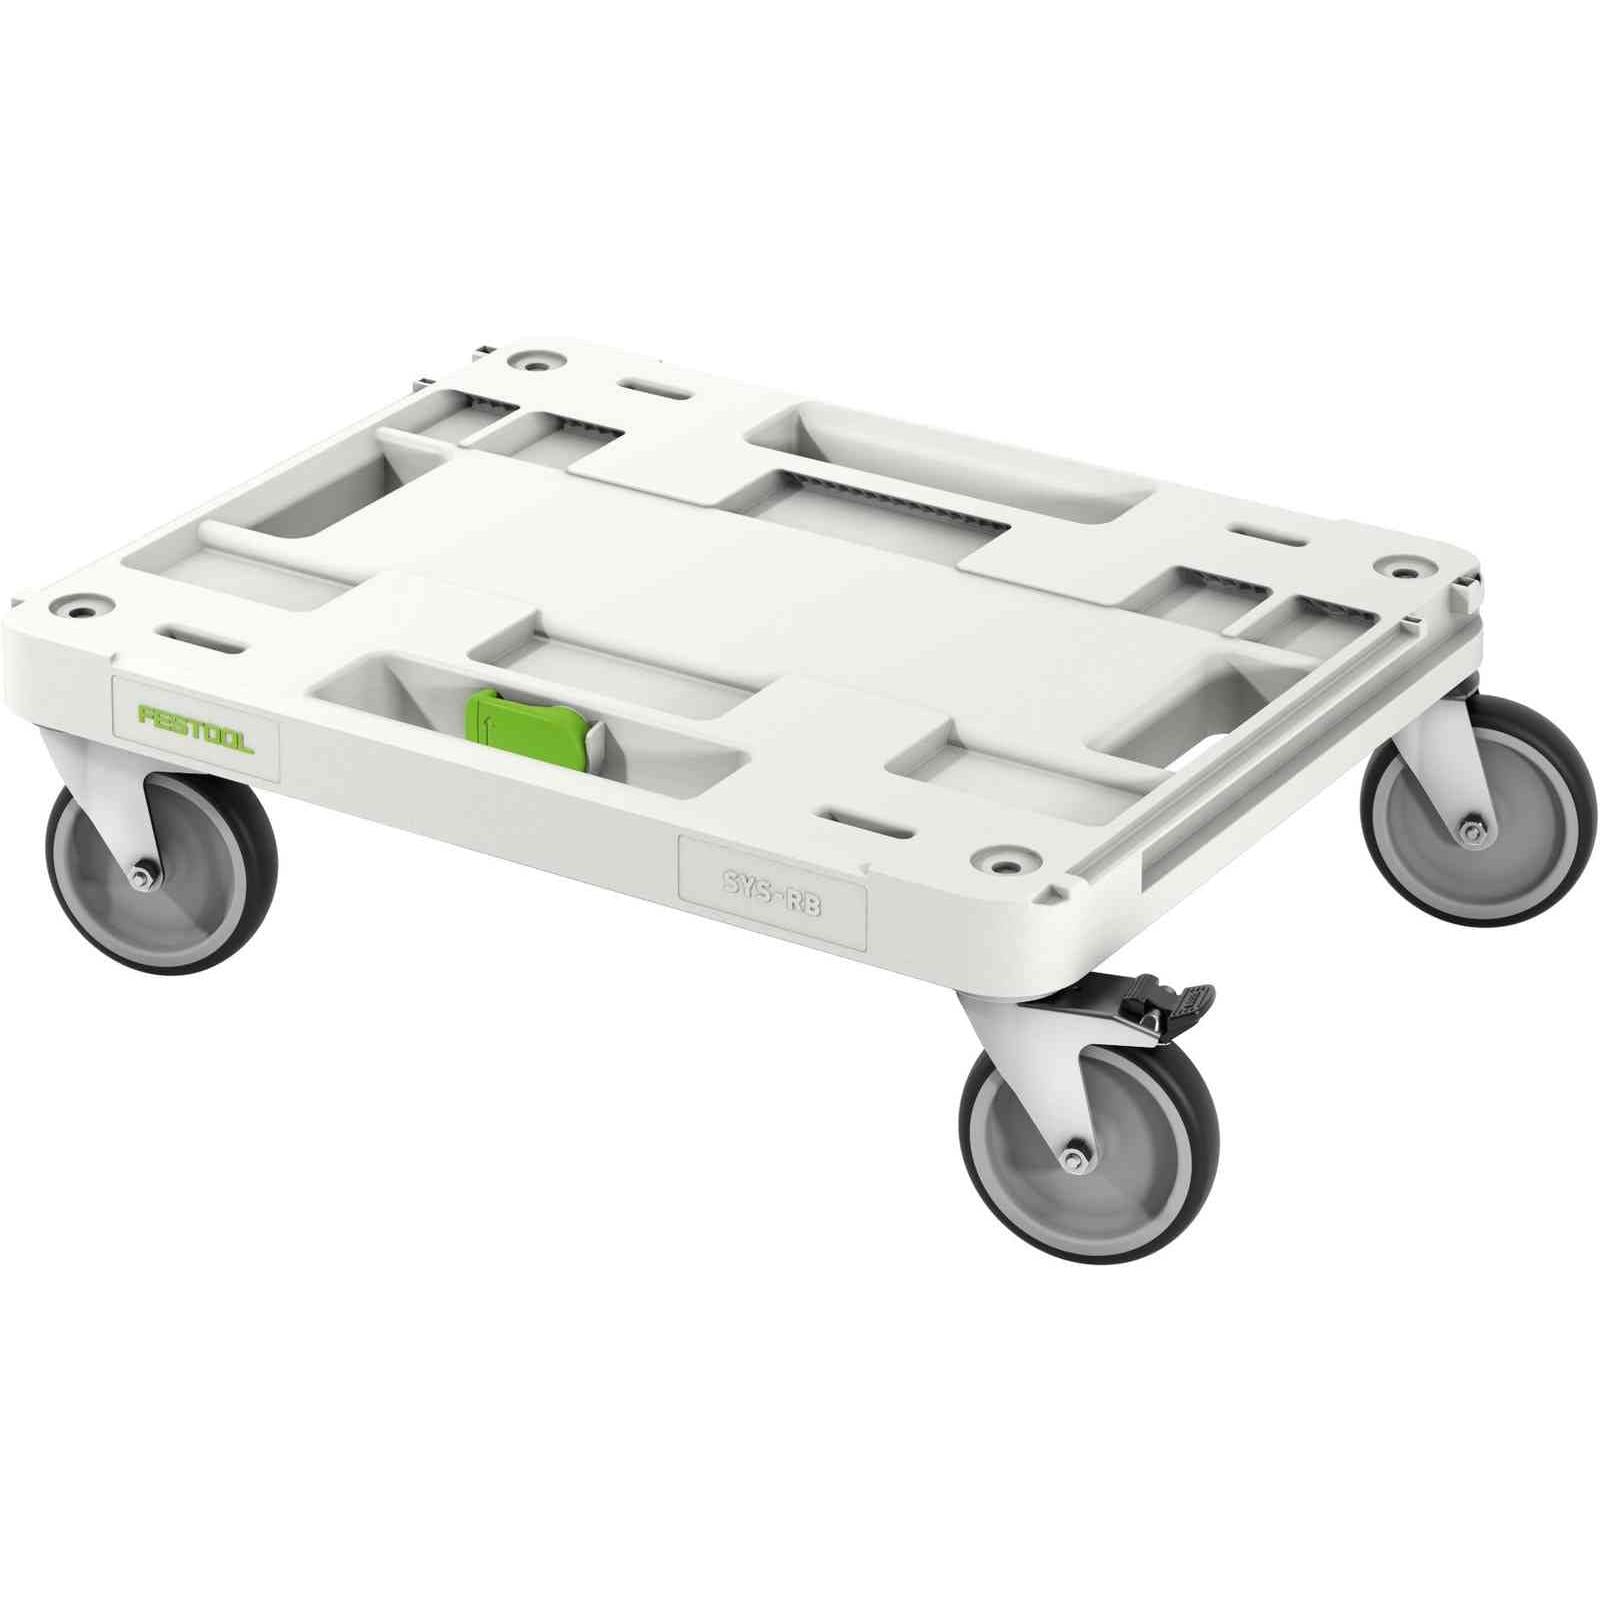
For tools, you'll need: ( Or alternatives )
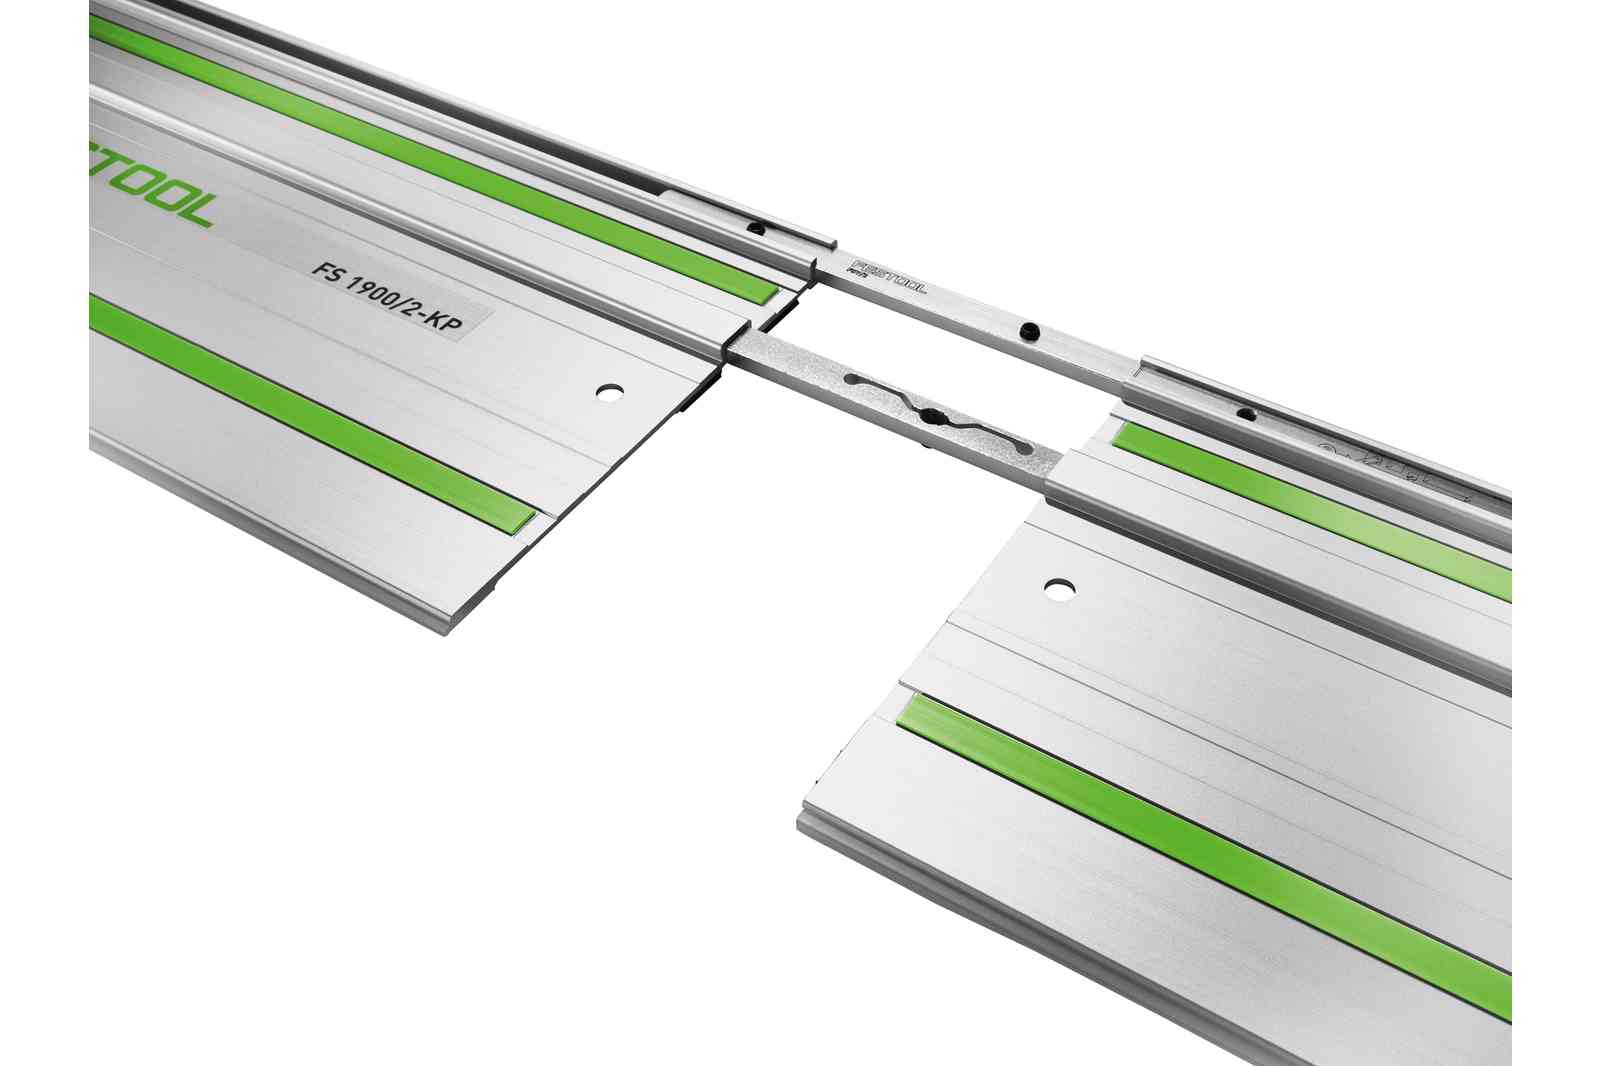
- PRECISIO sliding table saw
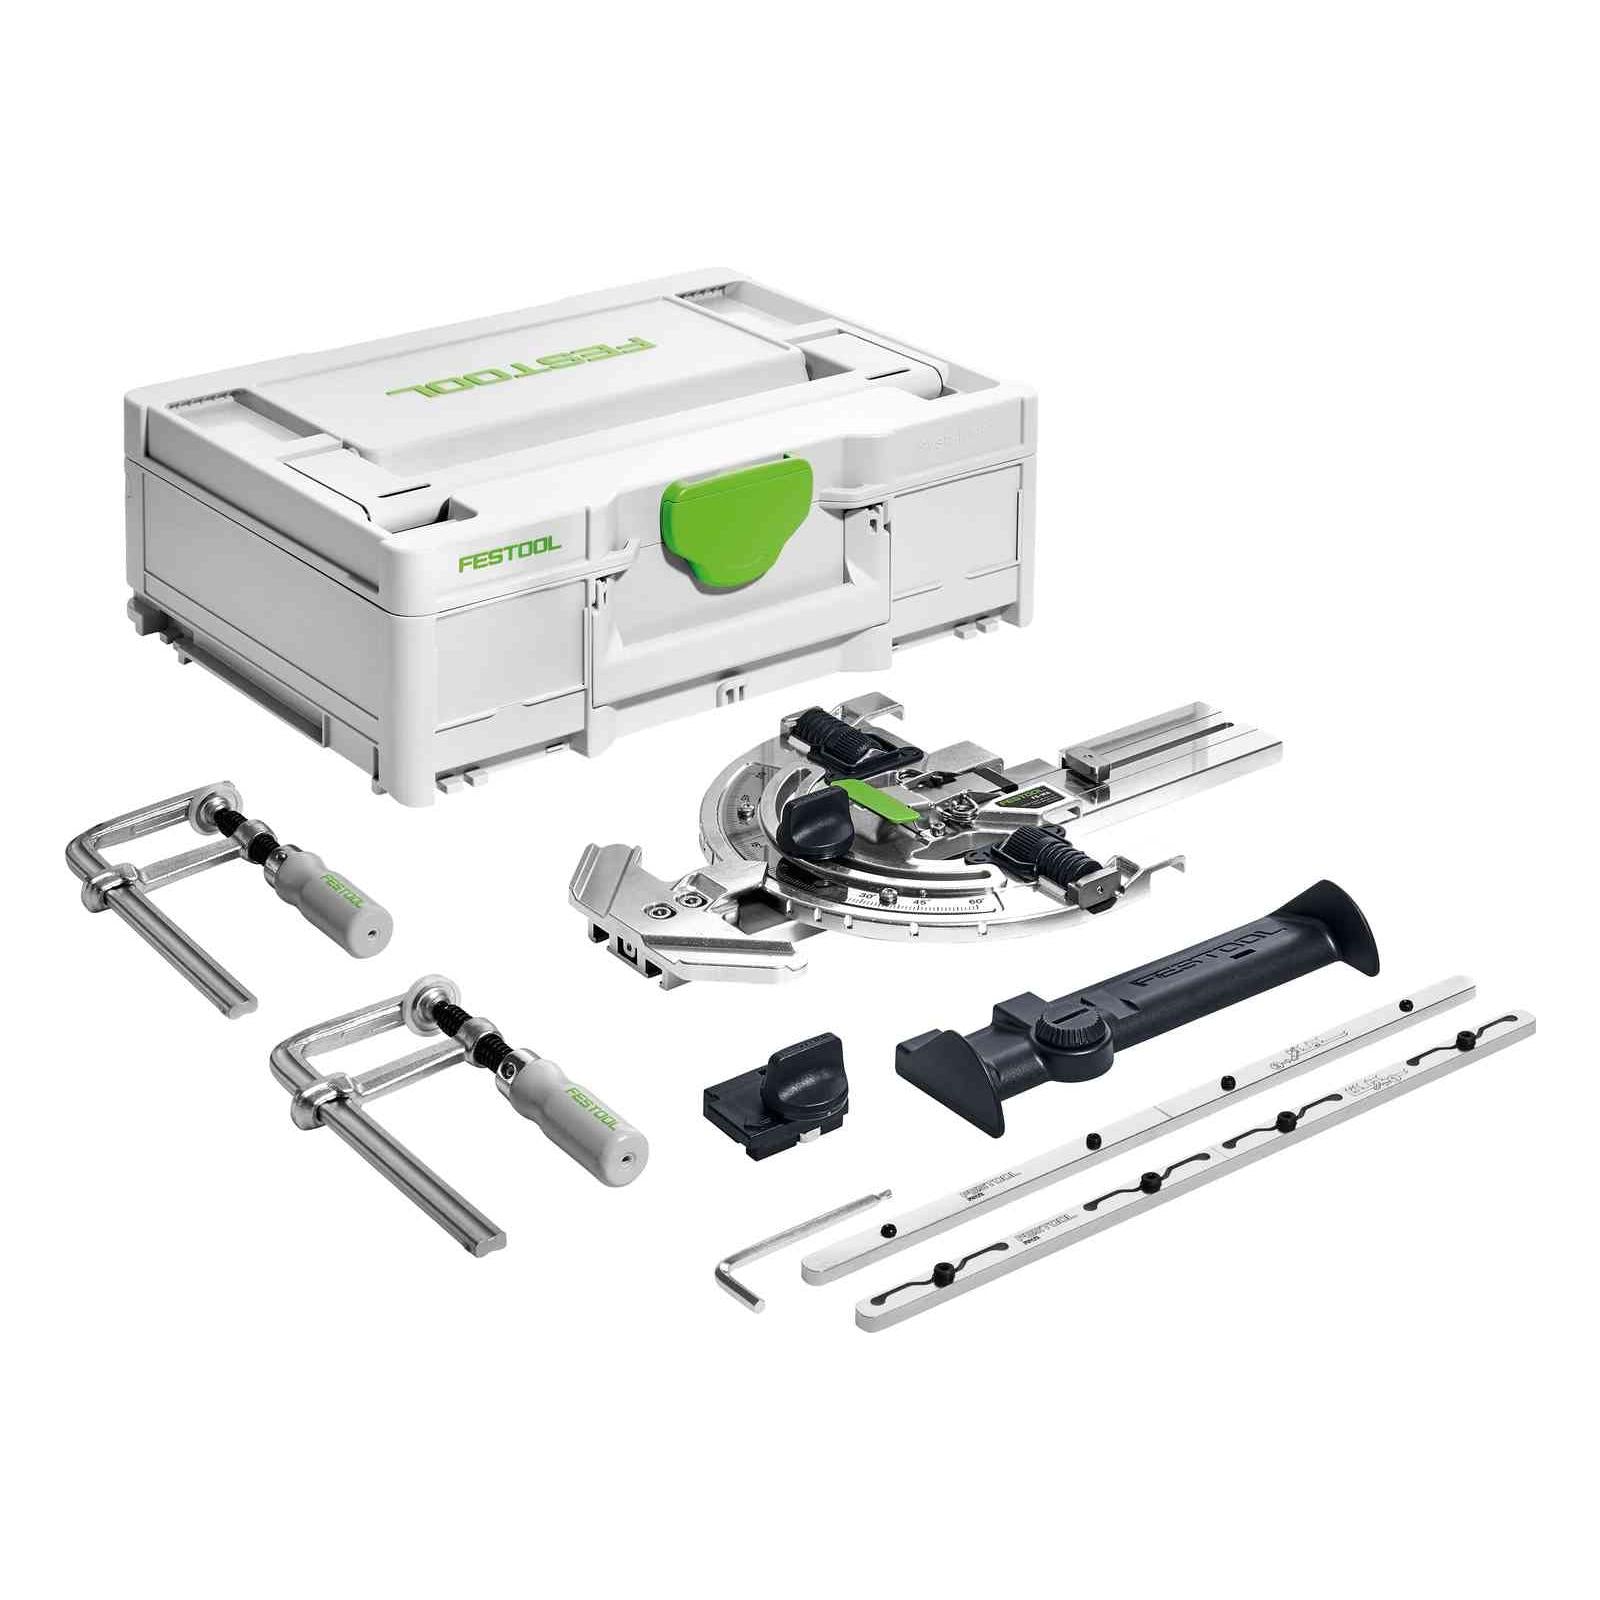
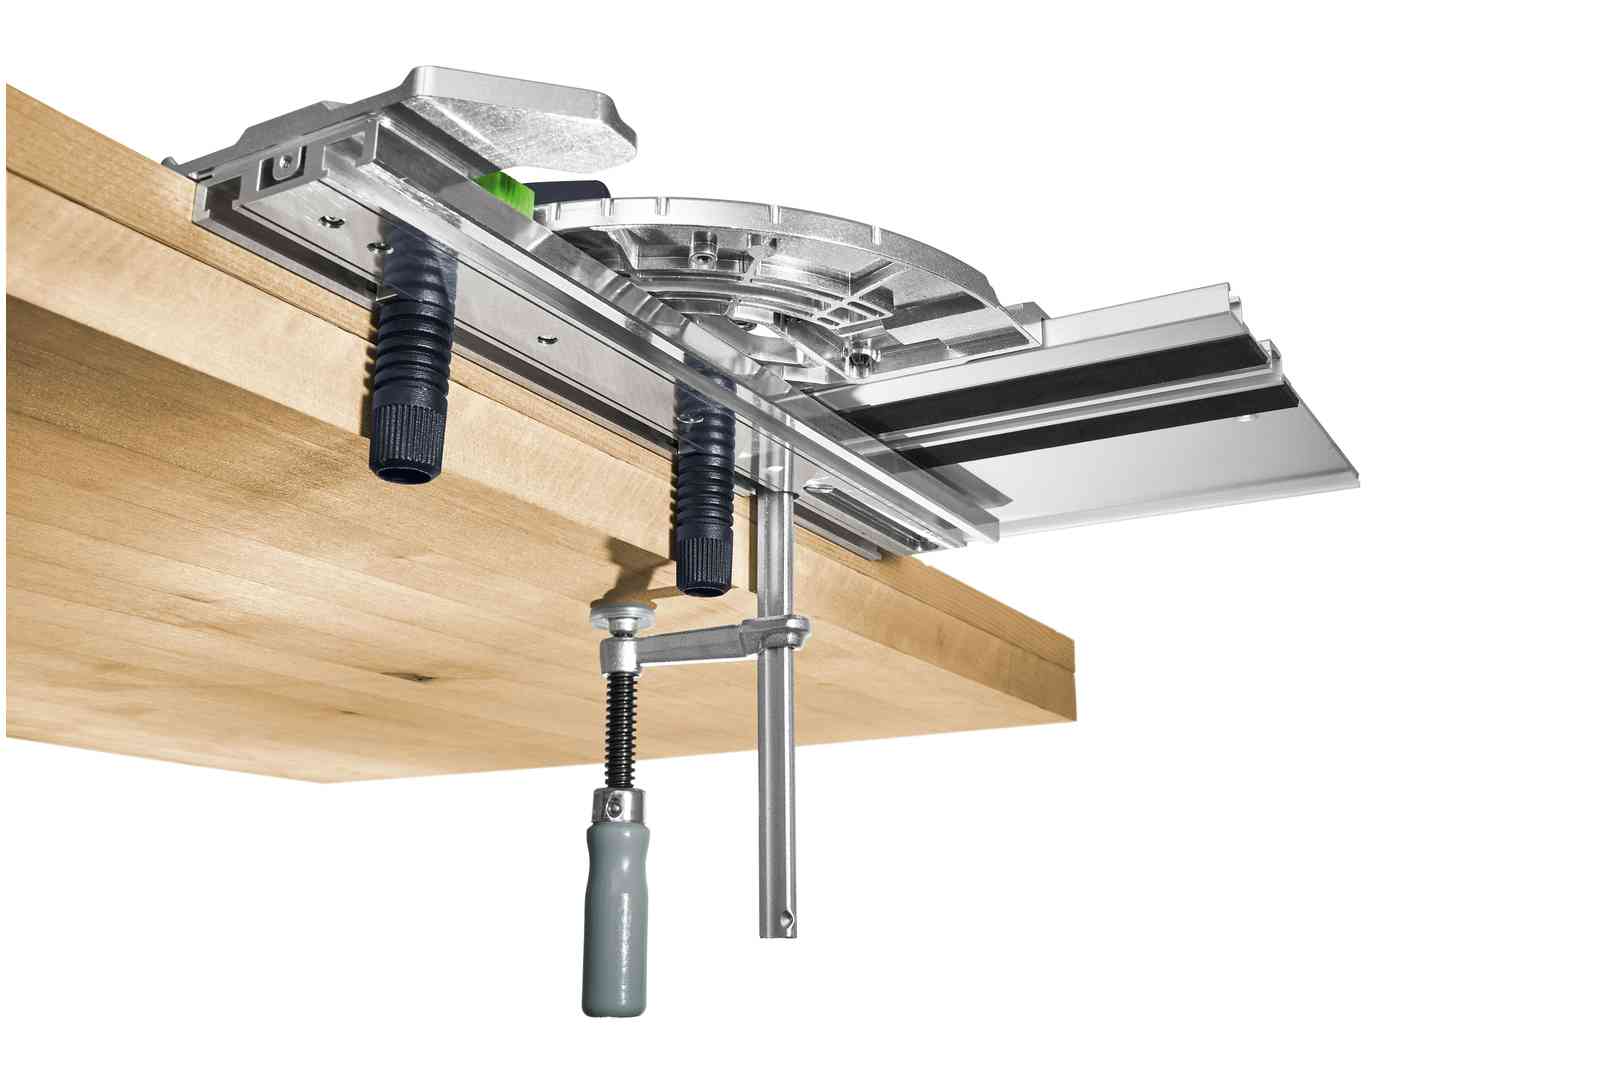
- KAPEX sliding compound miter saw
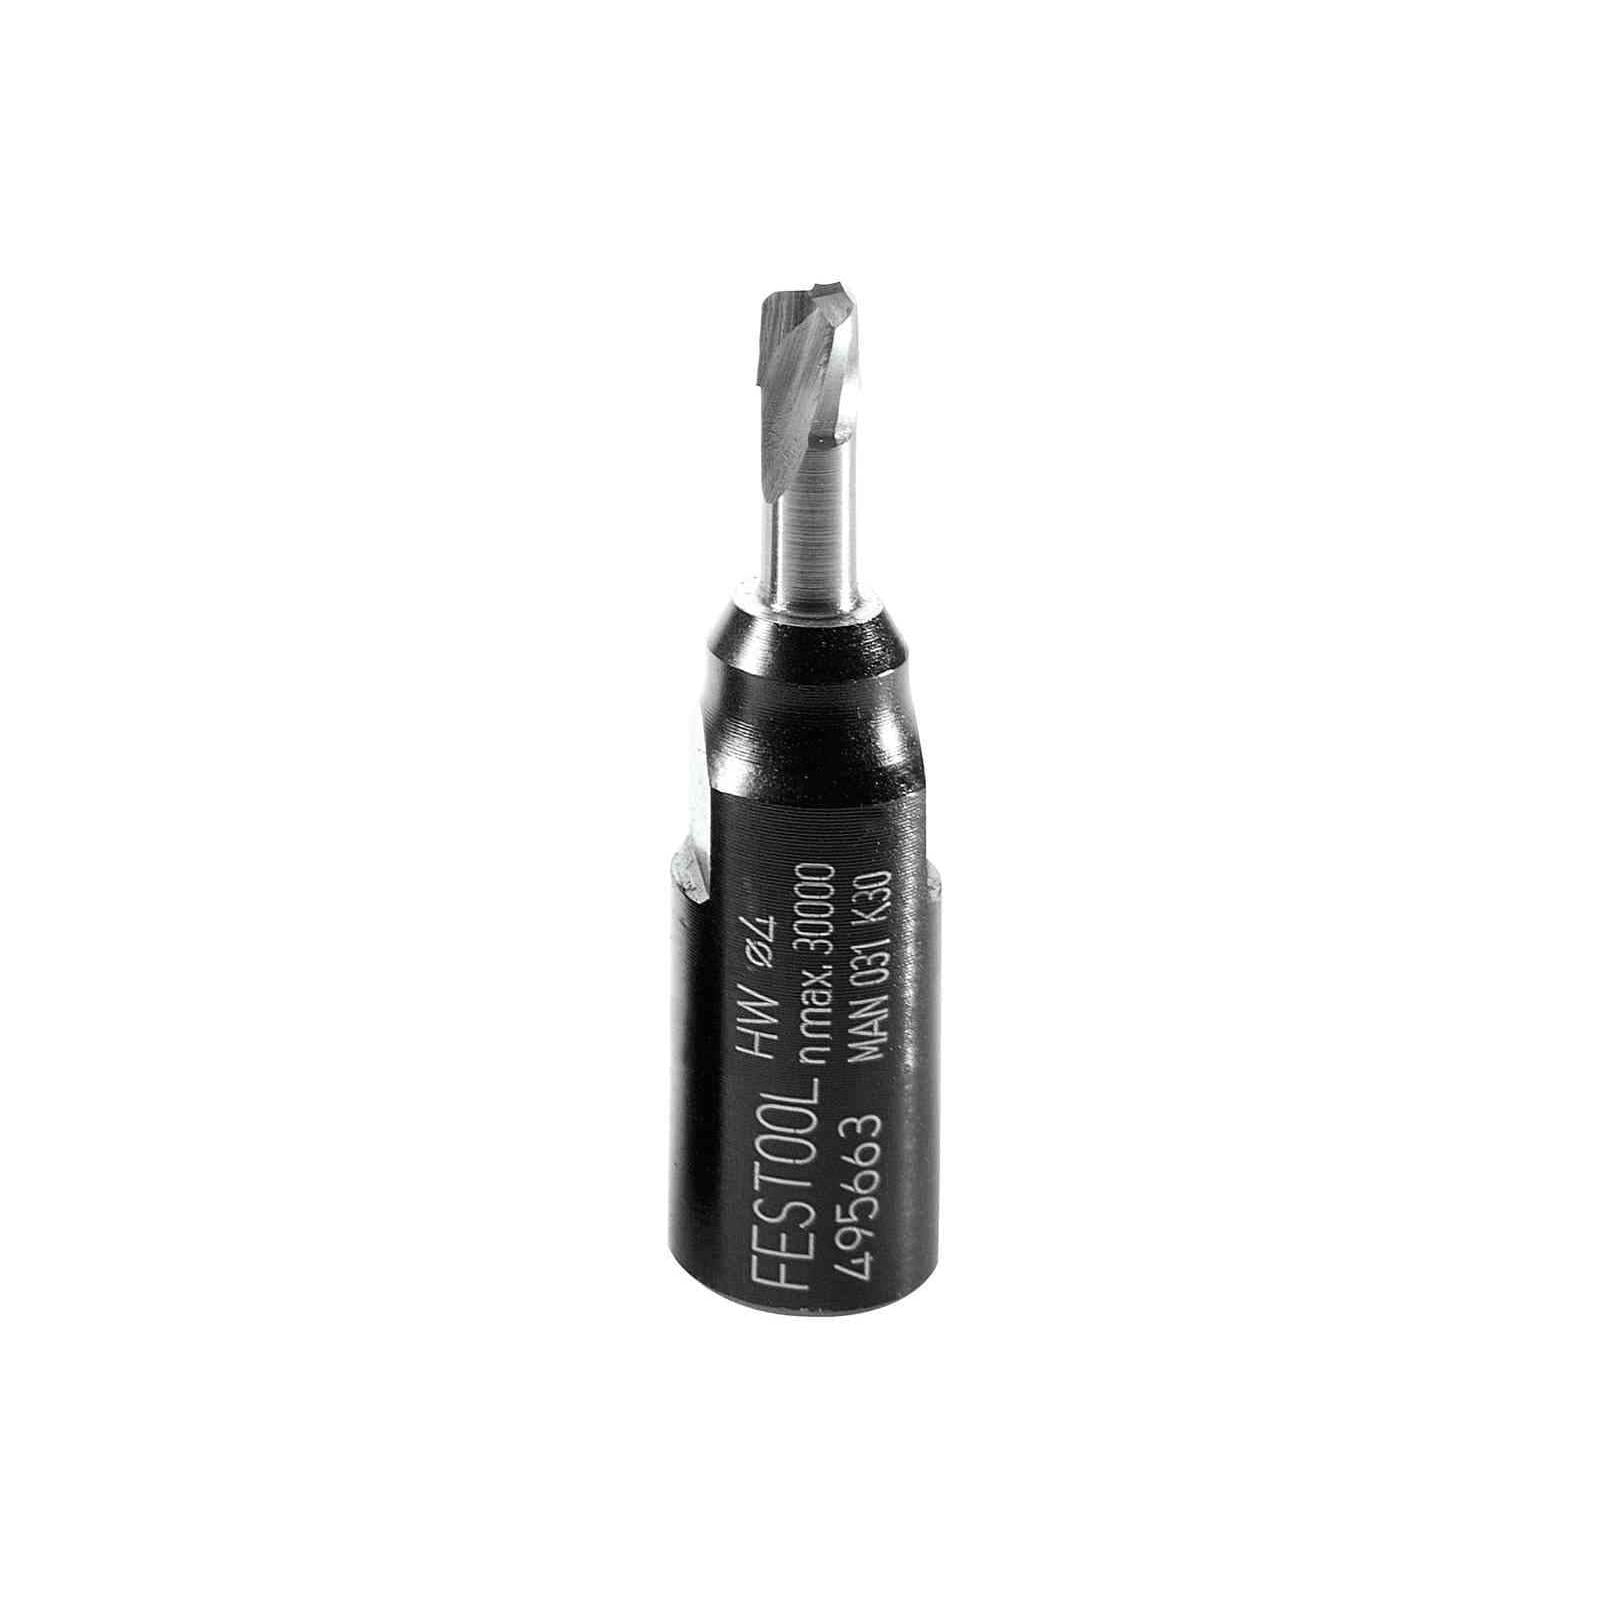
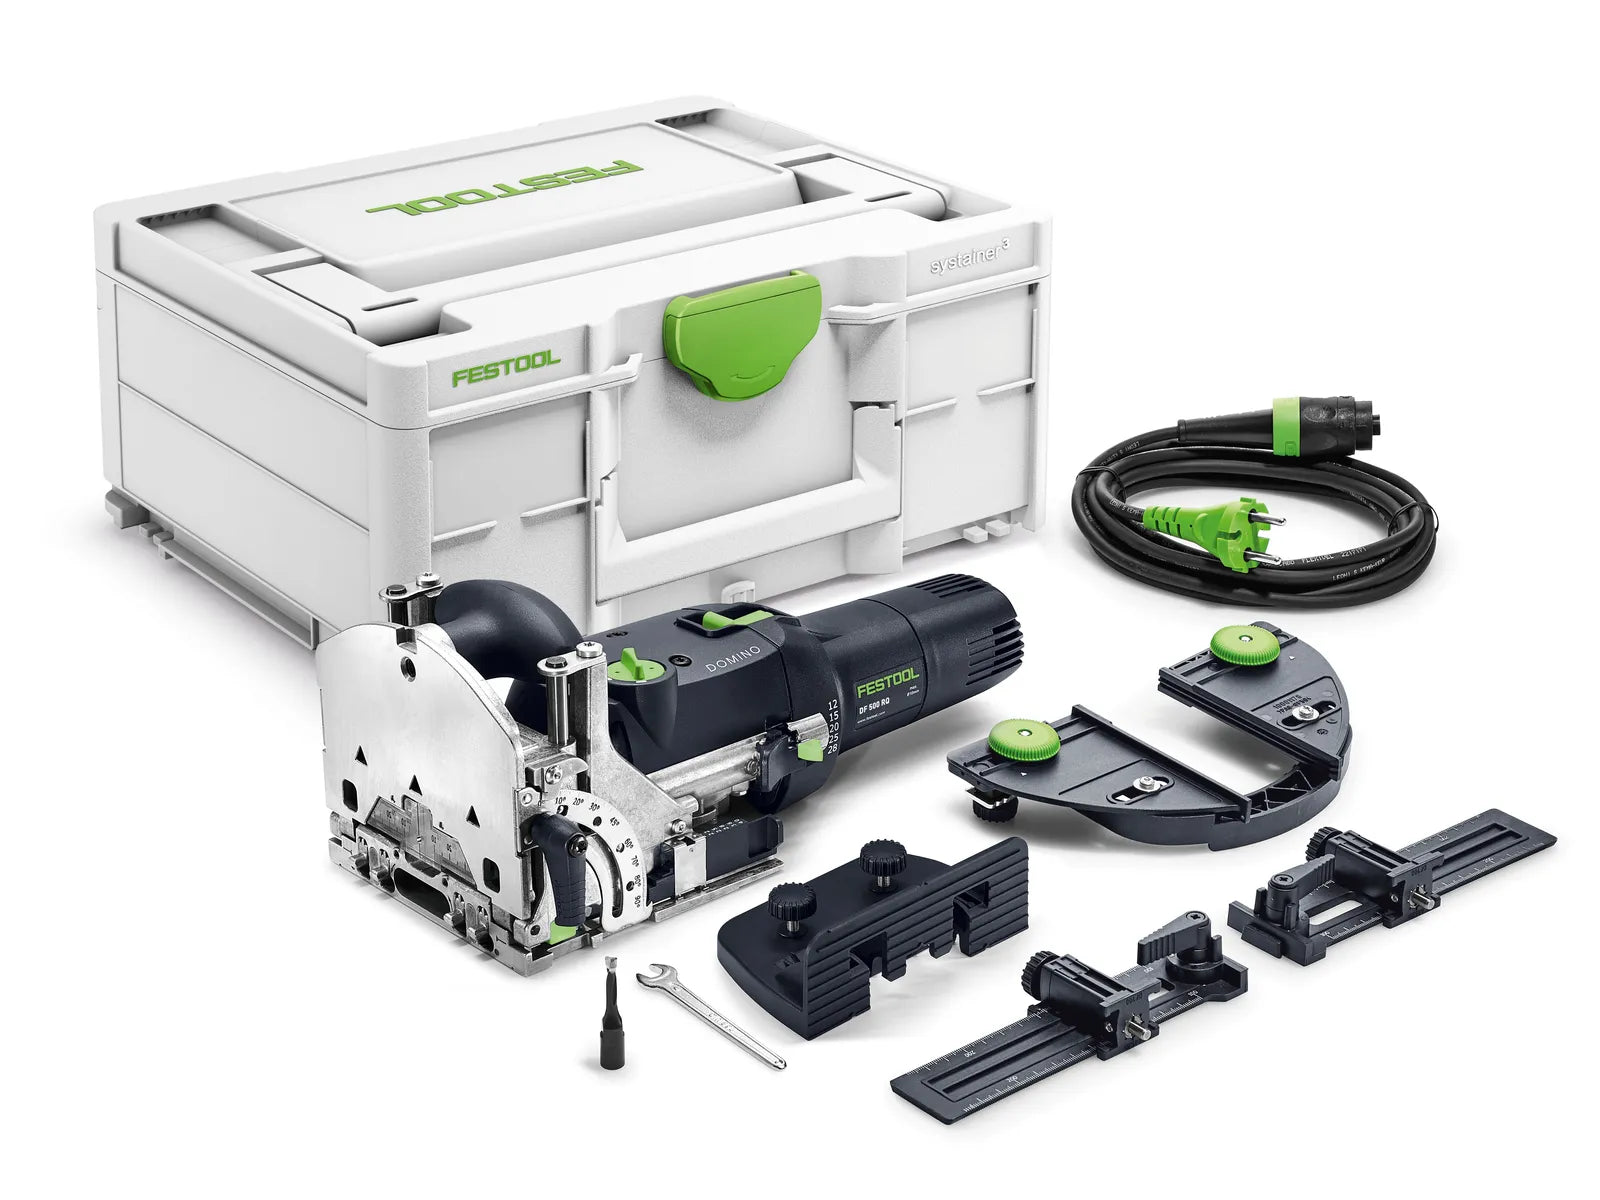
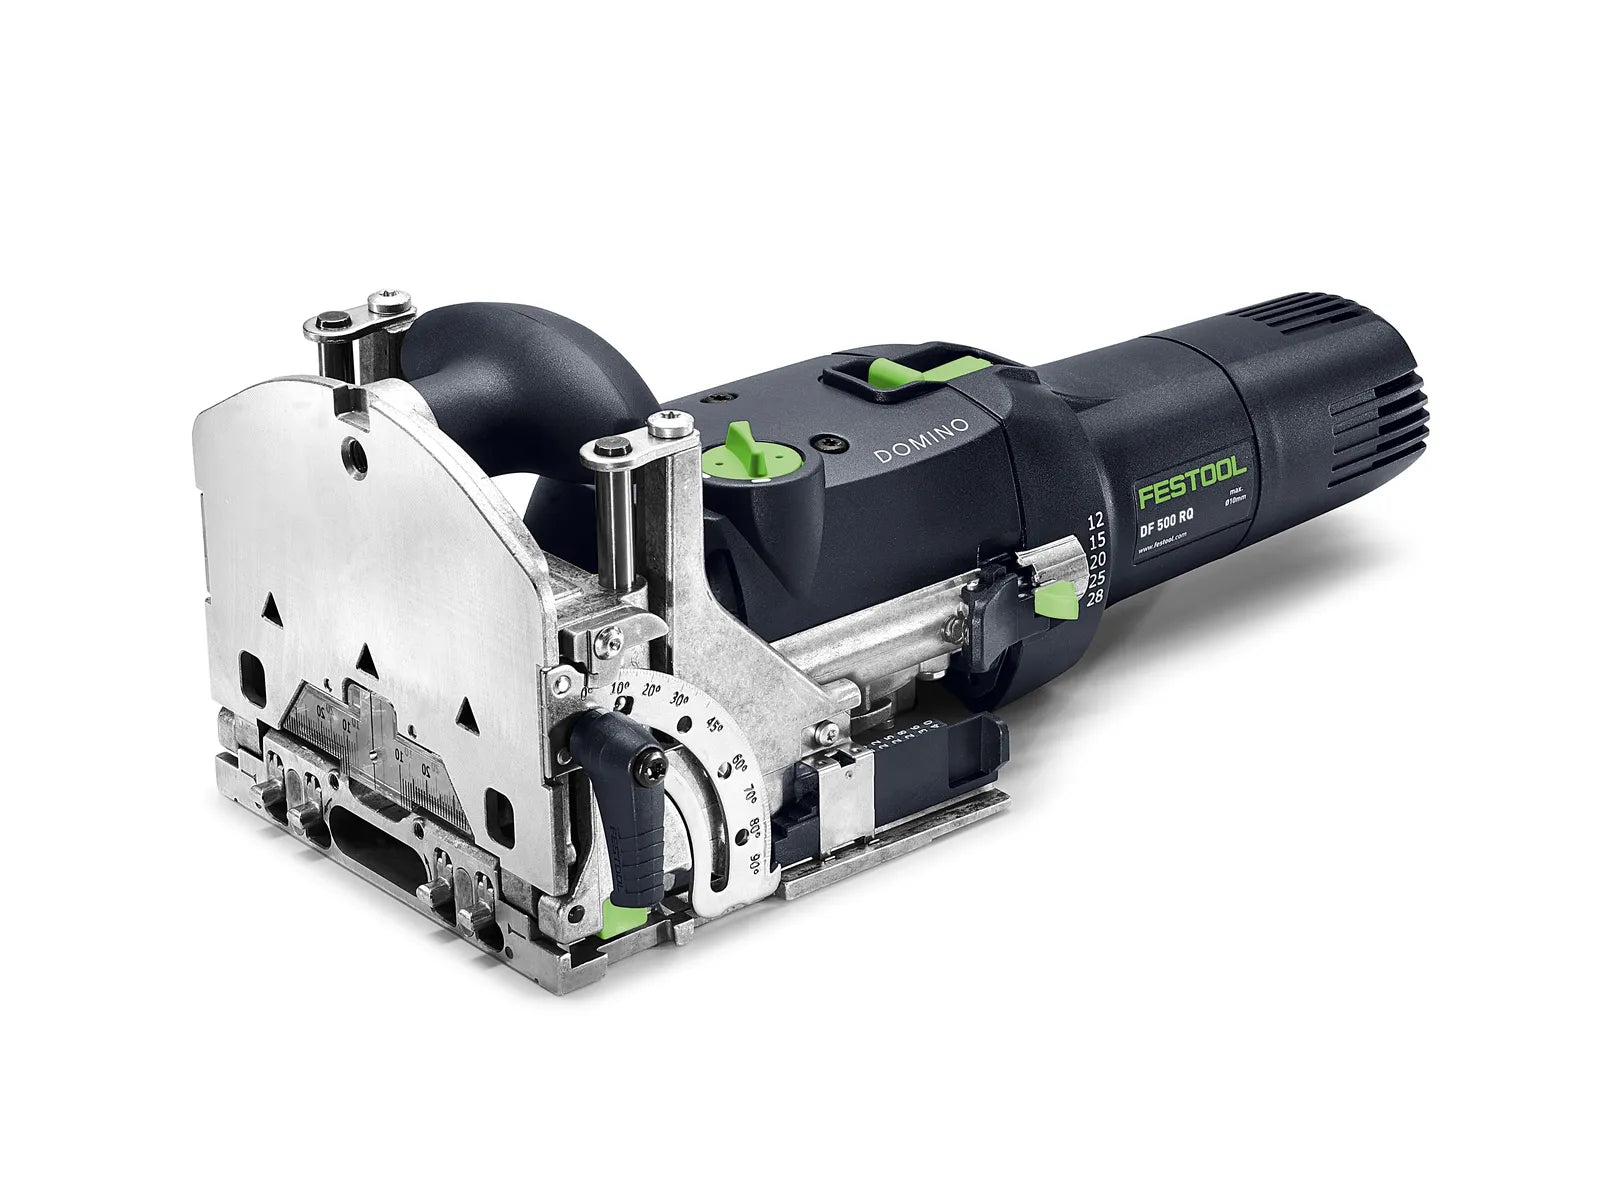
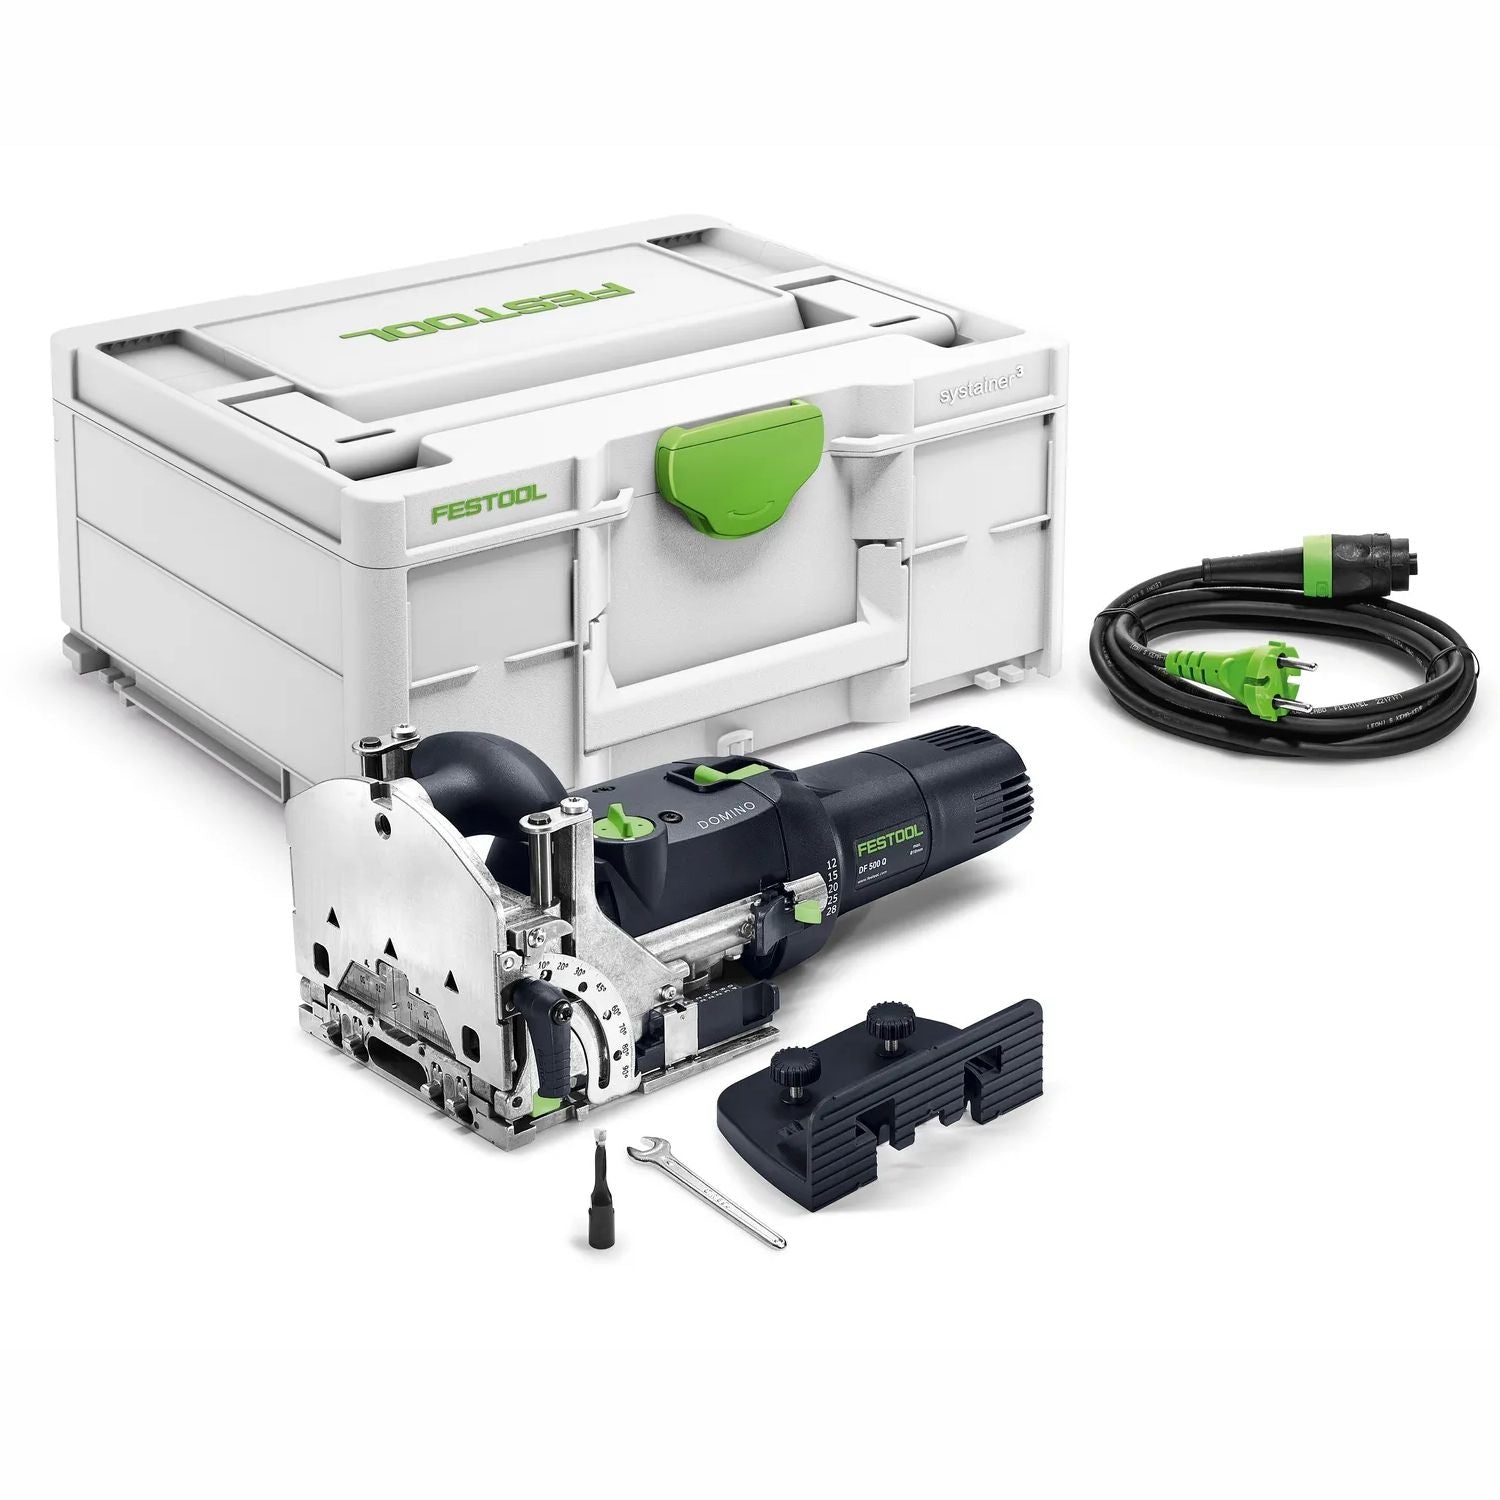
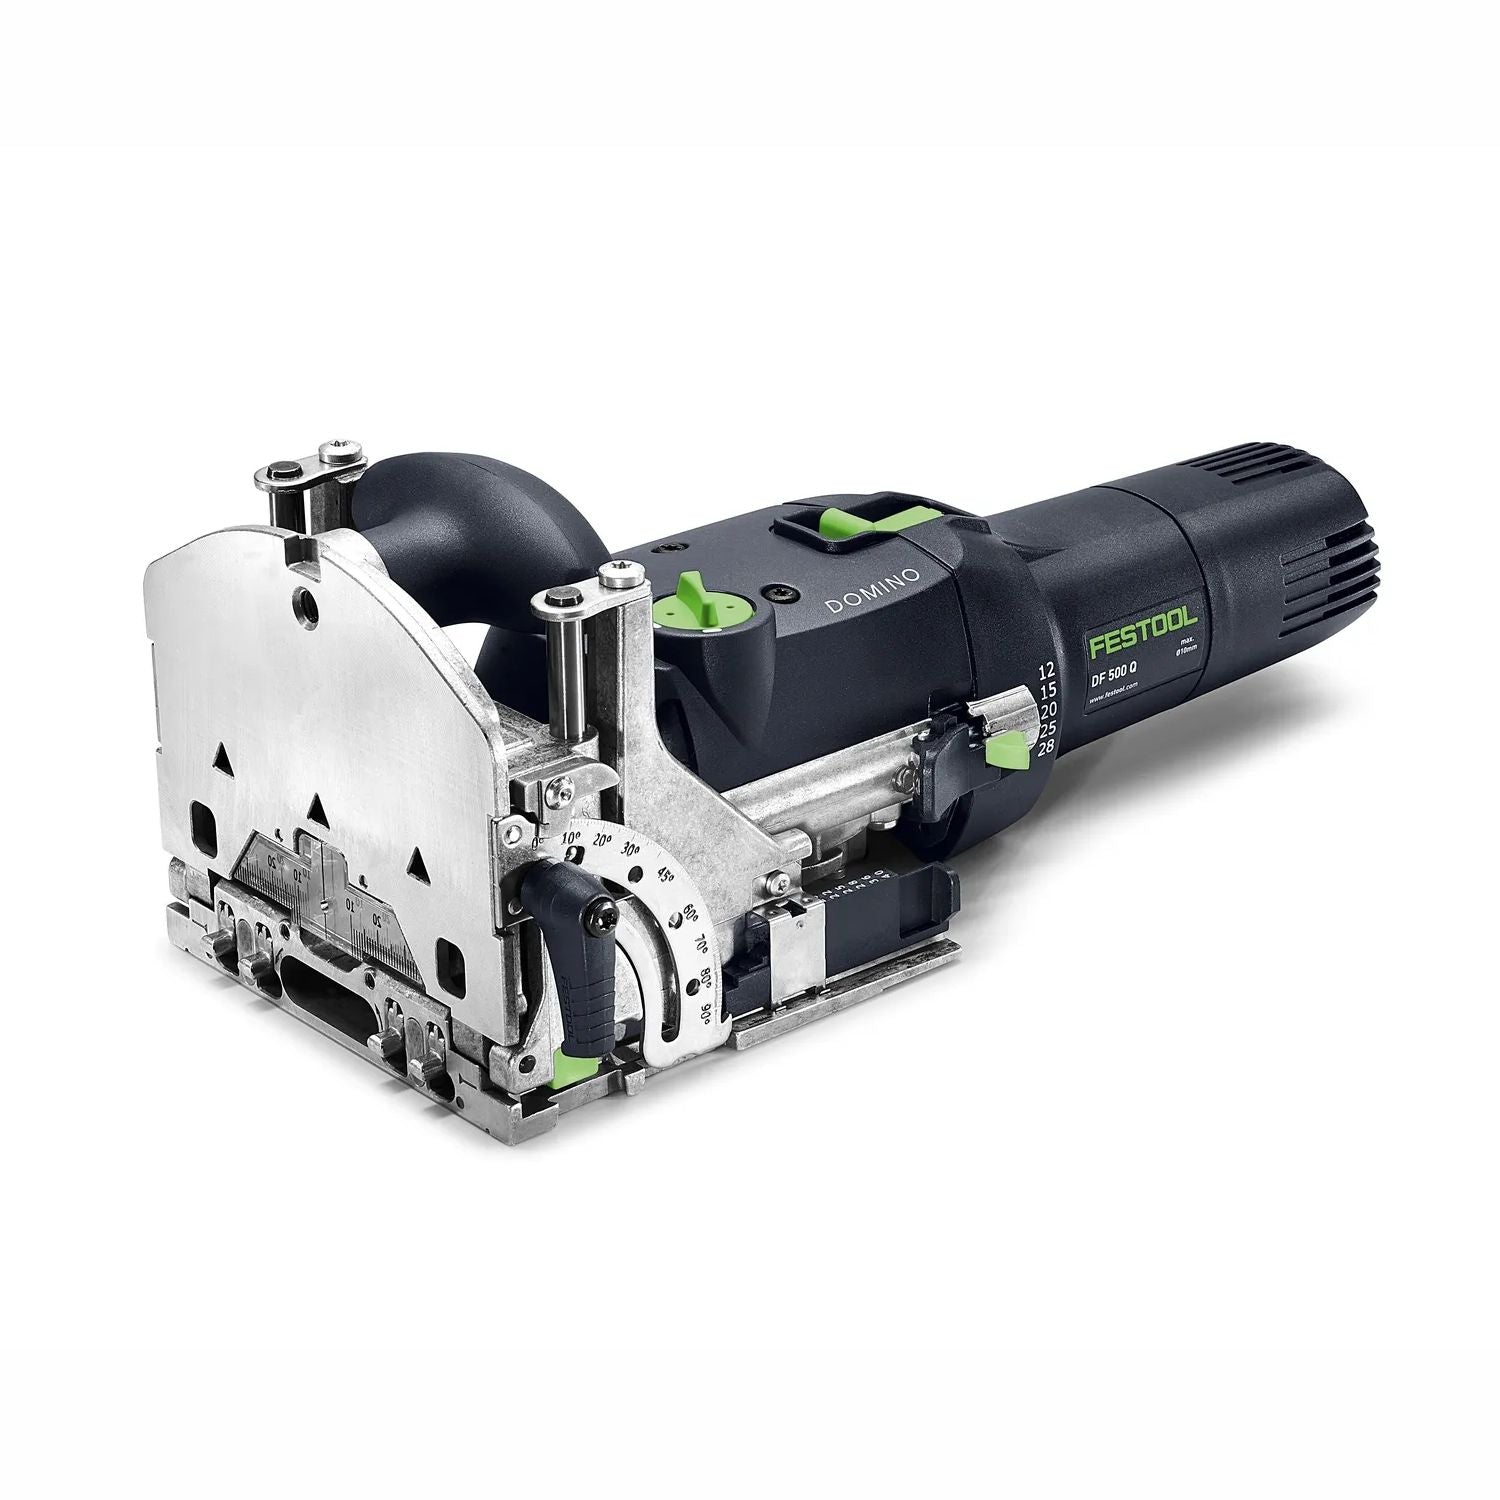
- DOMINO joining system
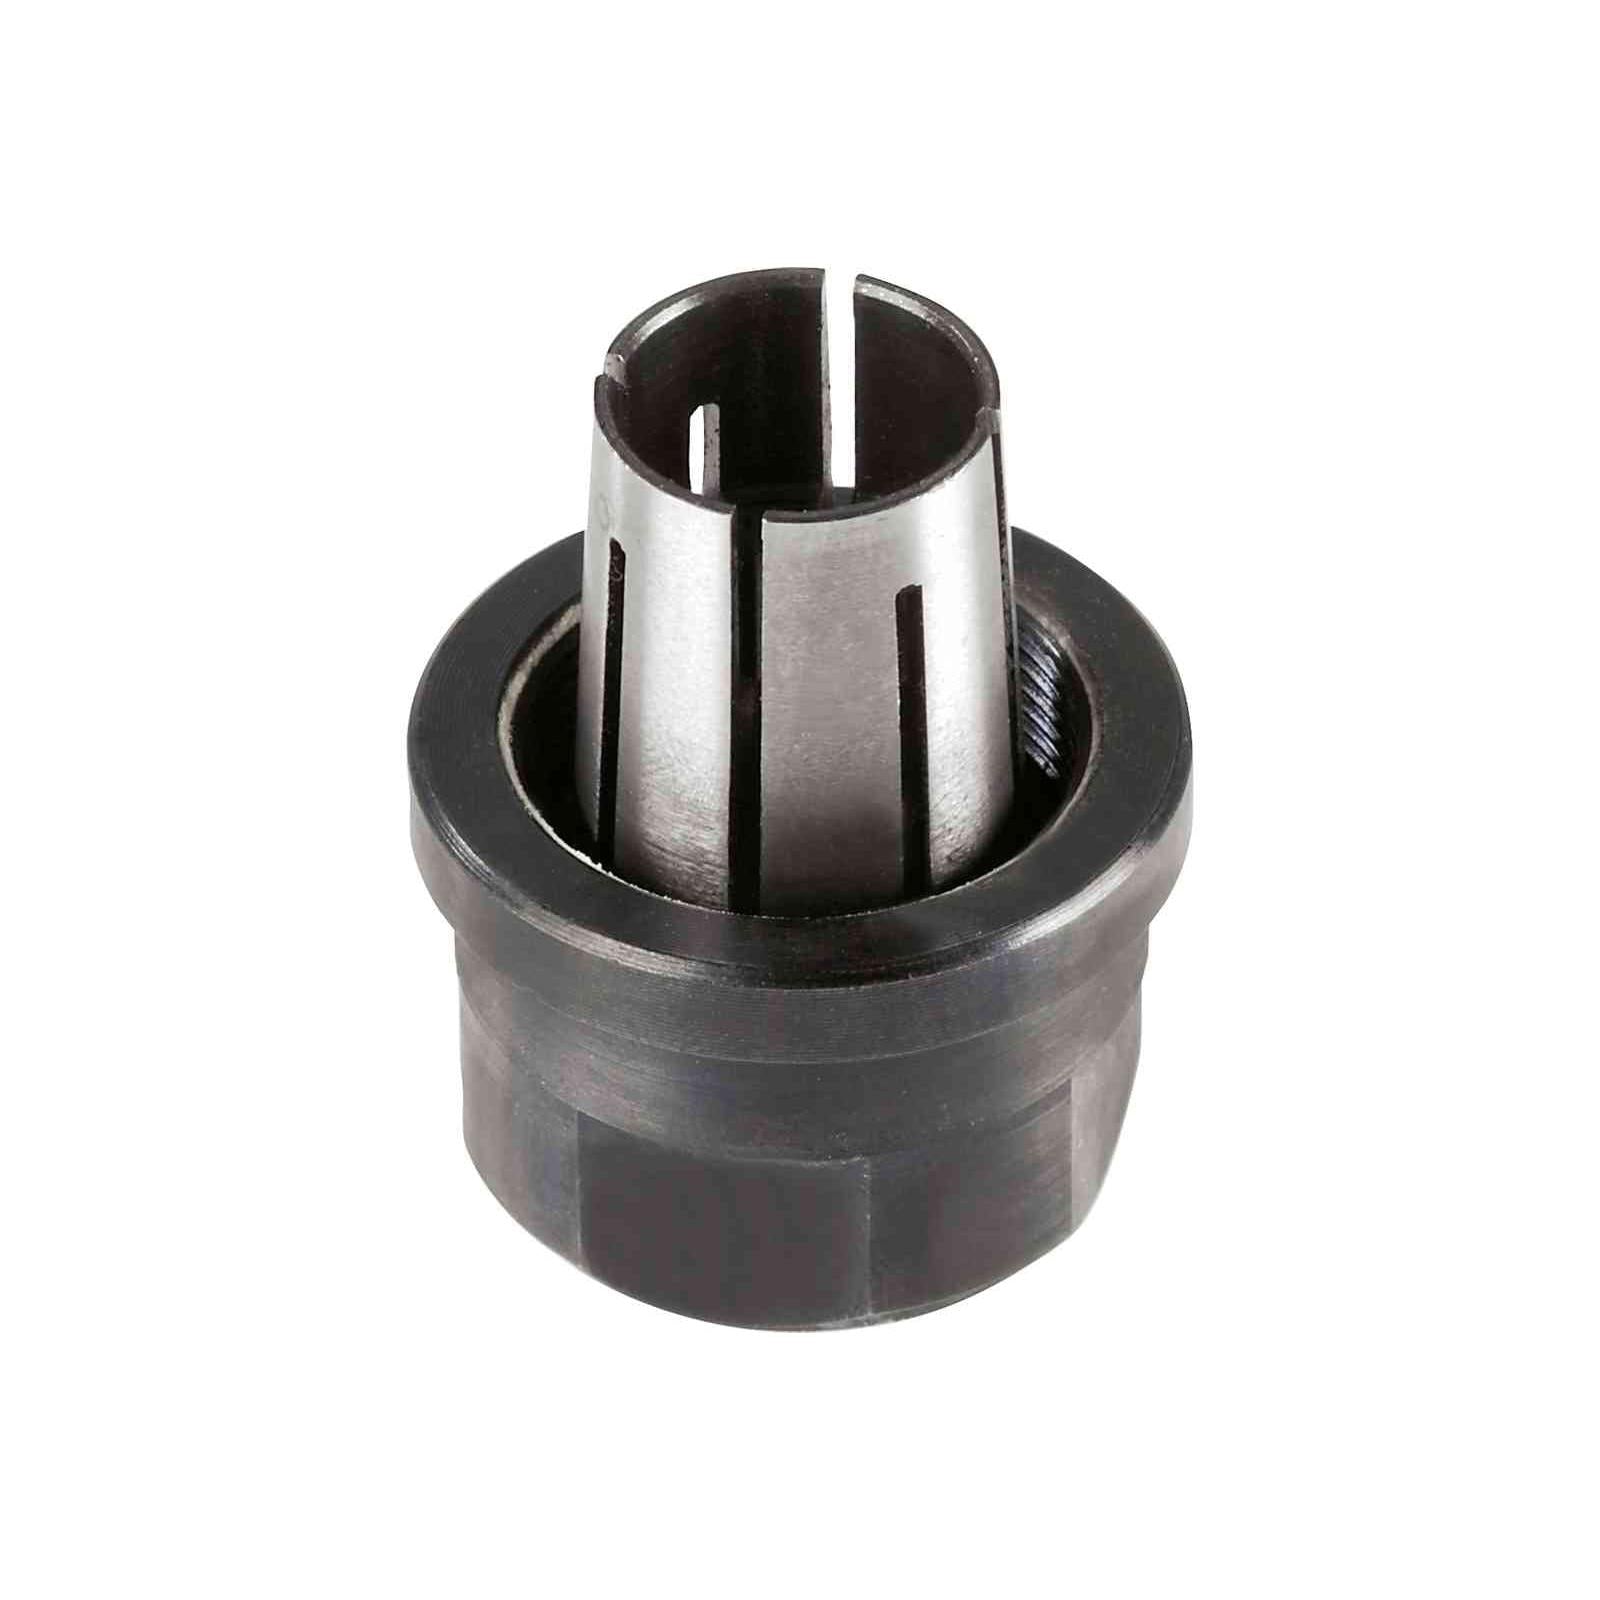
- OFK edge router
- OF1010 router
- Standard woodworking tools like a drill, Forstner bit, jigsaw, and various clamps
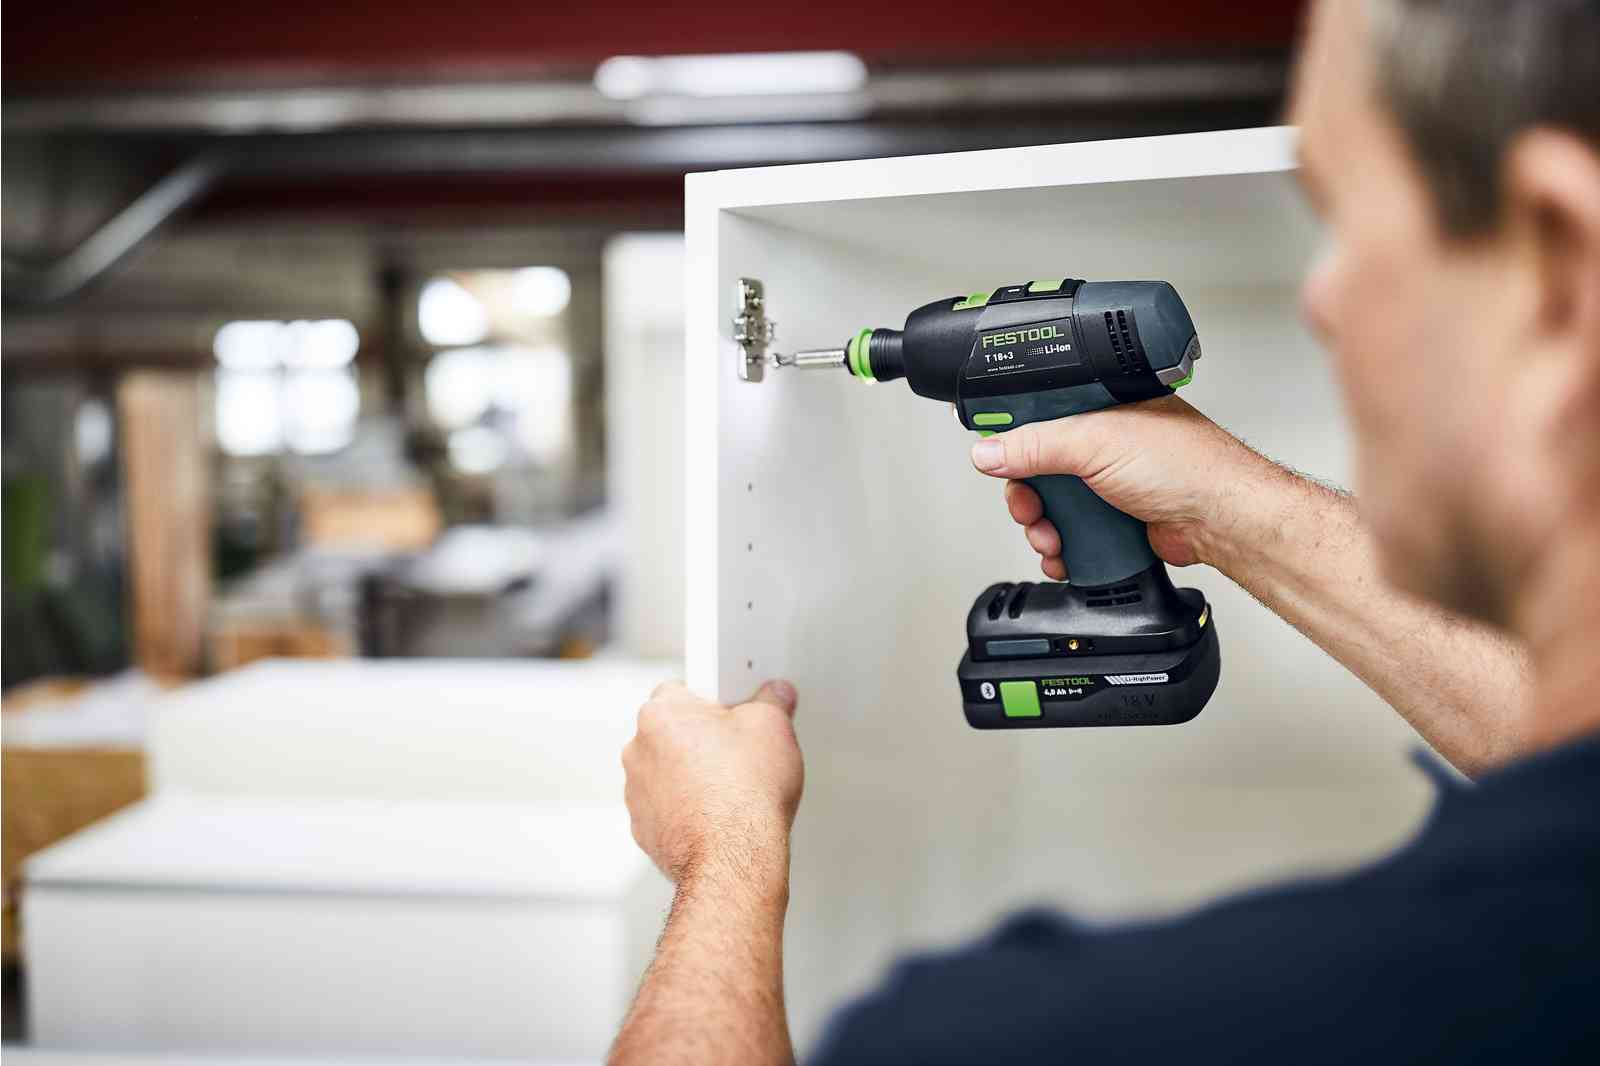
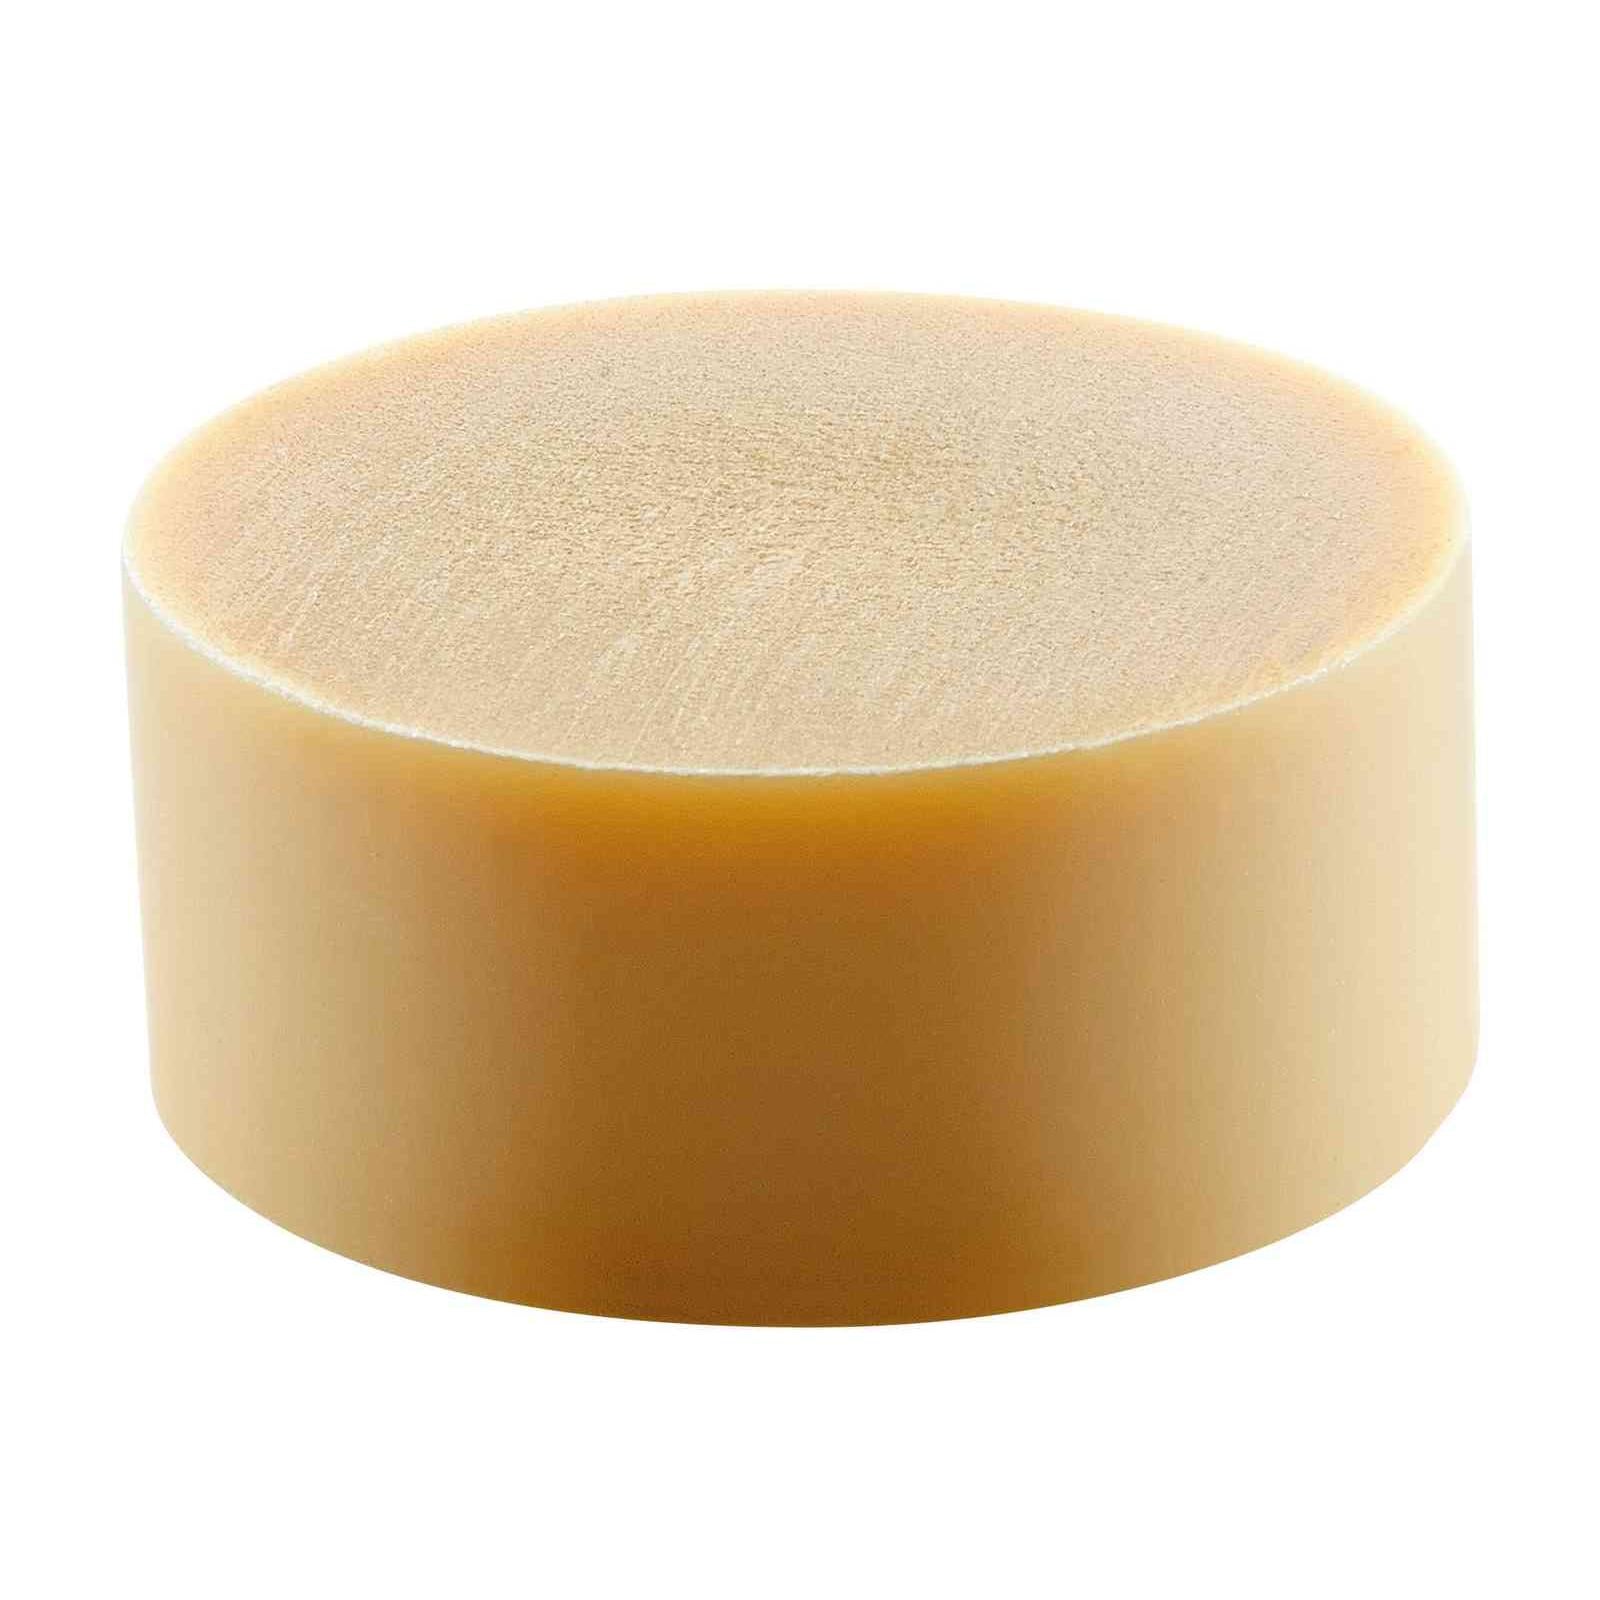
We recommend using Alcolin Ultra for durability, and consider the Festool Cordless Hammer Drill for precise assembly work.
Step-by-Step Building Process
Let's dive into the building process, emphasizing precision and accuracy with Festool tools for each task.

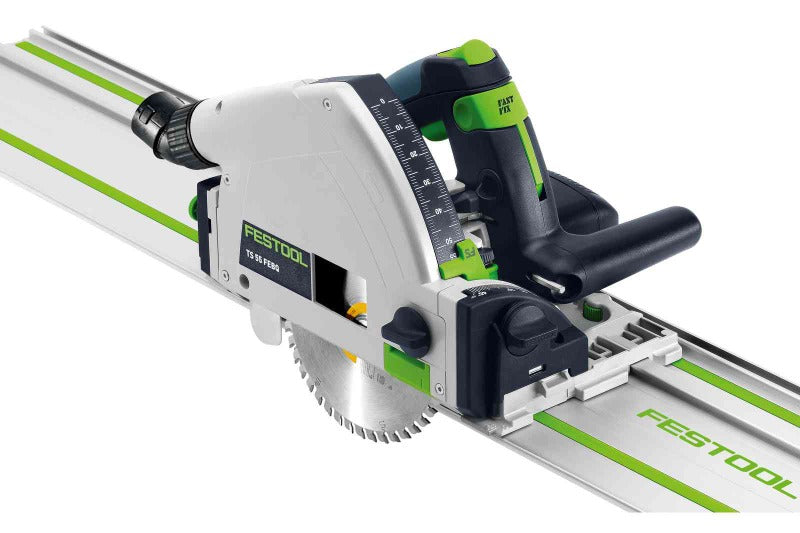
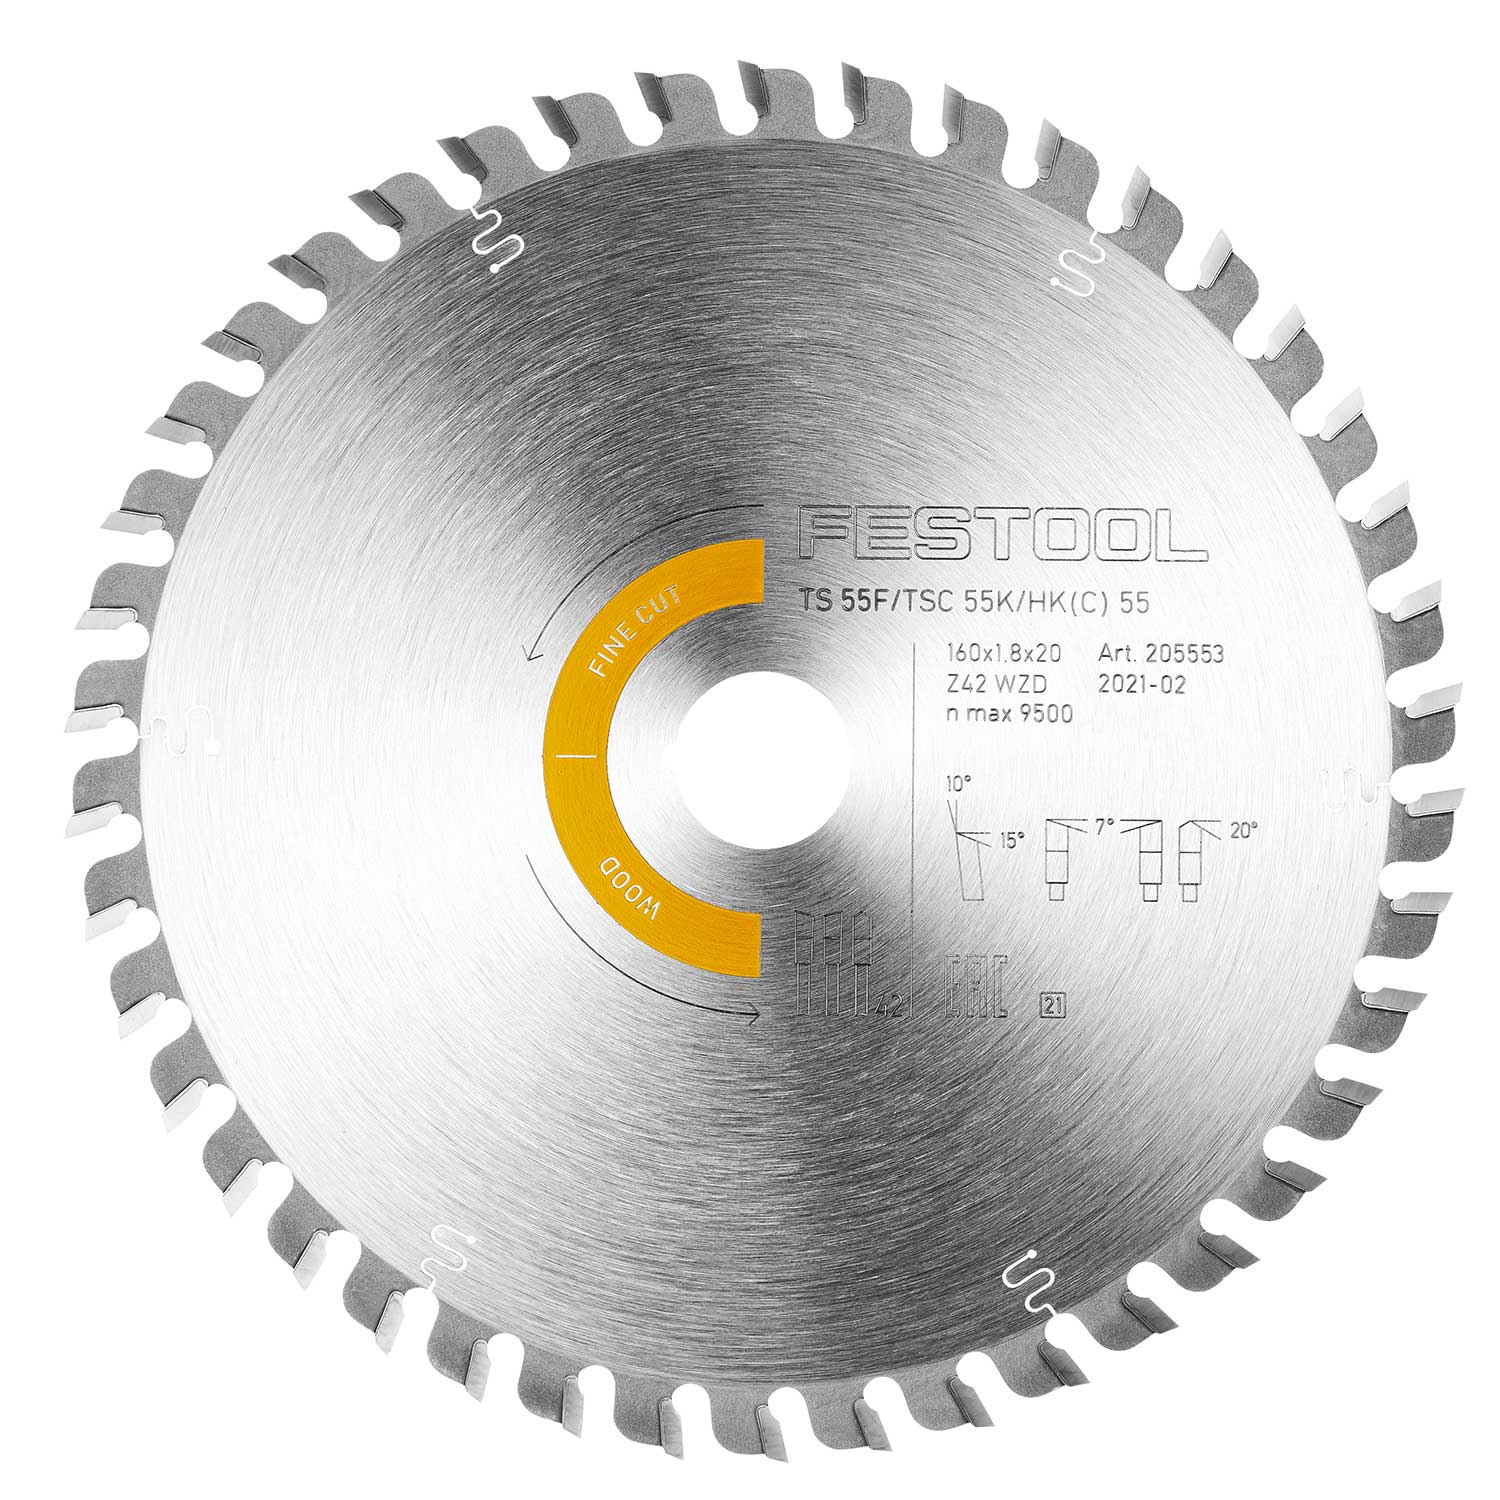
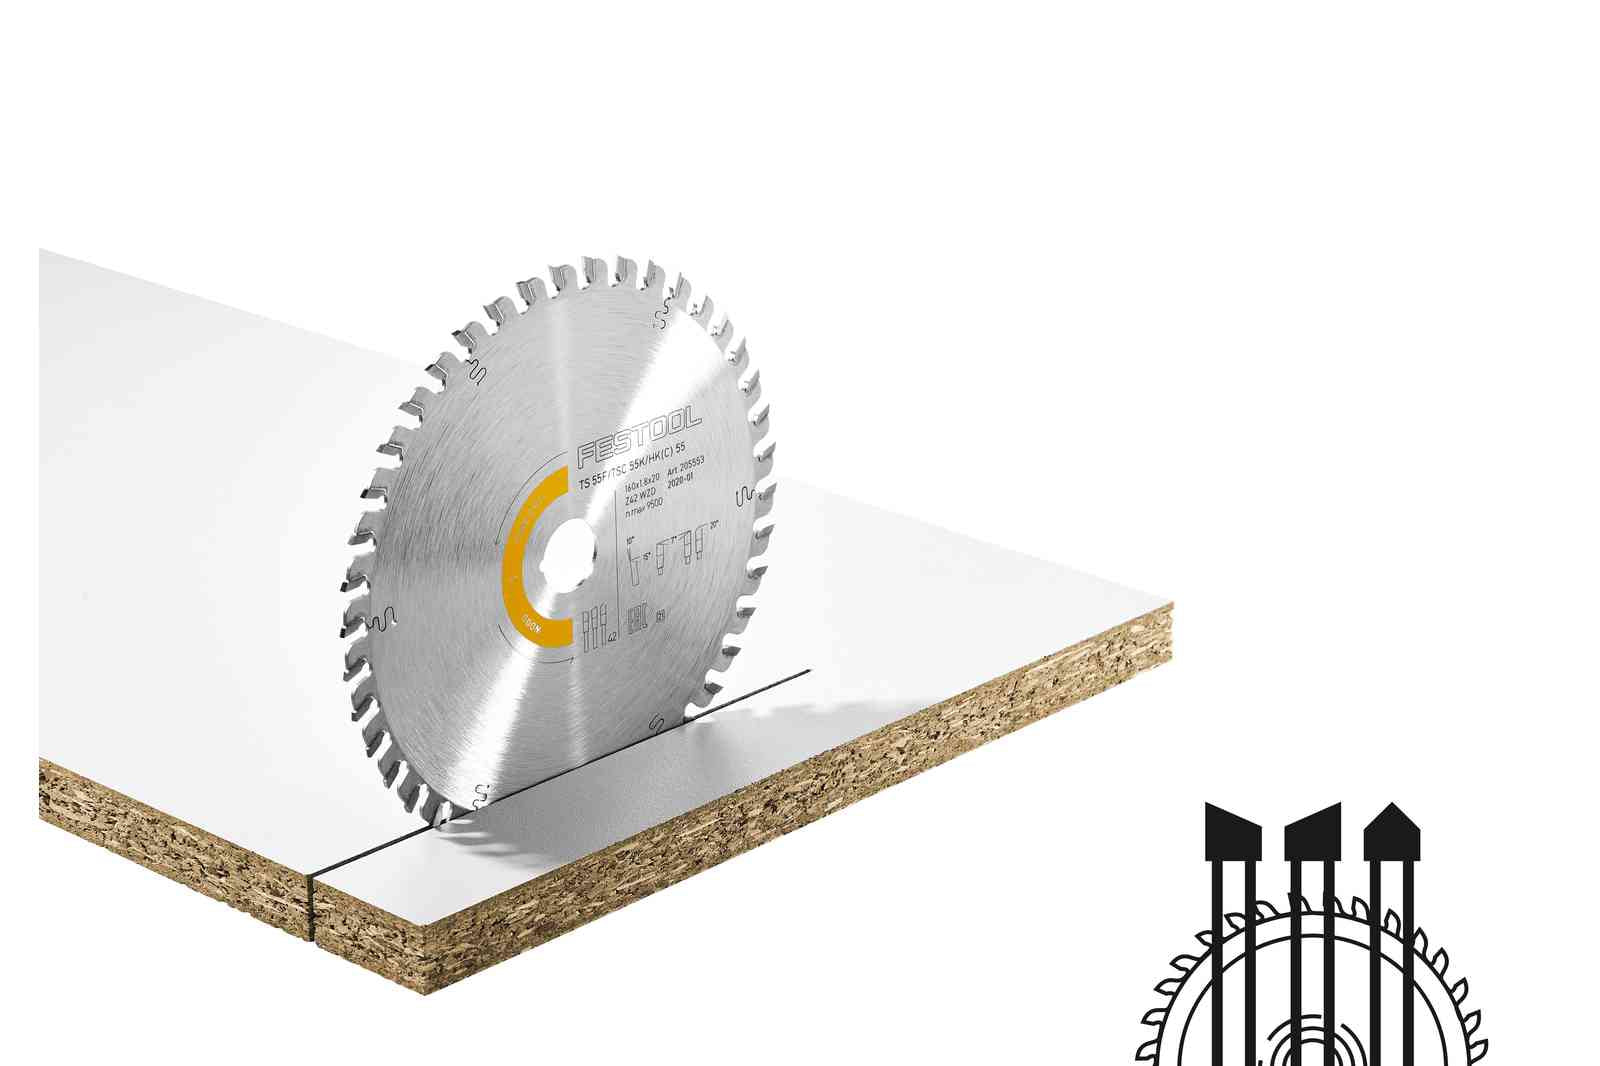
Step 1: Cutting the Frame Pieces
Begin by cutting your ash wood into the following pieces using the PRECISIO and KAPEX saws:
- Side outer frame (2 pieces): 1360mm x 35mm x 25mm
- Cross strut frame (2 pieces): 488mm x 35mm x 25mm
- Side inner frame (2 pieces): 1050mm x 35mm x 25mm
- Cross strut inner frame (3 pieces): 436mm x 35mm x 25mm
- Side support (2 pieces): 565mm x 35mm x 25mm
Ensure all cuts are precise, as this will affect the overall stability and appearance of your sunchair.

Step 2: Preparing the Frames
The Festool sunchair consists of two main frames - an outer frame and an inner frame - plus a support frame. Let's start with the outer frame:
- Lay out the two side outer frame pieces and two cross strut frame pieces.
- Use the DOMINO joining system to create mortises for 6x40mm Domino tenons at each joint.
- Apply wood glue and insert the Domino tenons.
- Clamp the frame together, ensuring it's square, and allow the glue to dry.
Repeat this process for the inner frame using the side inner frame pieces and cross strut inner frame pieces.

Step 3: Creating the Fabric Grooves
For a sleek look and secure fabric attachment, we'll create grooves in two of the cross struts:
- Select one cross strut from the outer frame and one from the inner frame.
- Using the OFK edge router, mill a groove 5mm wide and 10mm deep along the length of each selected cross strut.
- These grooves will later hold the safety bars for the fabric.

Step 4: Drilling Holes for Assembly
To allow for easy assembly and disassembly, we'll drill holes for the carriage bolts:
- On the inside of the outer frame, drill holes with a 15mm diameter to a depth of 8mm. These will house the nuts.
- Continue drilling through the remaining thickness with a 6mm drill bit.
- On the outside of the outer frame, drill 6mm holes aligned with the inside holes.
- Repeat this process on the inner frame, matching the hole positions.

Step 5: Creating the Locking Mechanism
The unique locking mechanism allows the chair to adjust to different positions:
- Mark the positions for the cutouts on the outer frame as per the diagram (455mm and 944mm from the bottom).
- Use a Forstner bit to start the cutouts, then finish with a jigsaw.
- Smooth the edges of the cutouts with sandpaper.
- Using the DOMINO joining system, mill mortises for 8x50mm Domino tenons on the lower edge of each cutout.

Step 6: Preparing the Support Frame
The support frame provides stability and allows for chair adjustment:
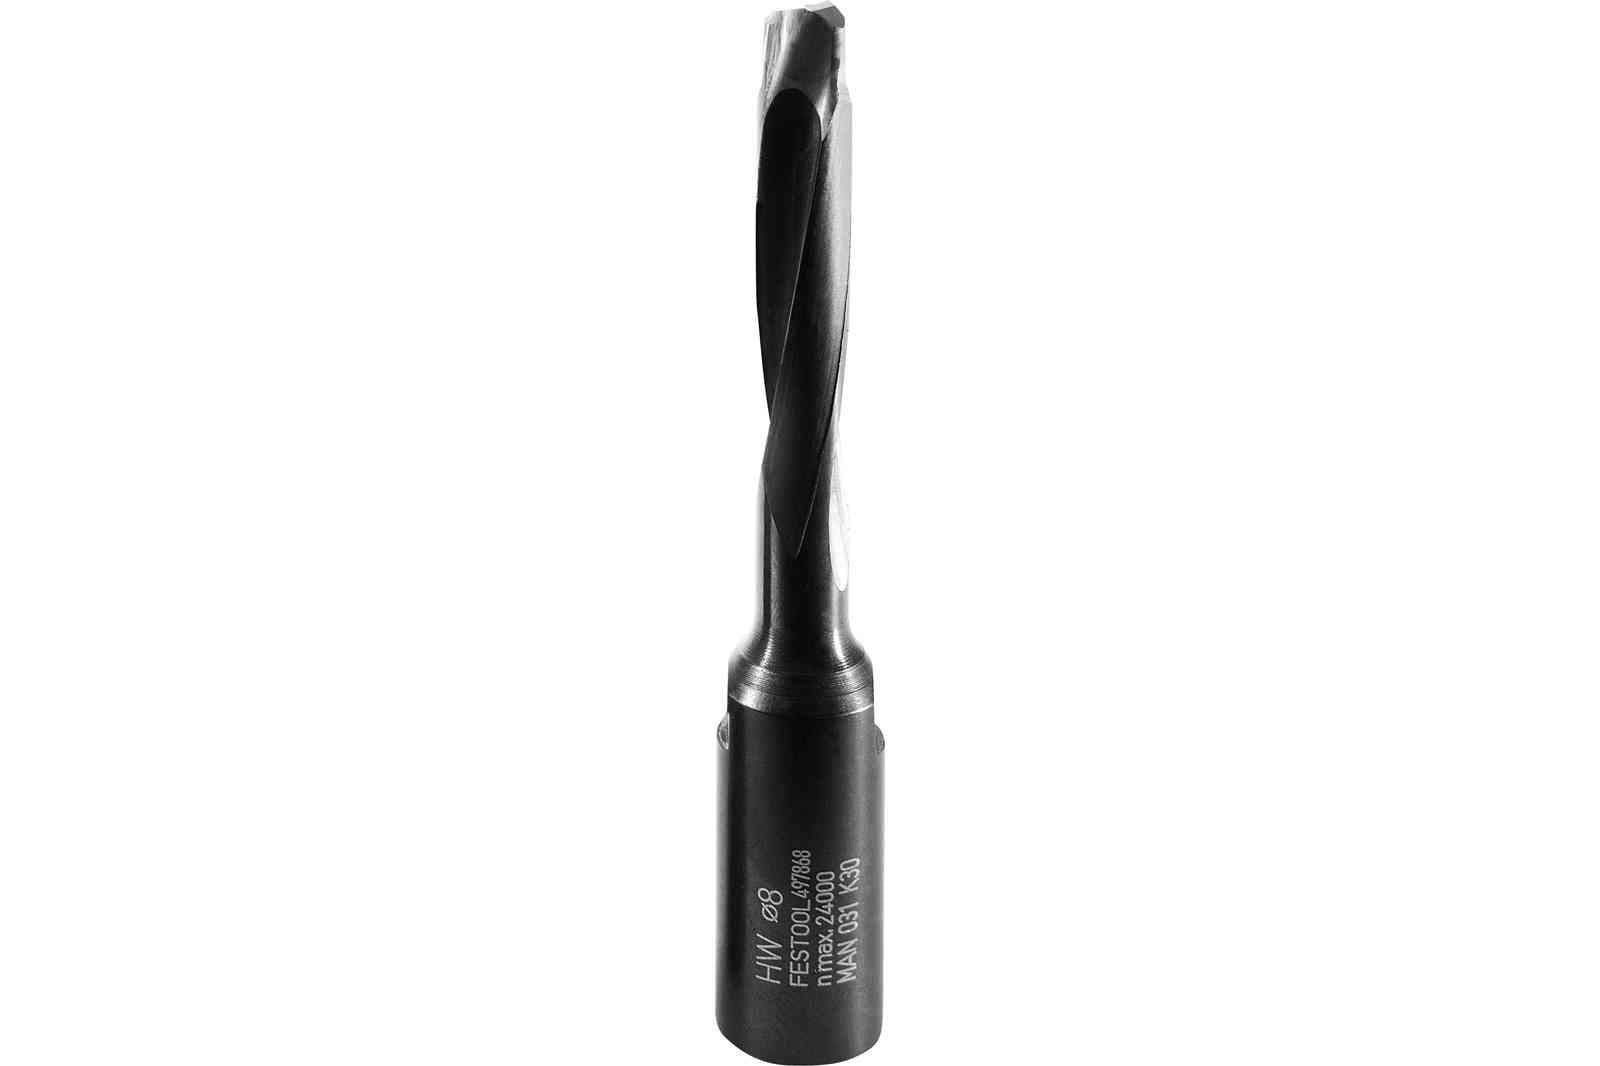
- Take the two side support pieces and the round bar.
- Drill 30mm holes at the top of each support piece to accommodate the round bar.
- Use the DOMINO joining system to create mortises for 8x50mm Domino tenons at the bottom of each support piece. These will lock into the cutouts on the outer frame.
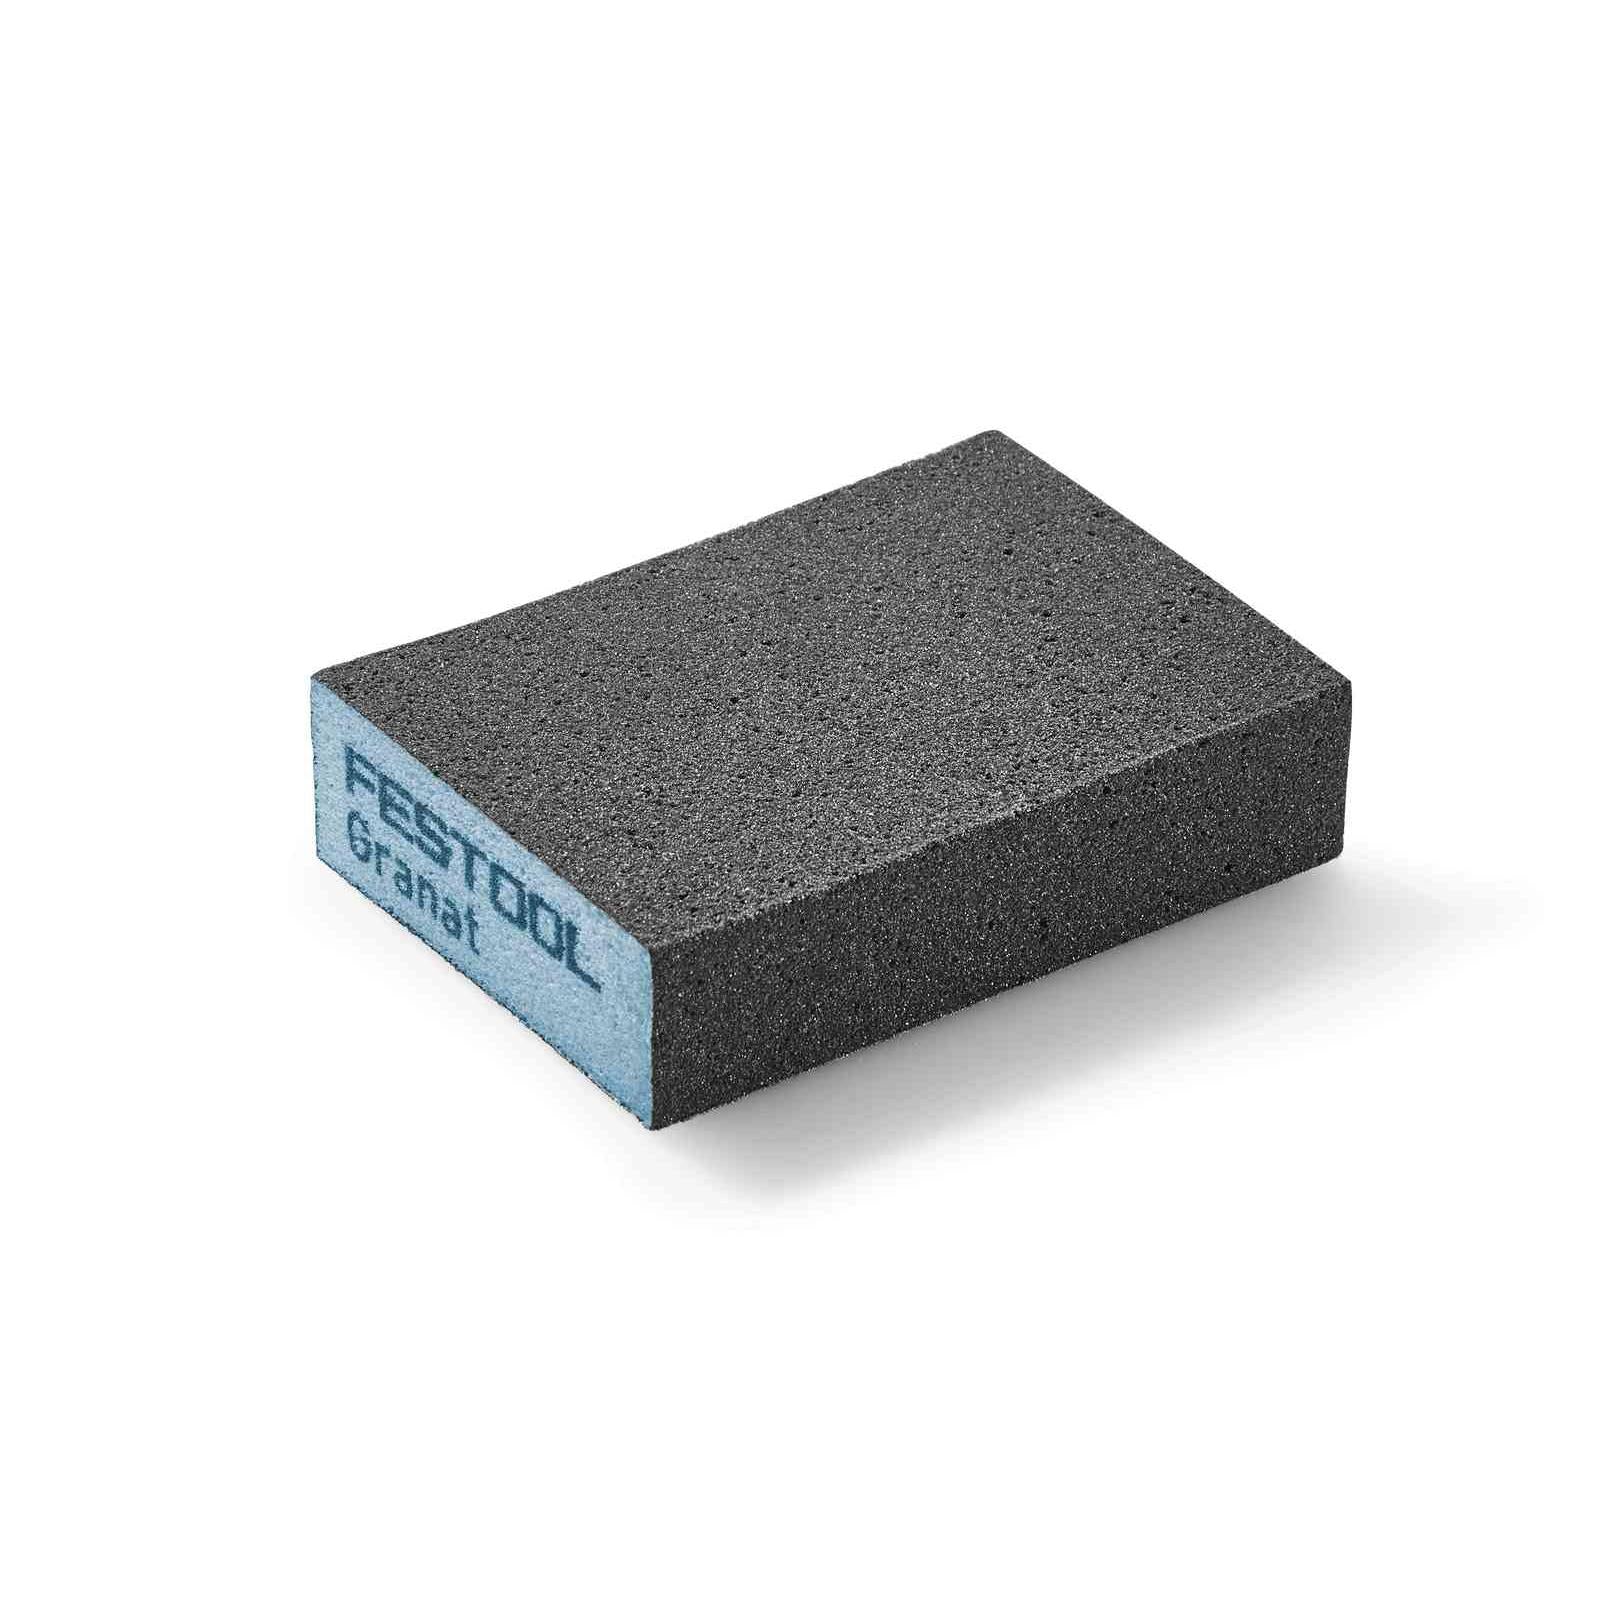
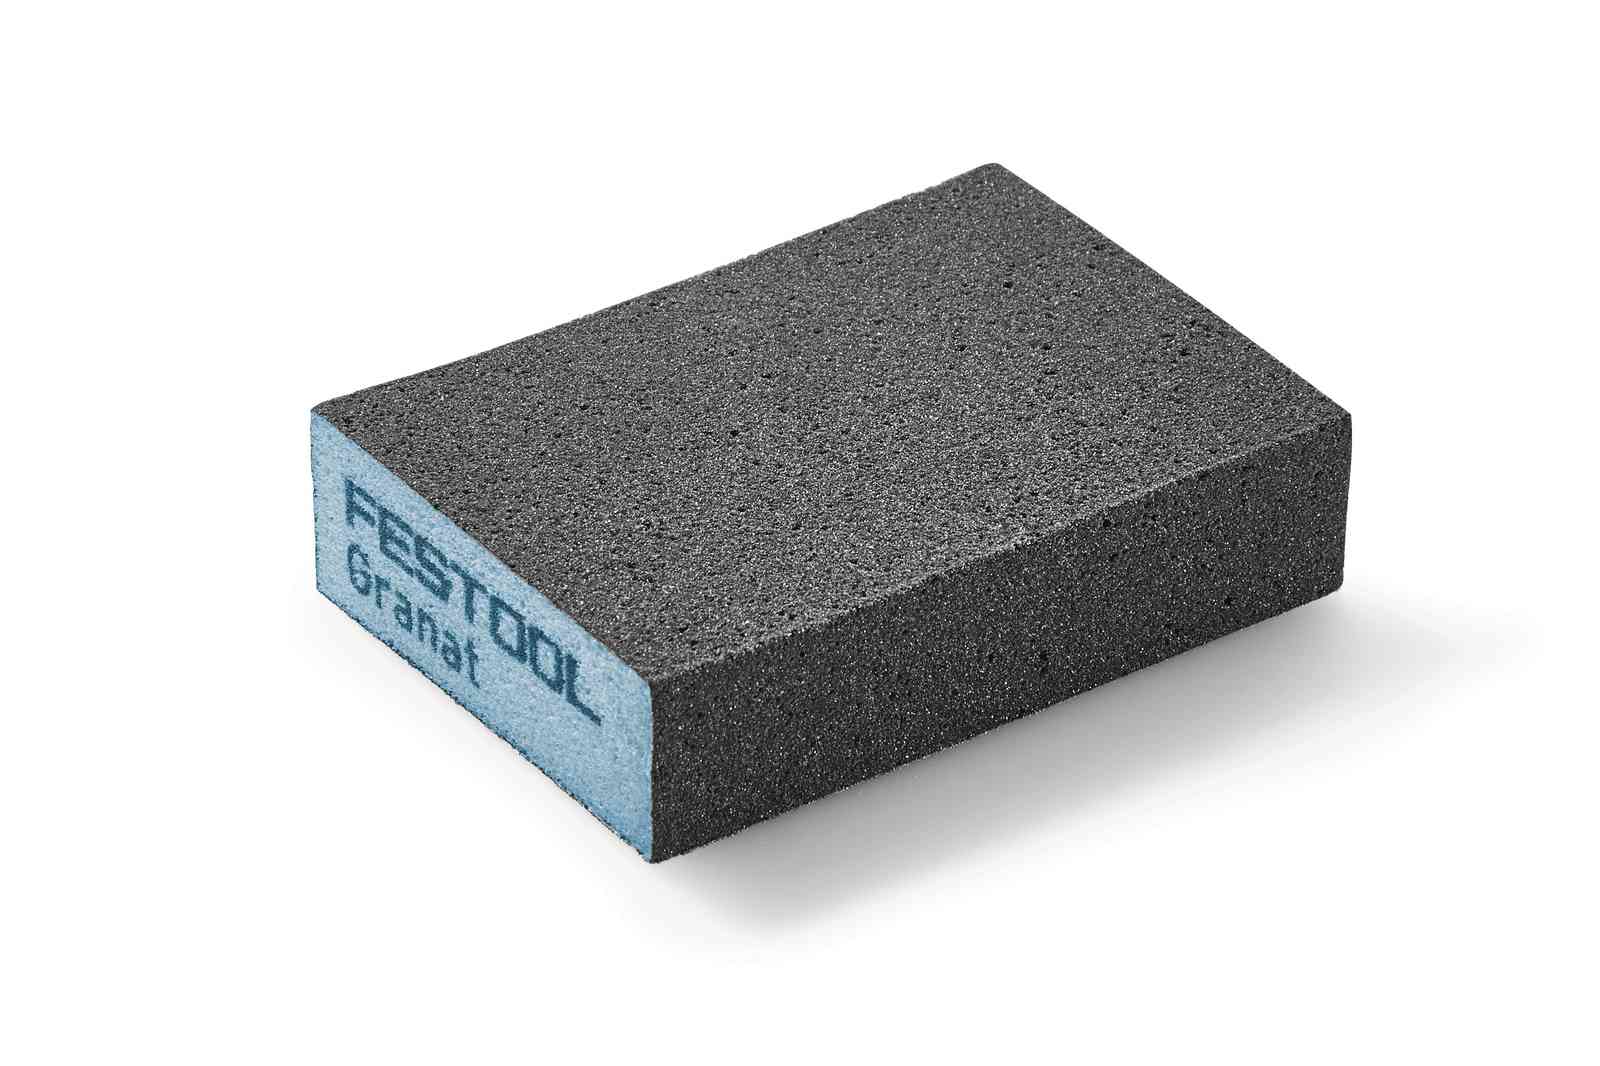
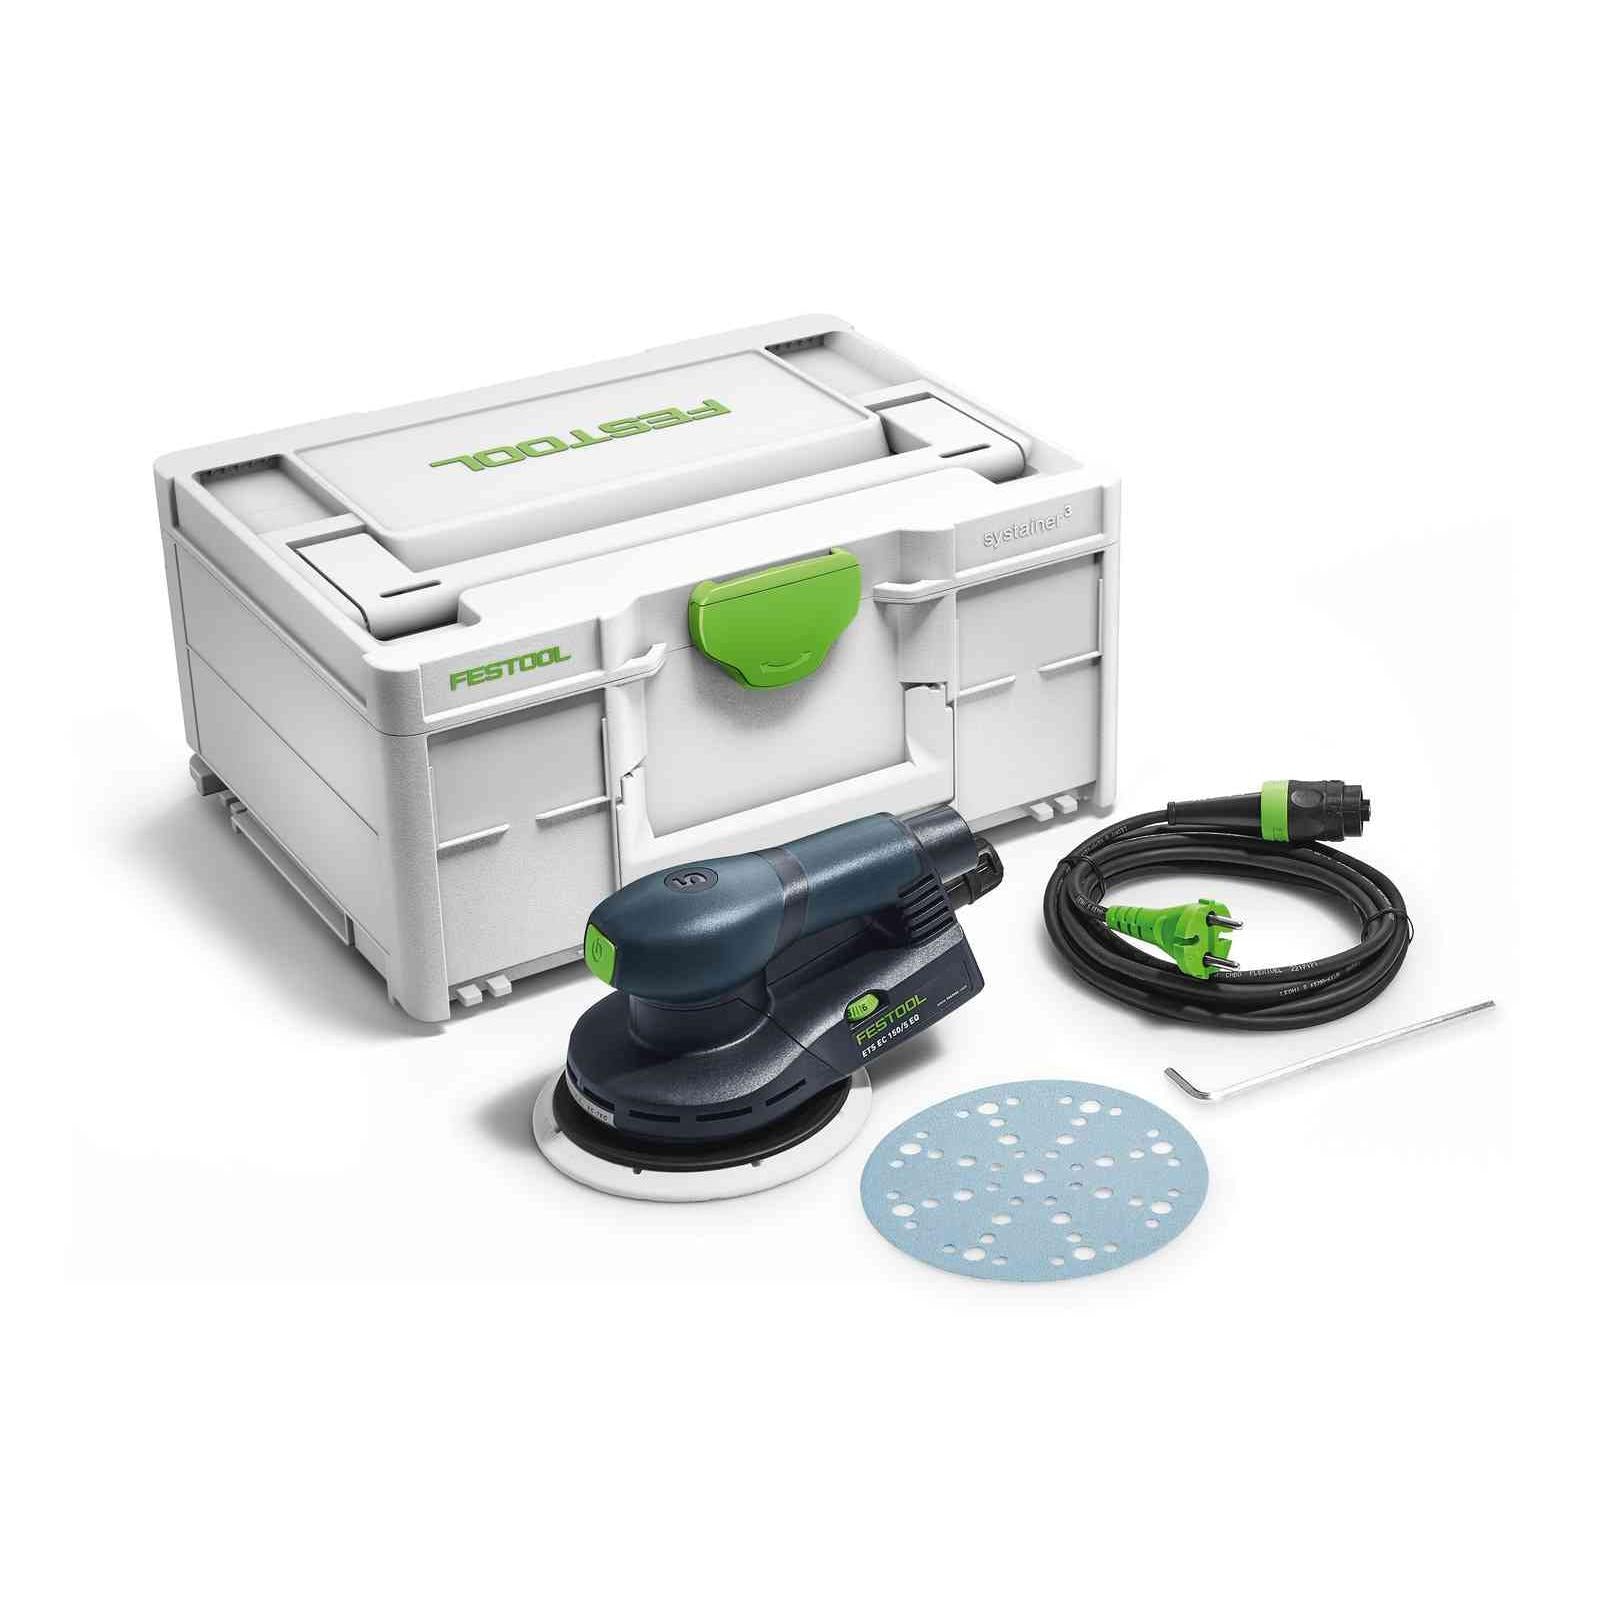
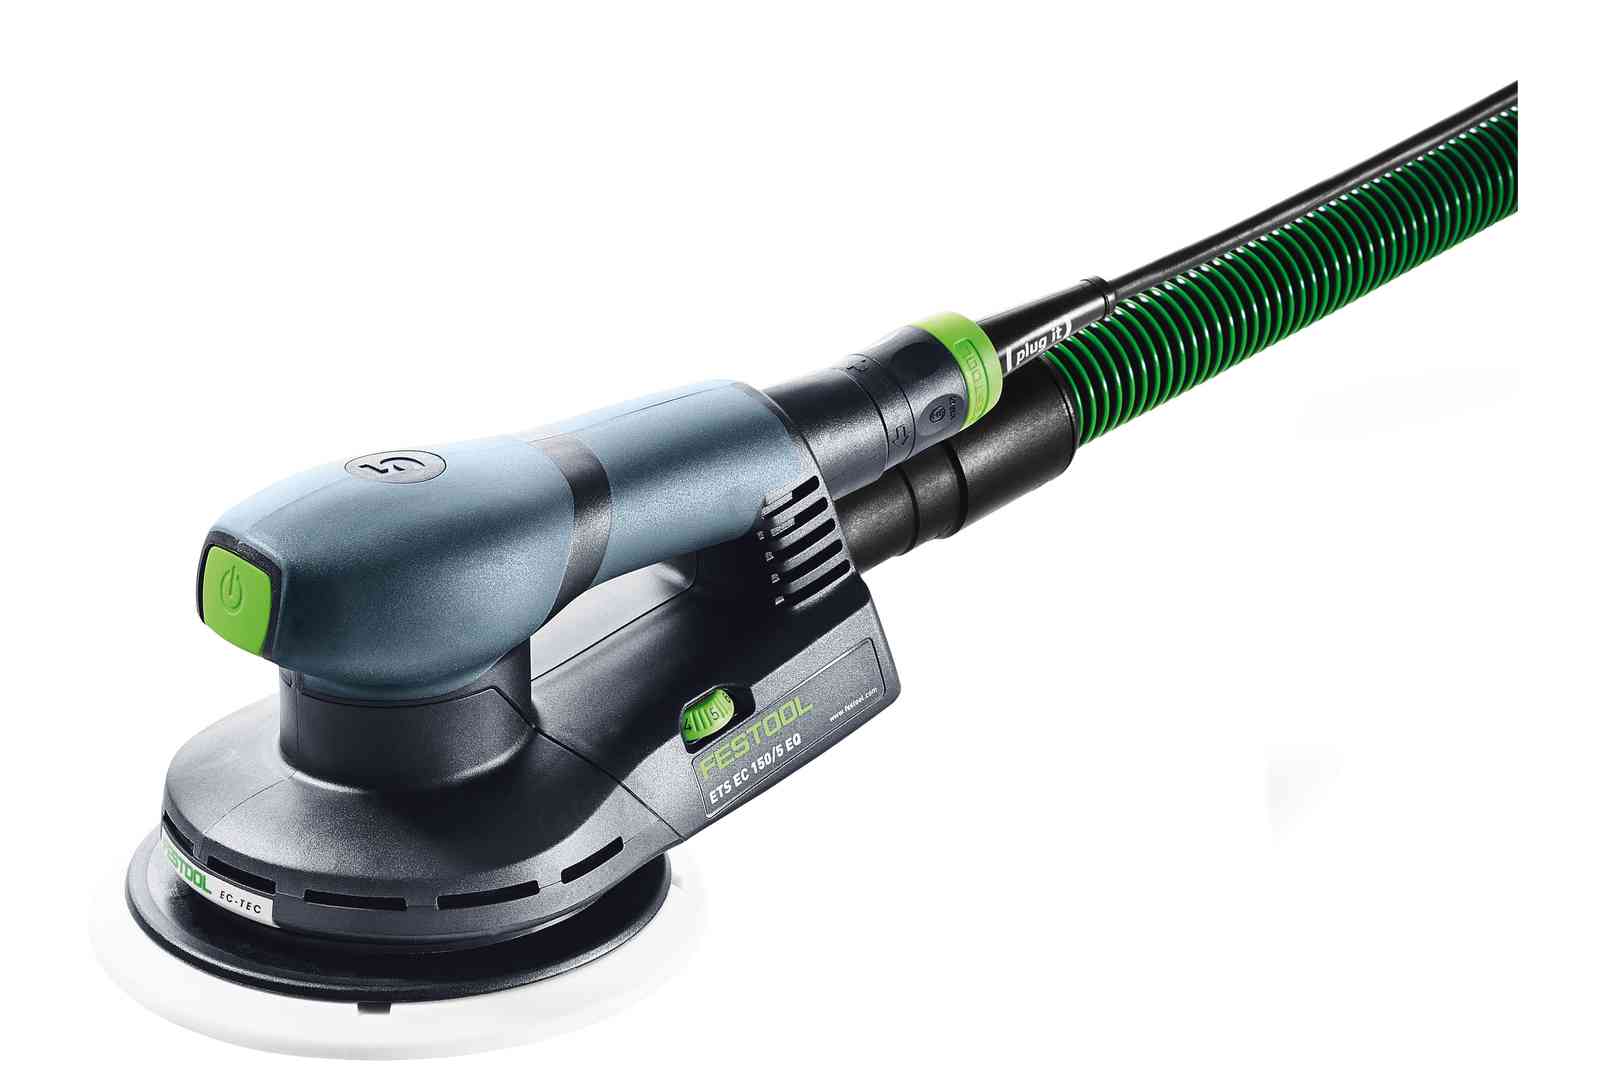
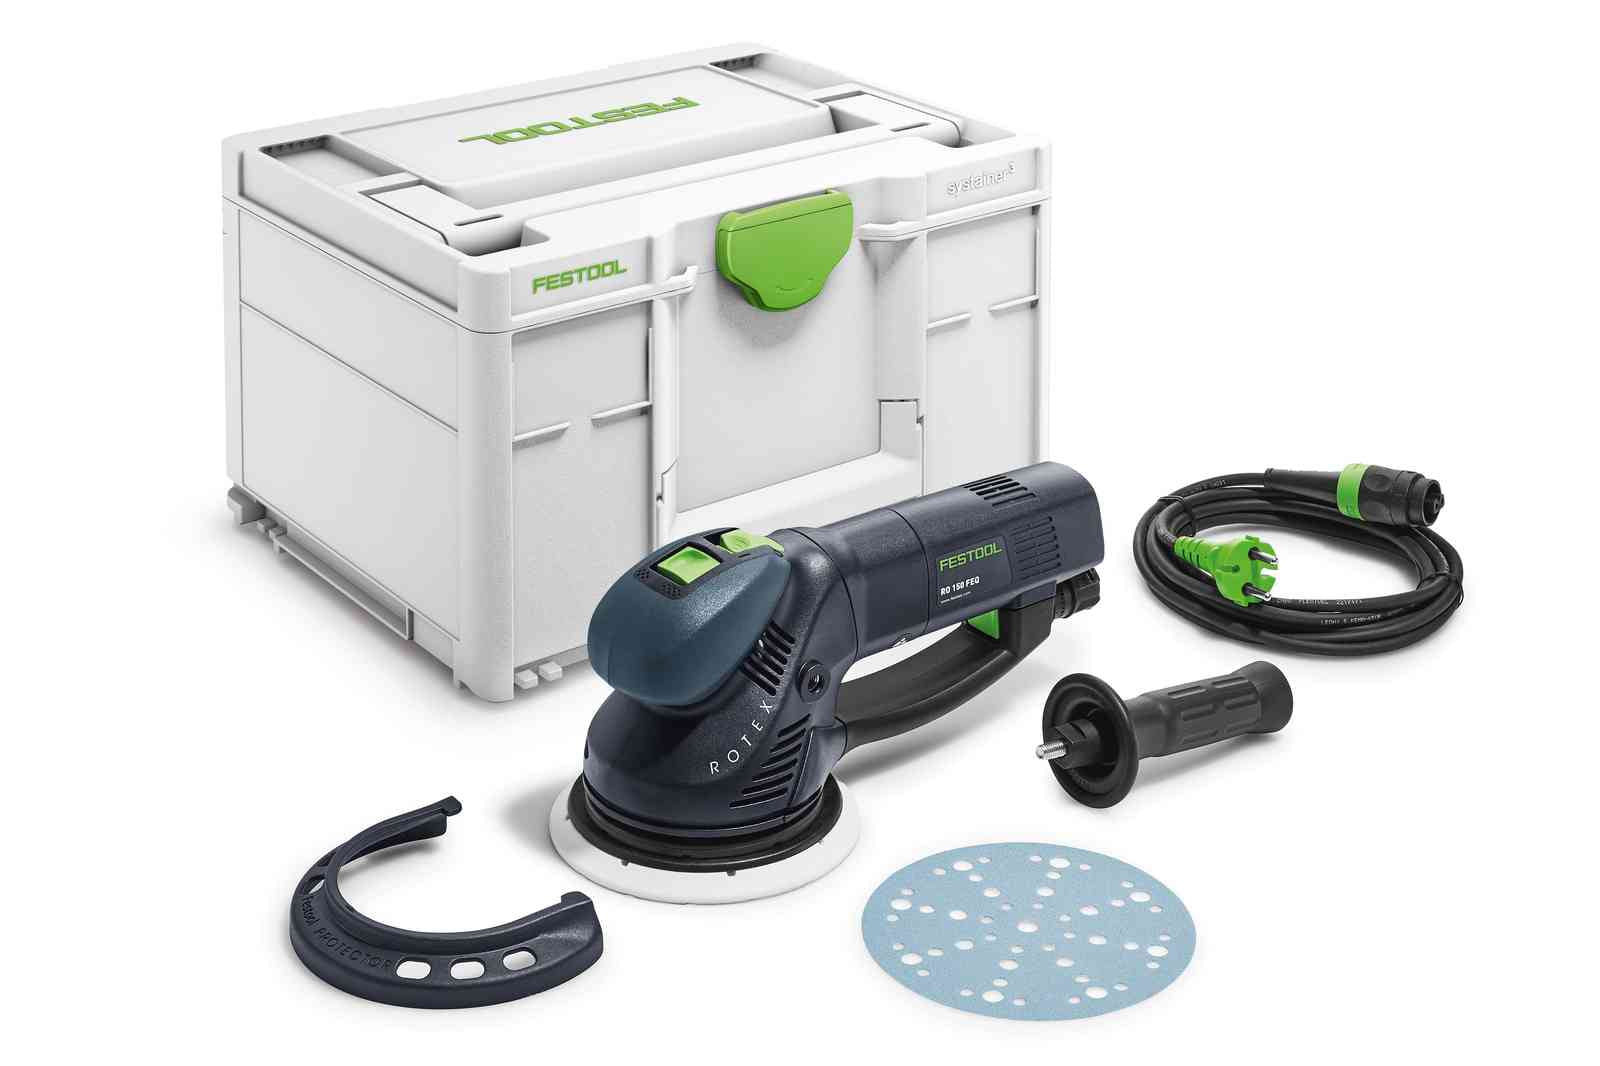
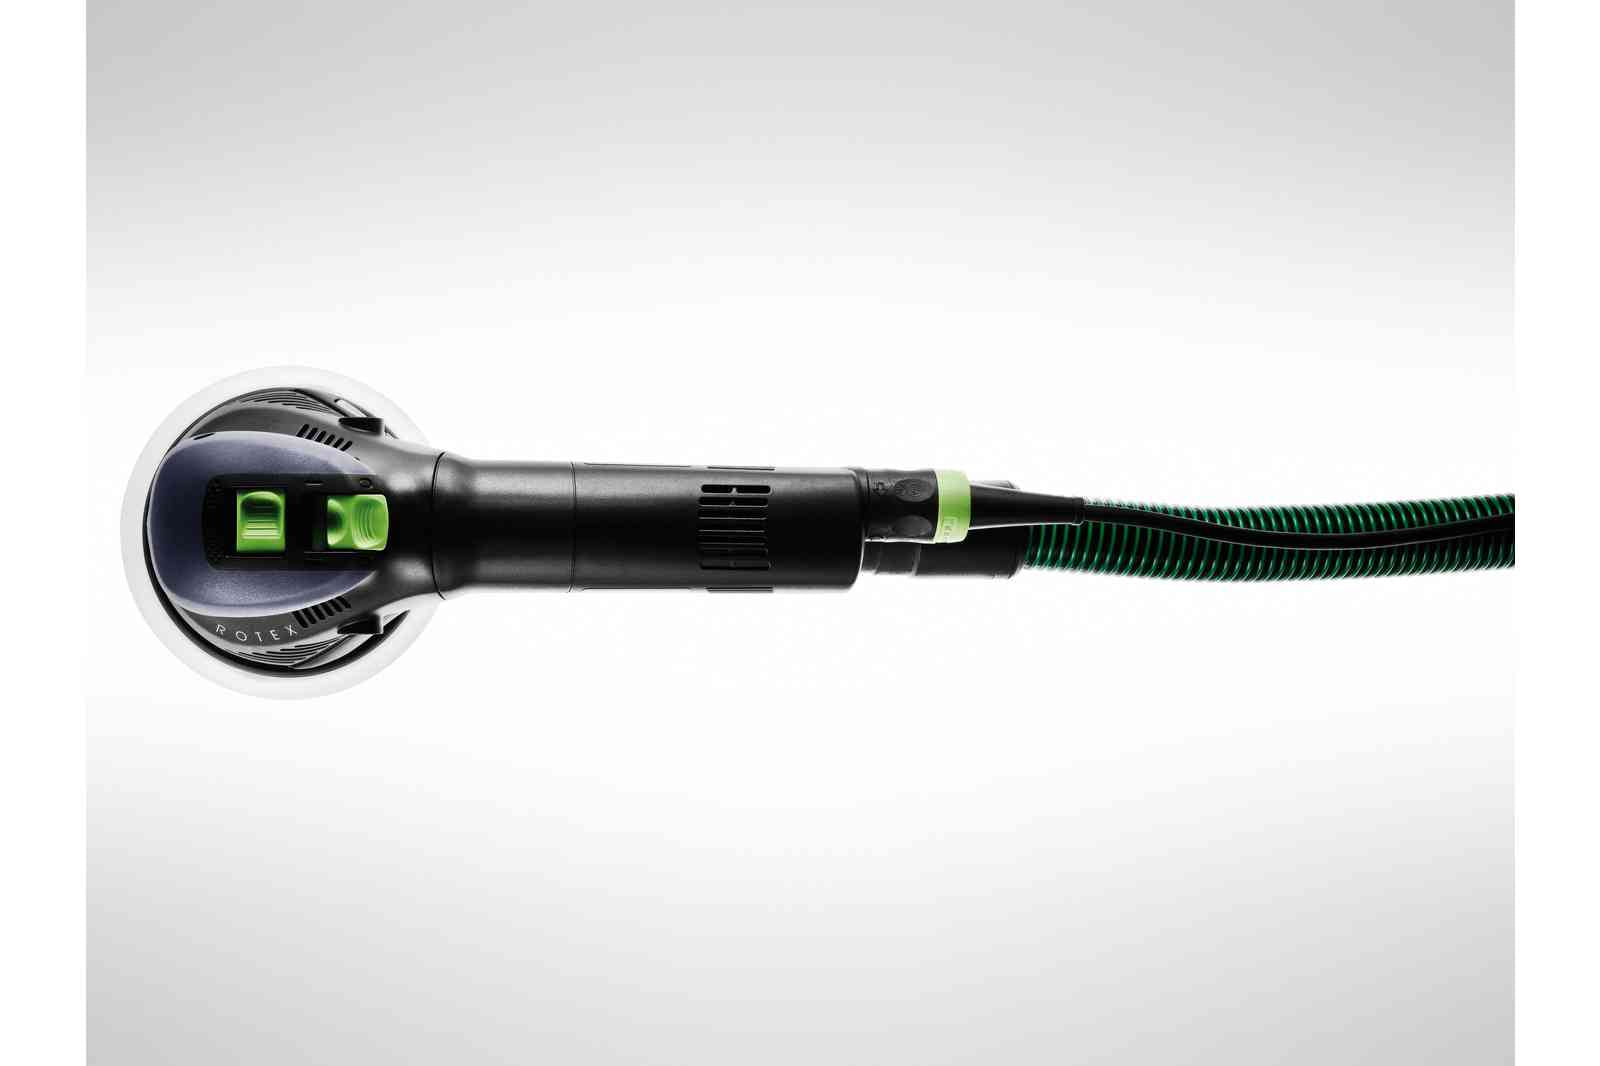
Step 7: Sanding and Finishing
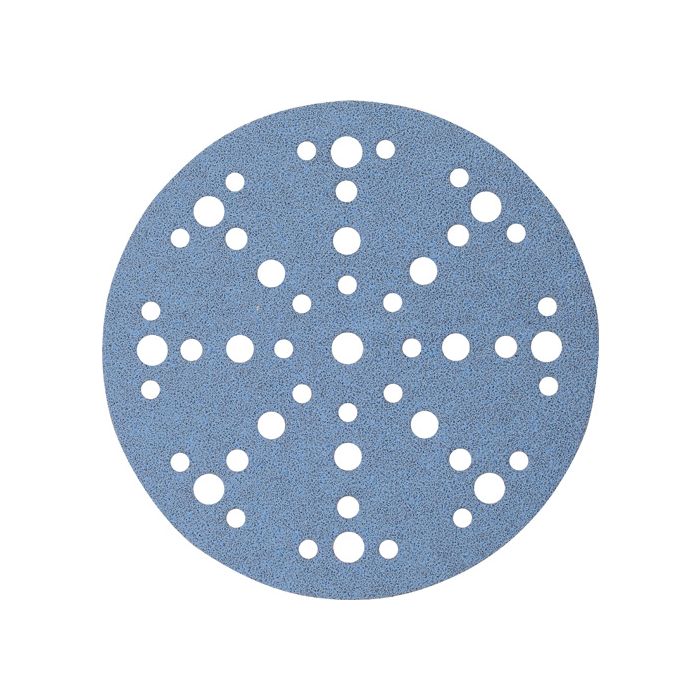
Before assembly, it's crucial to sand and finish all your pieces:
- Start with coarse-grit sandpaper (80-grit) and work your way up to fine-grit (220-grit) for a smooth finish.
- Pay special attention to the edges and any areas that will come into contact with skin.
- Apply your chosen outdoor-grade finish according to the manufacturer's instructions. This could be a weather-resistant varnish, oil, or paint.
- Allow the finish to dry completely before moving on to assembly.
Consider using Osmo Finishing Products for achieving a perfect long lasting finish.
Step 8: Assembly
Now comes the exciting part - bringing your Festool sunchair to life:
- Insert the round bar into the holes at the top of the support frame pieces.
- Attach the outer frame to the support frame using two carriage bolts, washers, and self-locking nuts on each side. Don't overtighten - the frame should pivot freely.
- Connect the inner frame to the outer frame in the same manner.
- Insert the 8x50mm Domino tenons into the mortises at the bottom of the support frame. These will lock into the cutouts on the outer frame to adjust the chair's position.
Step 9: Attaching the Fabric
The final step is to attach the Festool lying cloth:
- Slide the safety bars into the hem of the fabric on both long sides.
- Insert these safety bars into the grooves you created in the cross struts of both frames.
- Adjust the tension of the fabric to ensure comfort and support.
Customization and Finishing Touches
Make your Festool sunchair truly unique with these customization ideas:
- Wood choice: While ash is recommended, experiment with other hardwoods like oak, maple, or even exotic woods for a distinctive look.
- Fabric selection: Choose a fabric that complements your outdoor décor. Consider weather-resistant options for longevity.
- Carved details: Use your router to add decorative carved details to the frame pieces. The Tormek Gouges Jig is excellent for detailed carvings.
- Color pop: Paint certain elements of the chair for a modern, colorful twist.
- Add cushions: Design and create matching cushions for extra comfort.
Maintenance and Care
To ensure your Festool sunchair stands the test of time:
- Store it in a dry place when not in use, especially during harsh weather.
- Regularly check and tighten any loose bolts or nuts.
- Clean the fabric according to its care instructions.
- Reapply finish or oil annually, or as needed based on wear and tear.
Building the Festool sunchair is more than just a woodworking project - it's an exercise in precision, creativity, and craftsmanship. By following this guide and leveraging the power of Festool tools, you've created a piece of furniture that's not only functional but also a testament to your skills as a woodworker.
As you relax in your newly built sunchair, take a moment to appreciate the work you've put into it. Every curve, joint, and finish is a reflection of your dedication to quality and attention to detail. Whether you're a seasoned professional or an enthusiastic DIYer, projects like the Festool sunchair showcase the incredible results that can be achieved when skill meets the right tools.
So, grab your favorite beverage, settle into your custom-built Festool sunchair, and enjoy the fruits of your labor. You've earned it!