Building your own router table is a rewarding project that allows for custom features and organization to suit your needs. This router table includes dust collection, storage drawers, and a sturdy base, all built primarily from plywood and acrylic. Here’s a step-by-step guide to help you bring this project to life.
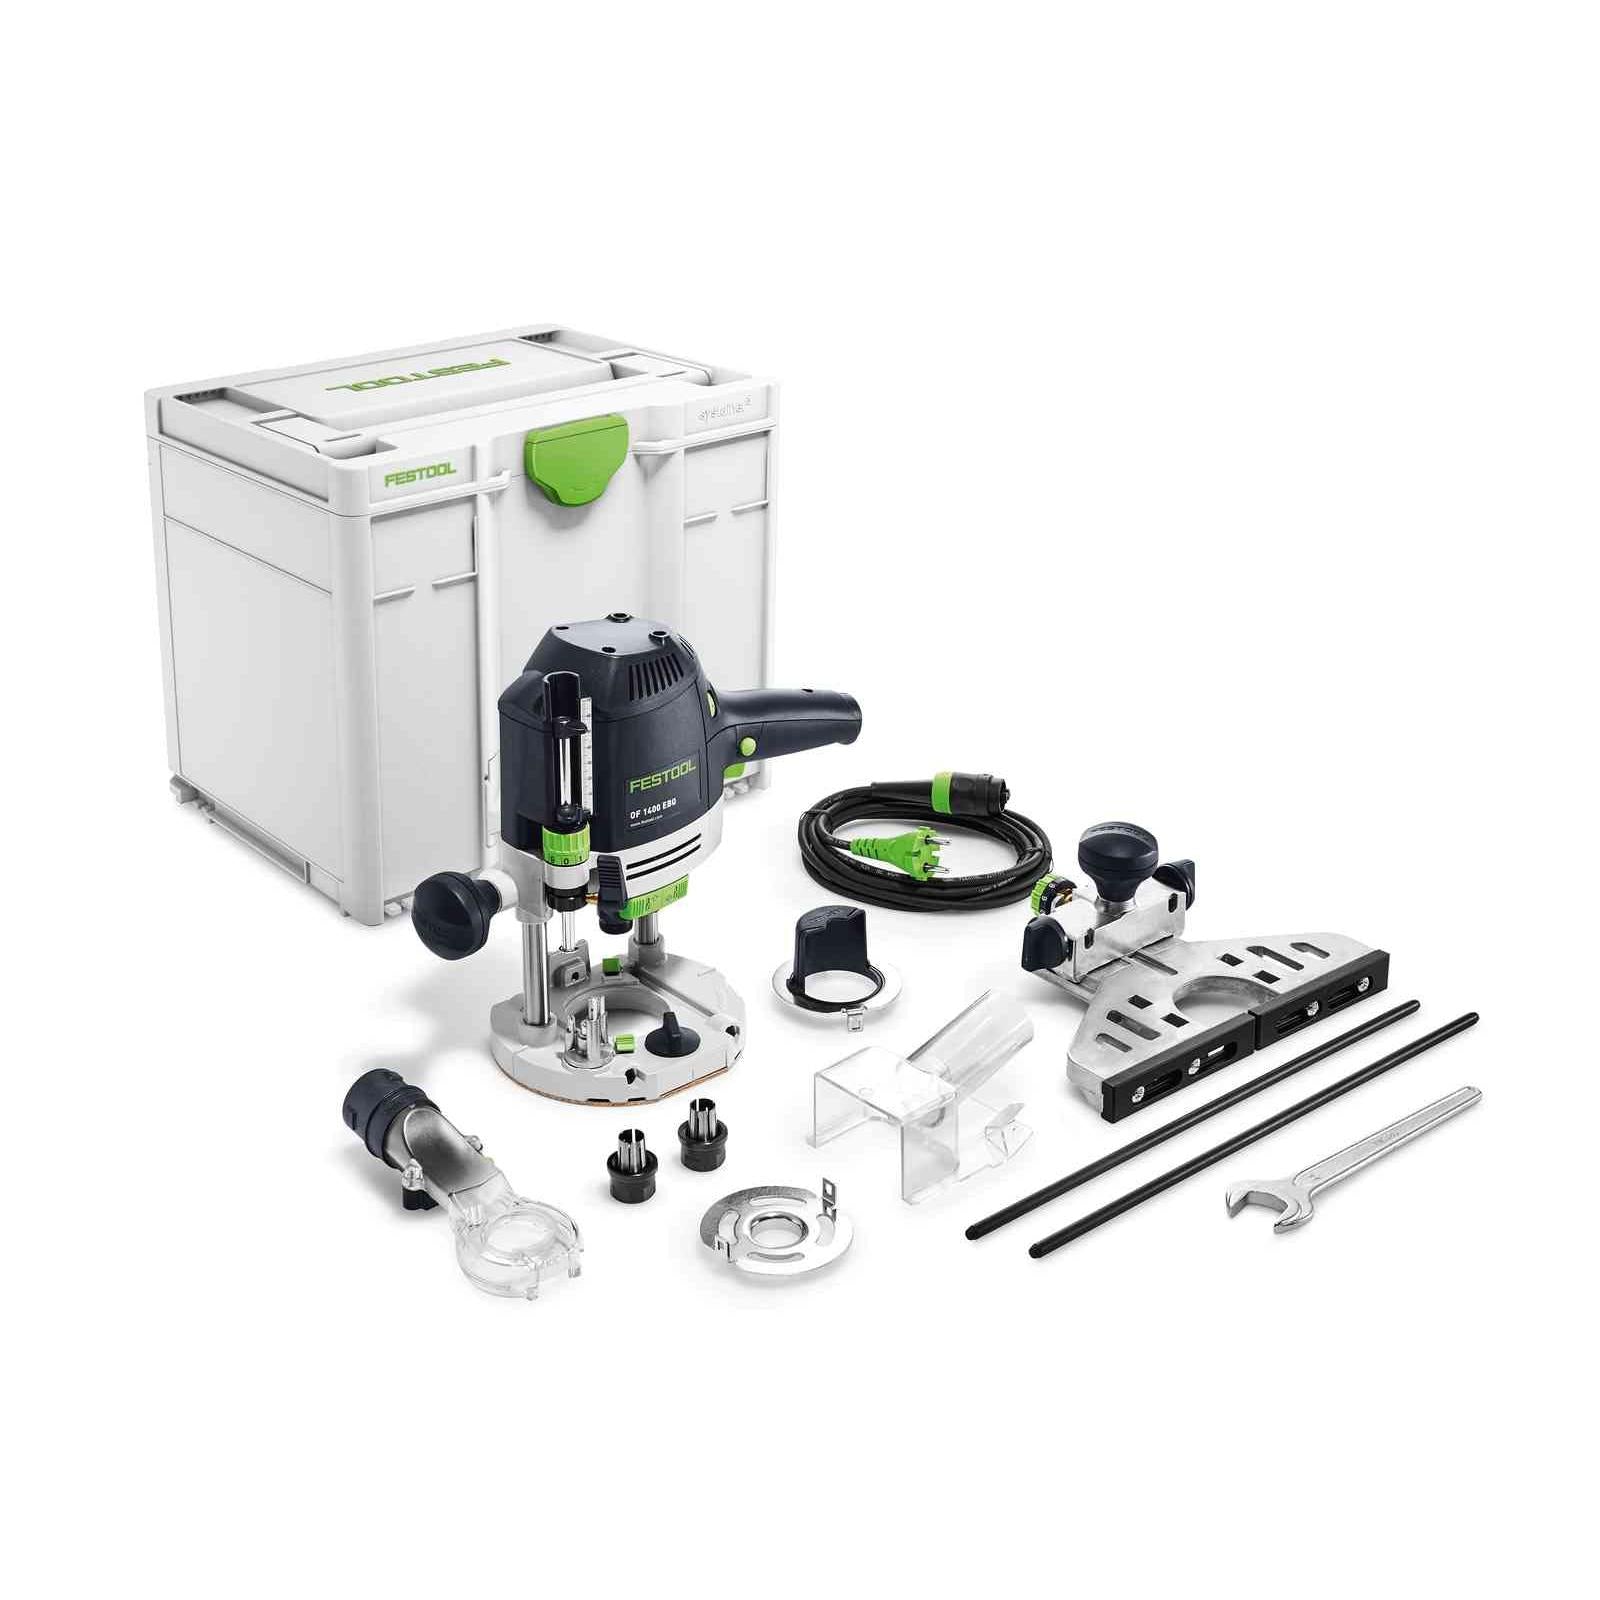
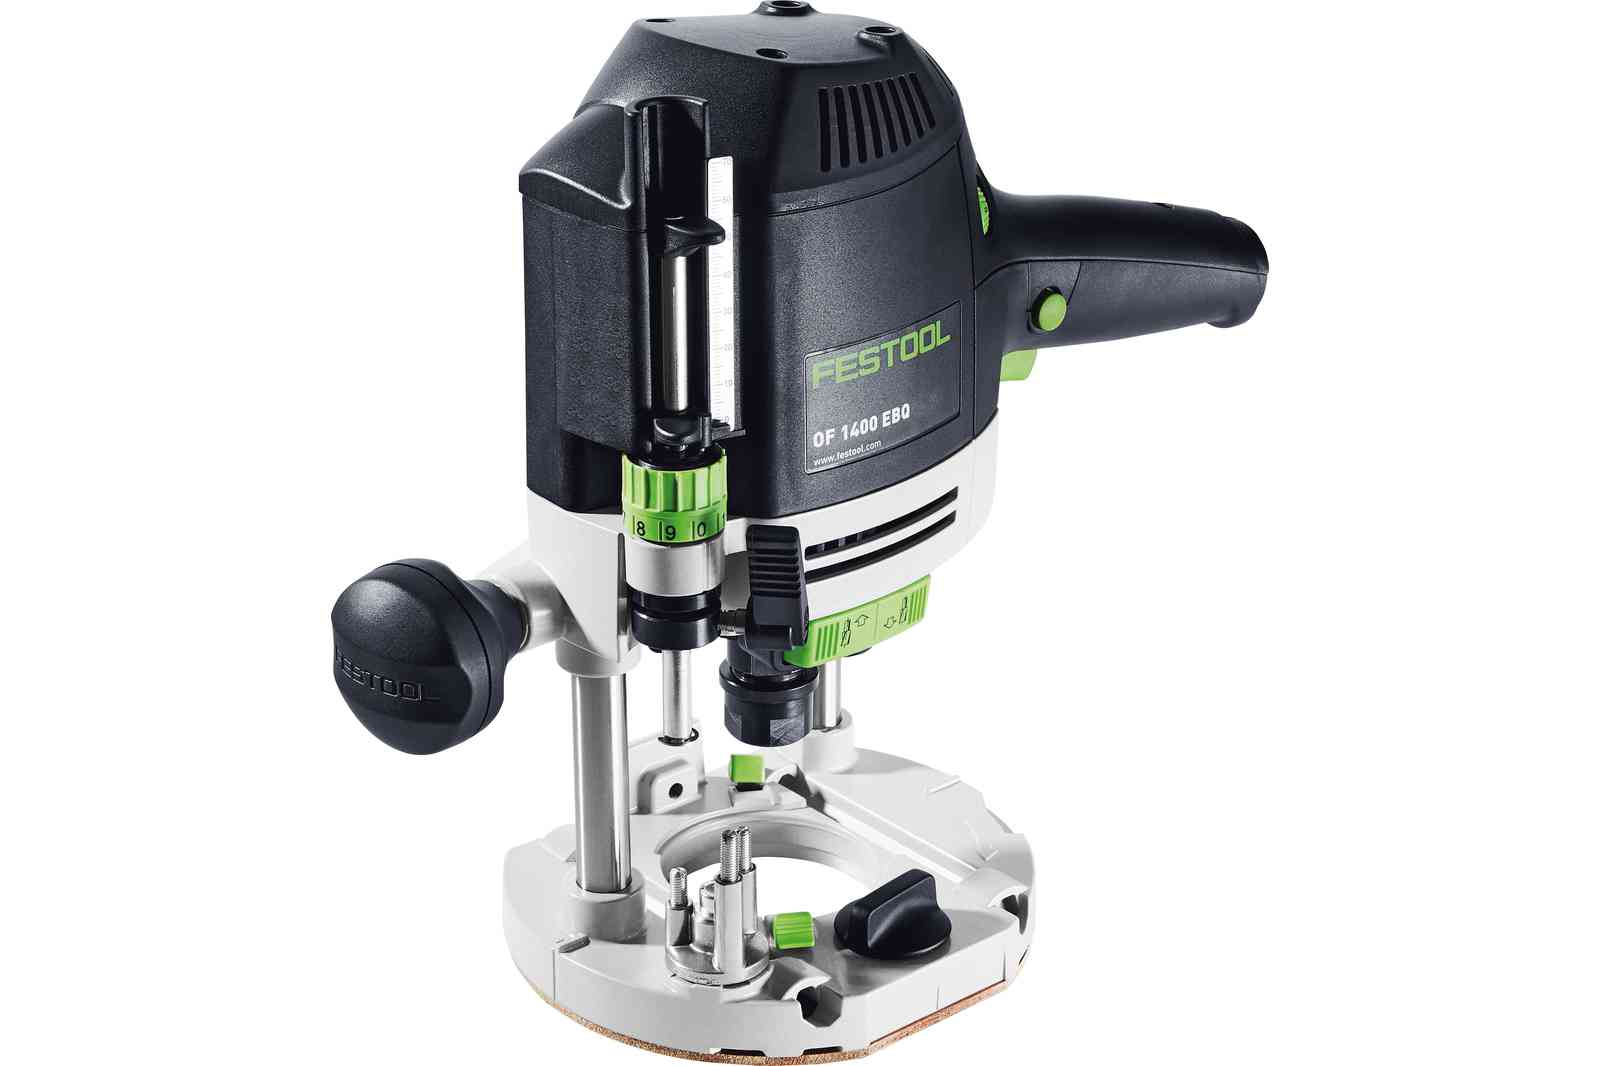
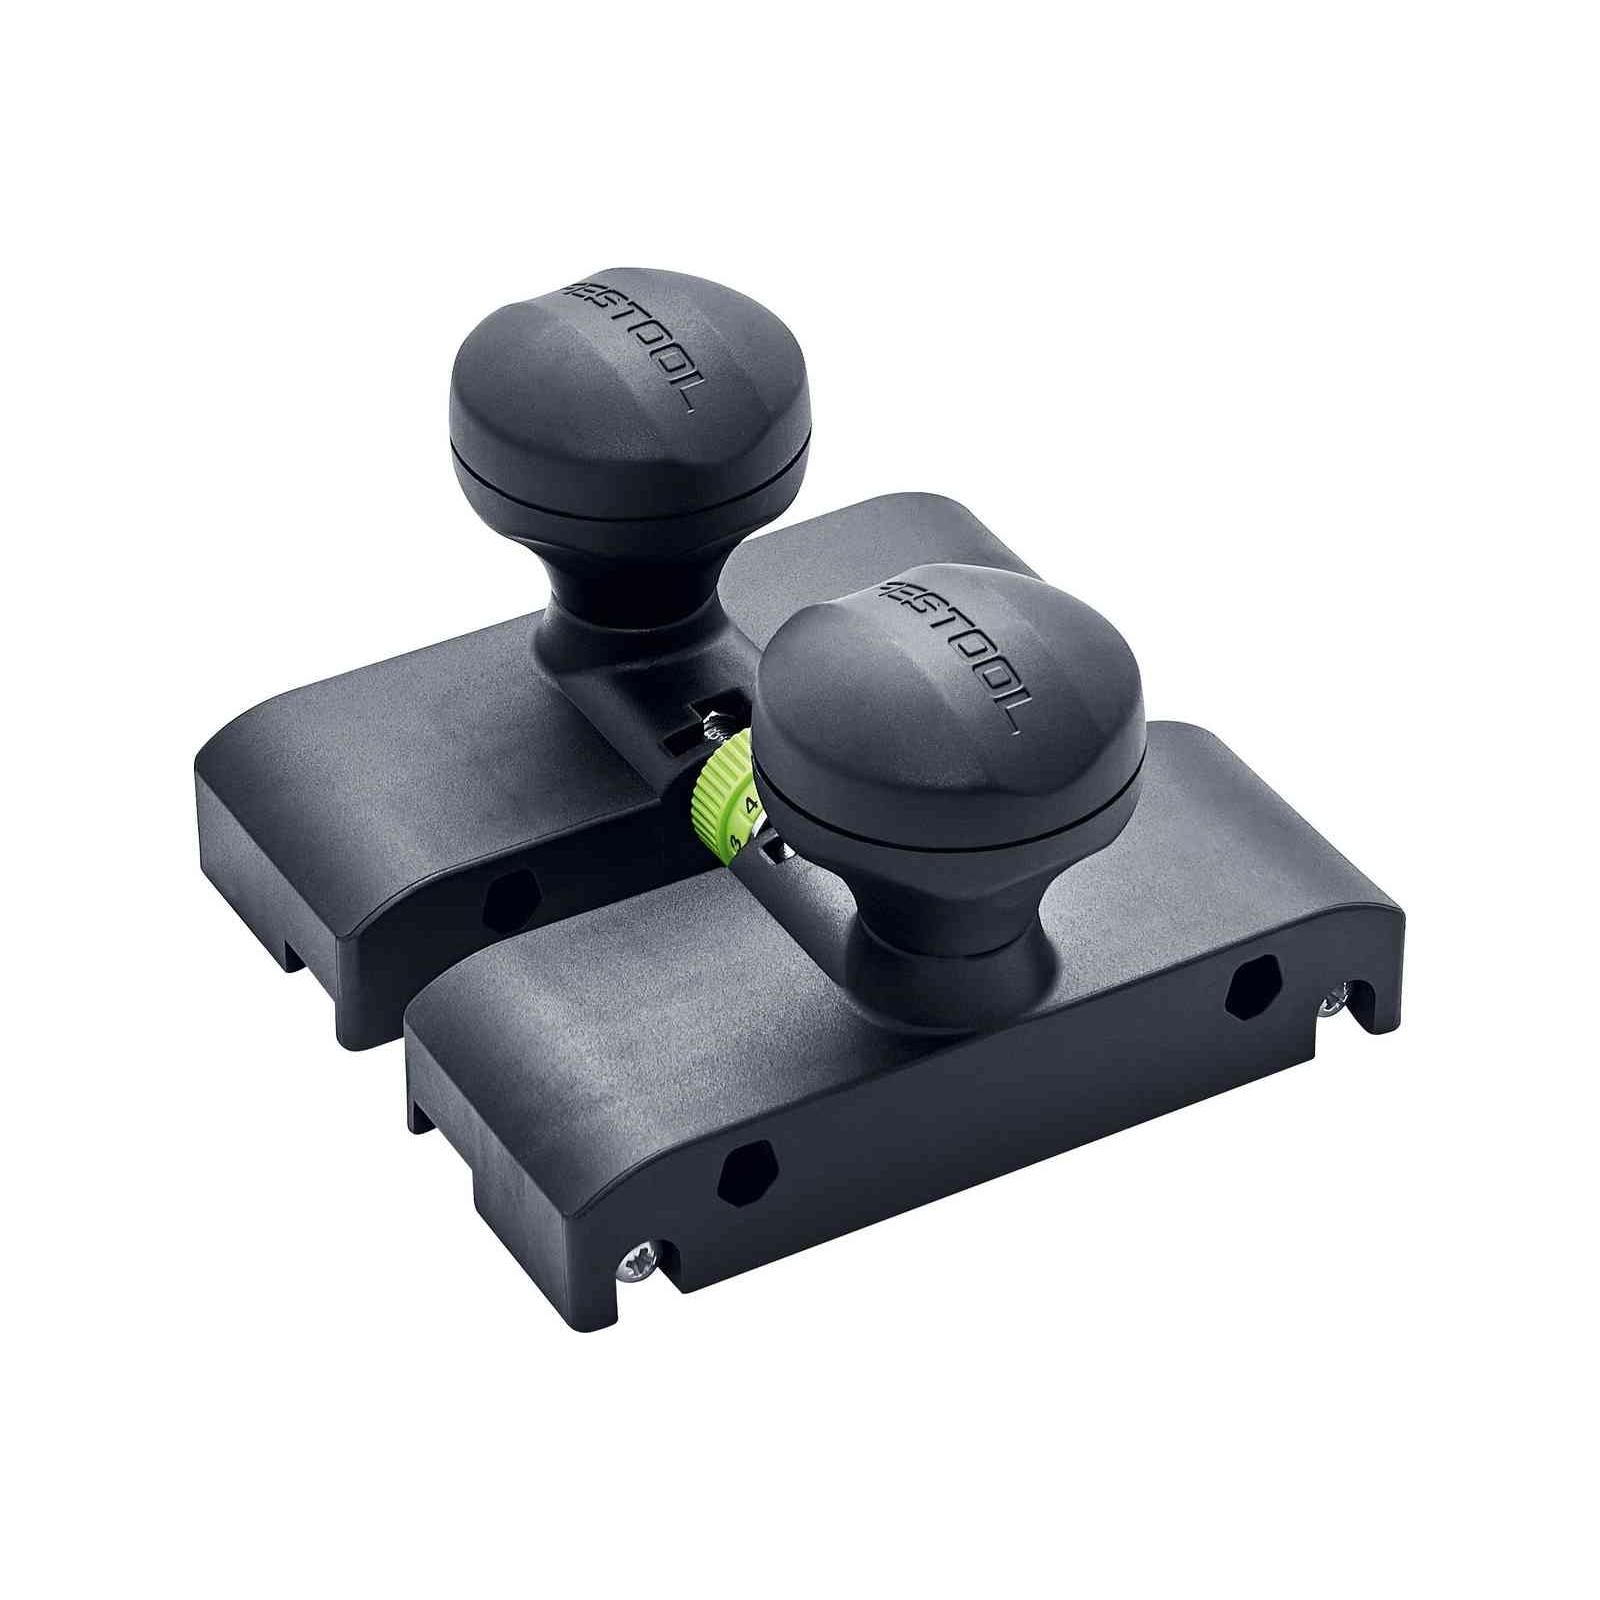
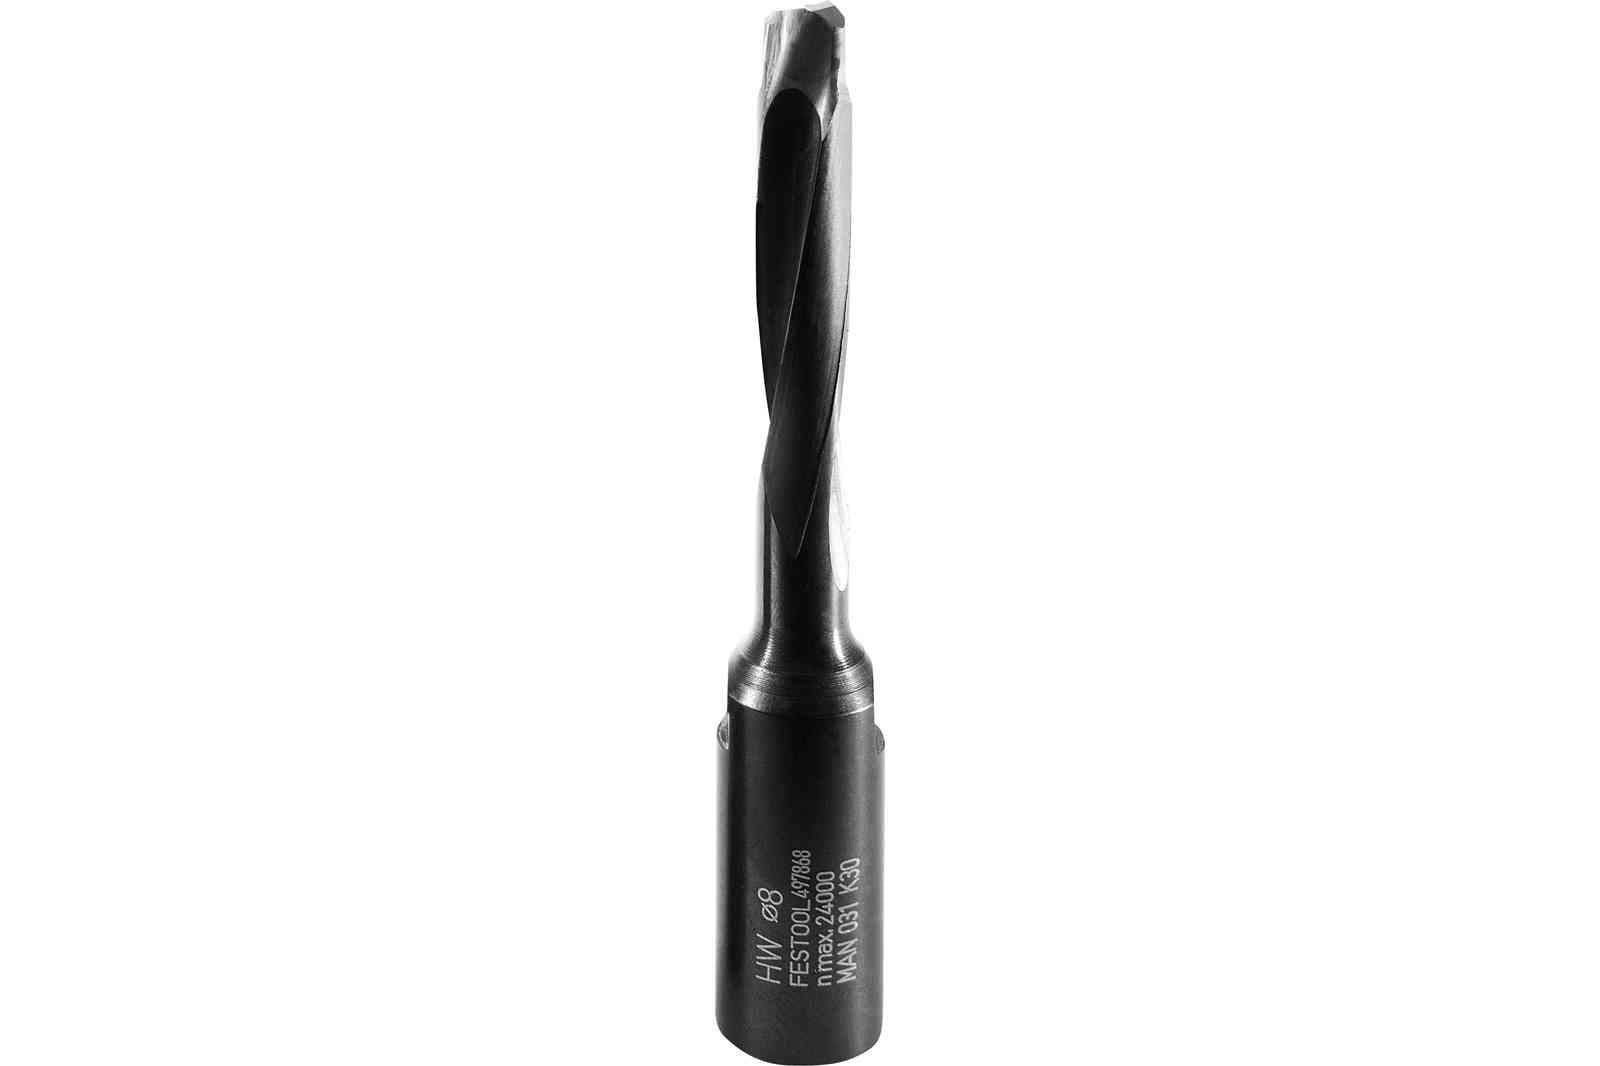
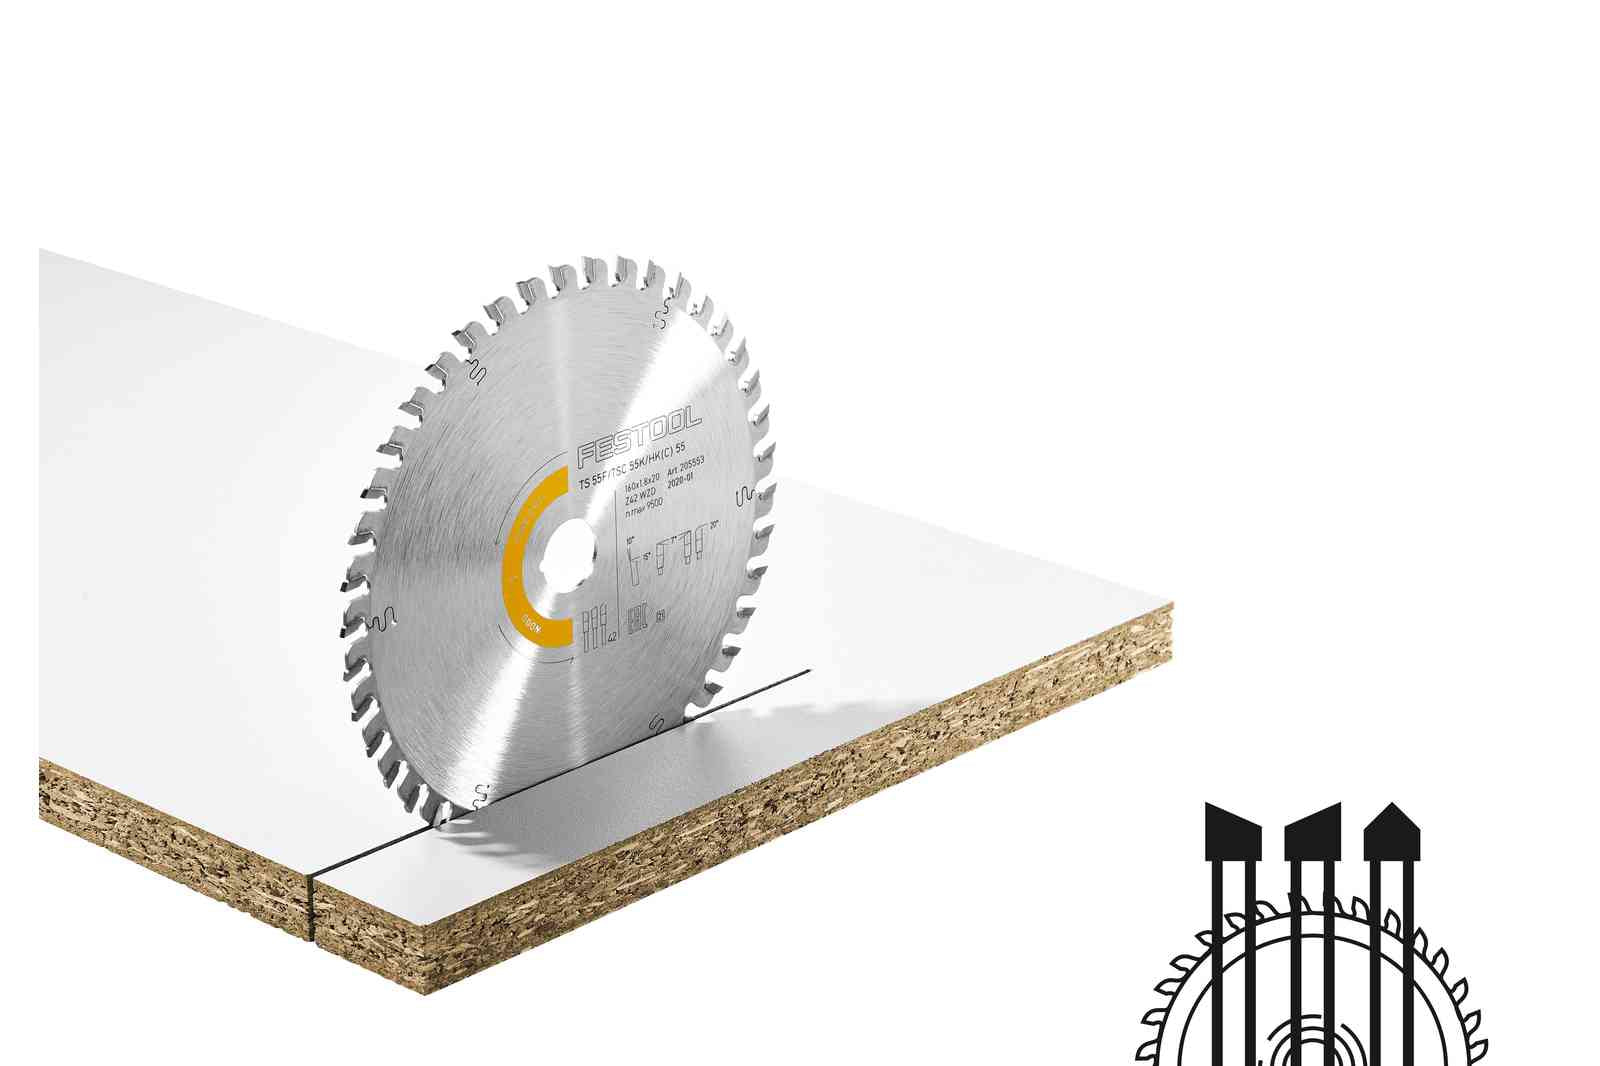
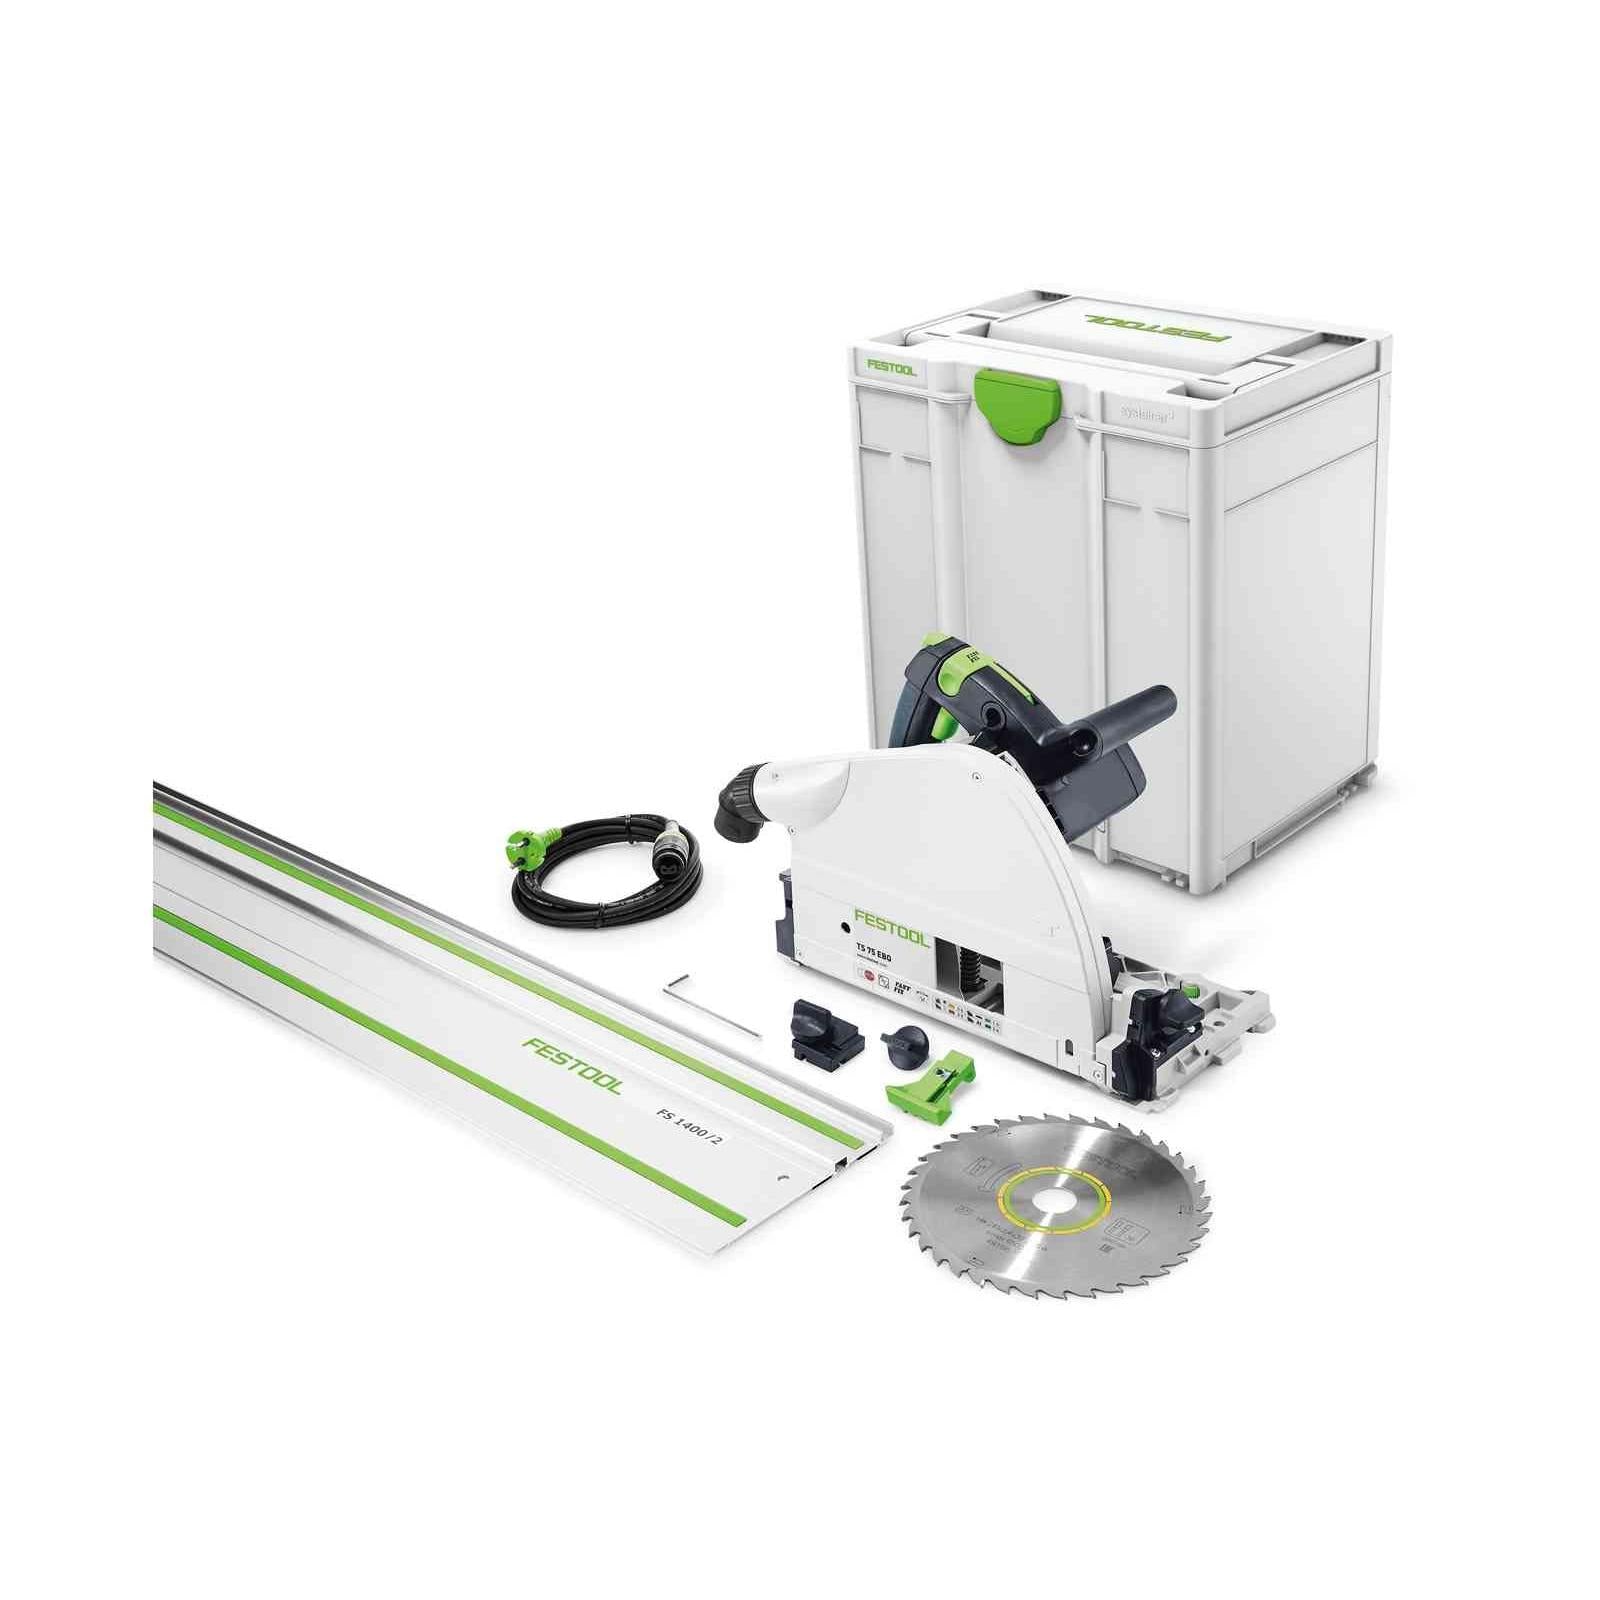
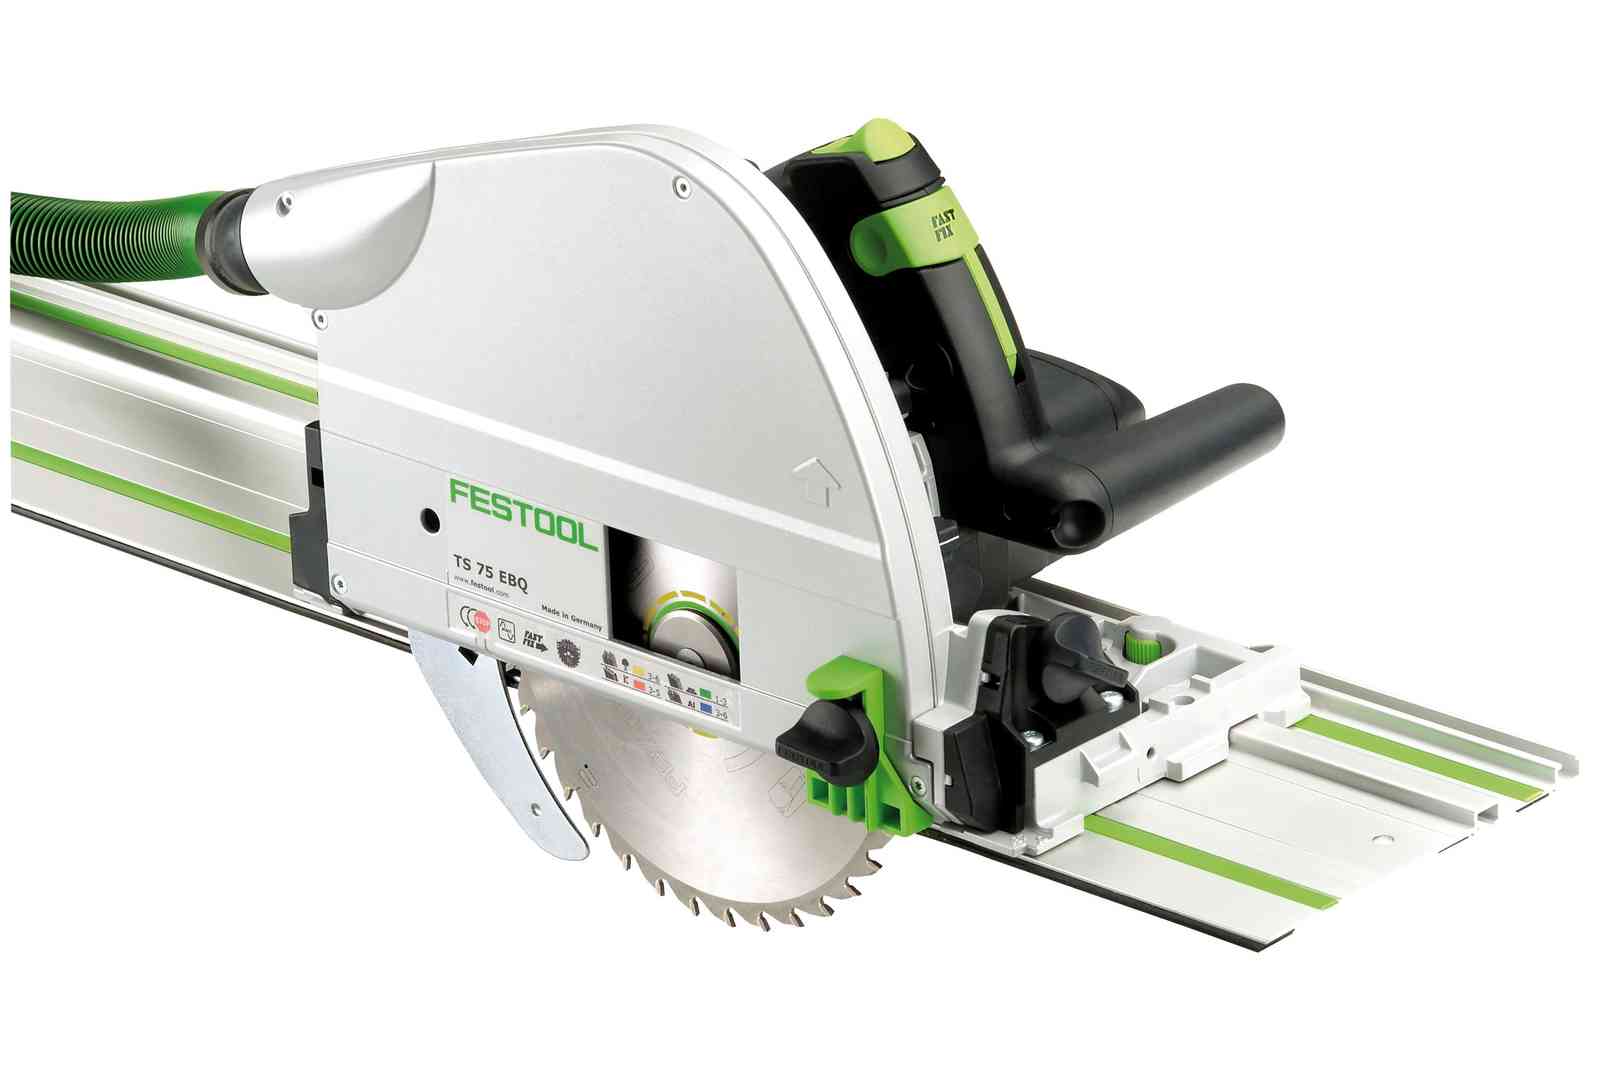
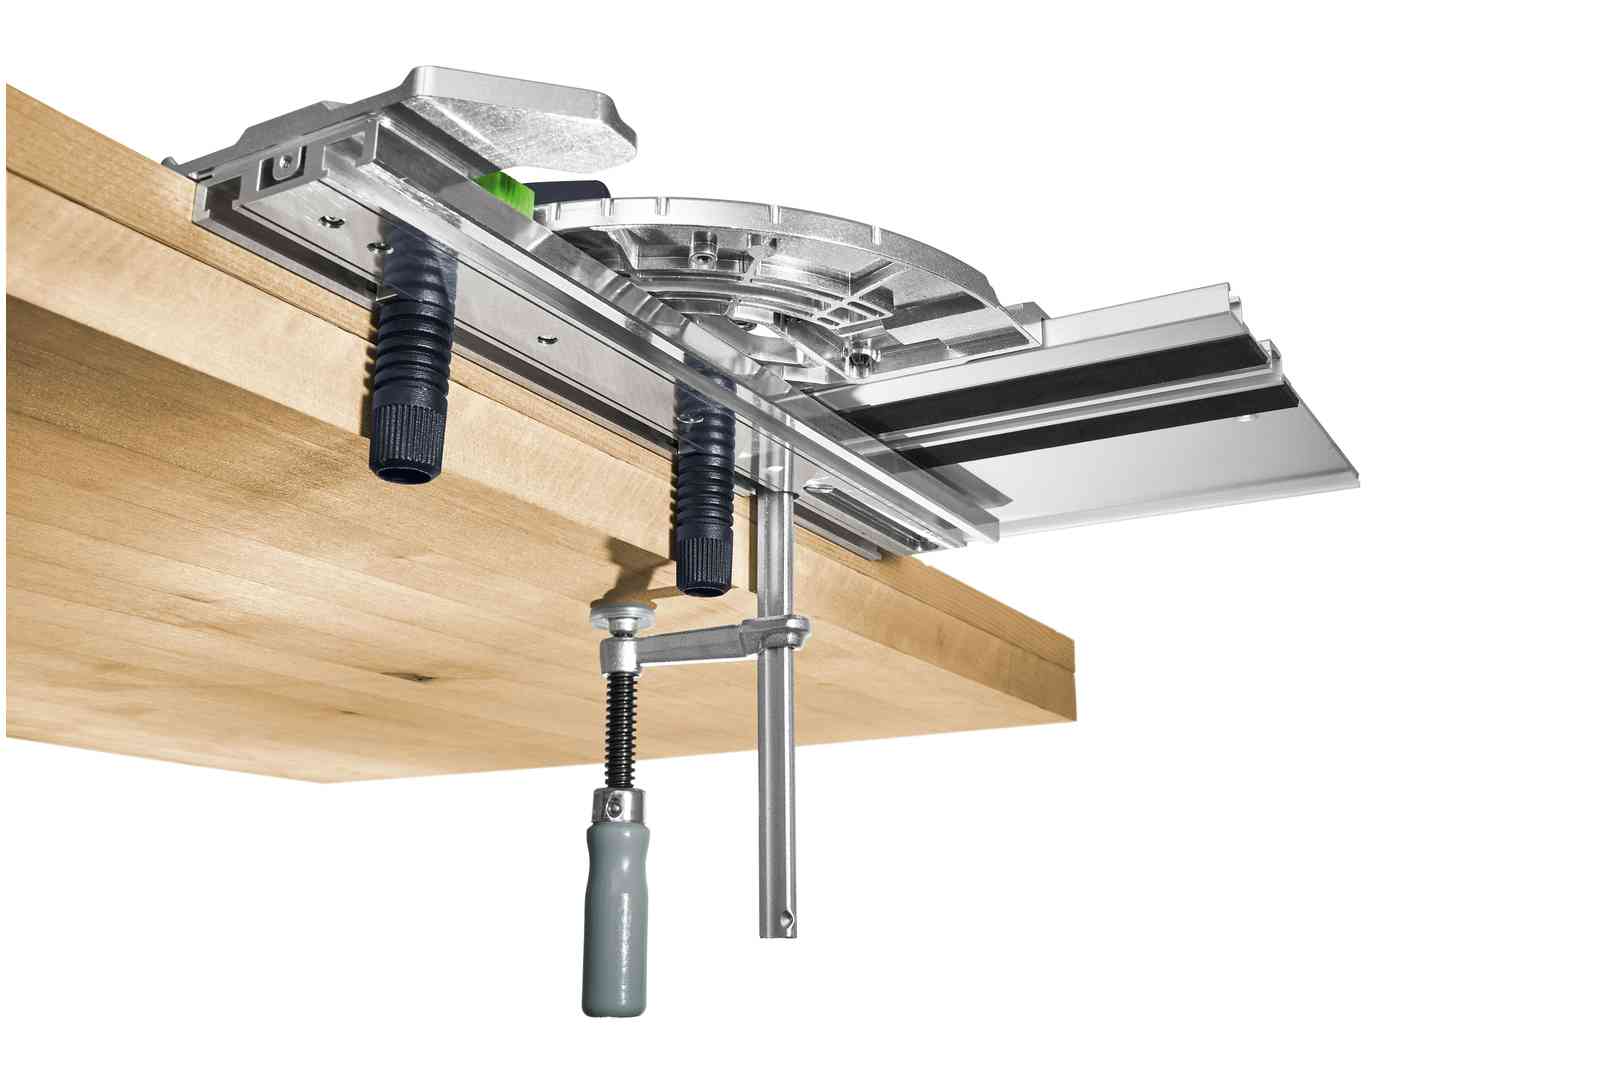
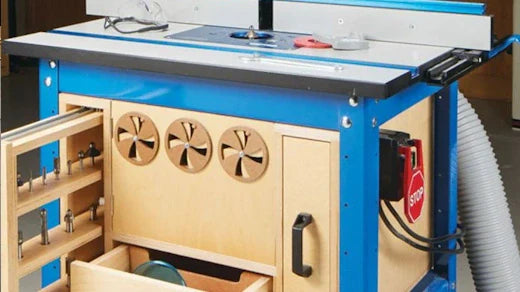
Kreg Precision Router Table System (PRS1015/1025/1035)
The Kreg Precision Router Table System brings a new level of accuracy and convenience to your woodworking projects.
Buy NowTools & Materials List
-
Materials:
- 1x Plywood, 12mm thick (1525mm x 1525mm)
- 1x Plywood, 6mm thick (Half Sheet)
- 1x Acrylic, 6mm thick (305mm x 305mm)
- 1x Scrap Board, 19mm thick
- Hardware:
- 5x 457mm Push-to-Open Drawer Slides
- 4x Magnets
- 5x 20mm Coarse Pan Head Pocket Hole Screws
- 5x 12mm Flat Head Screws
-
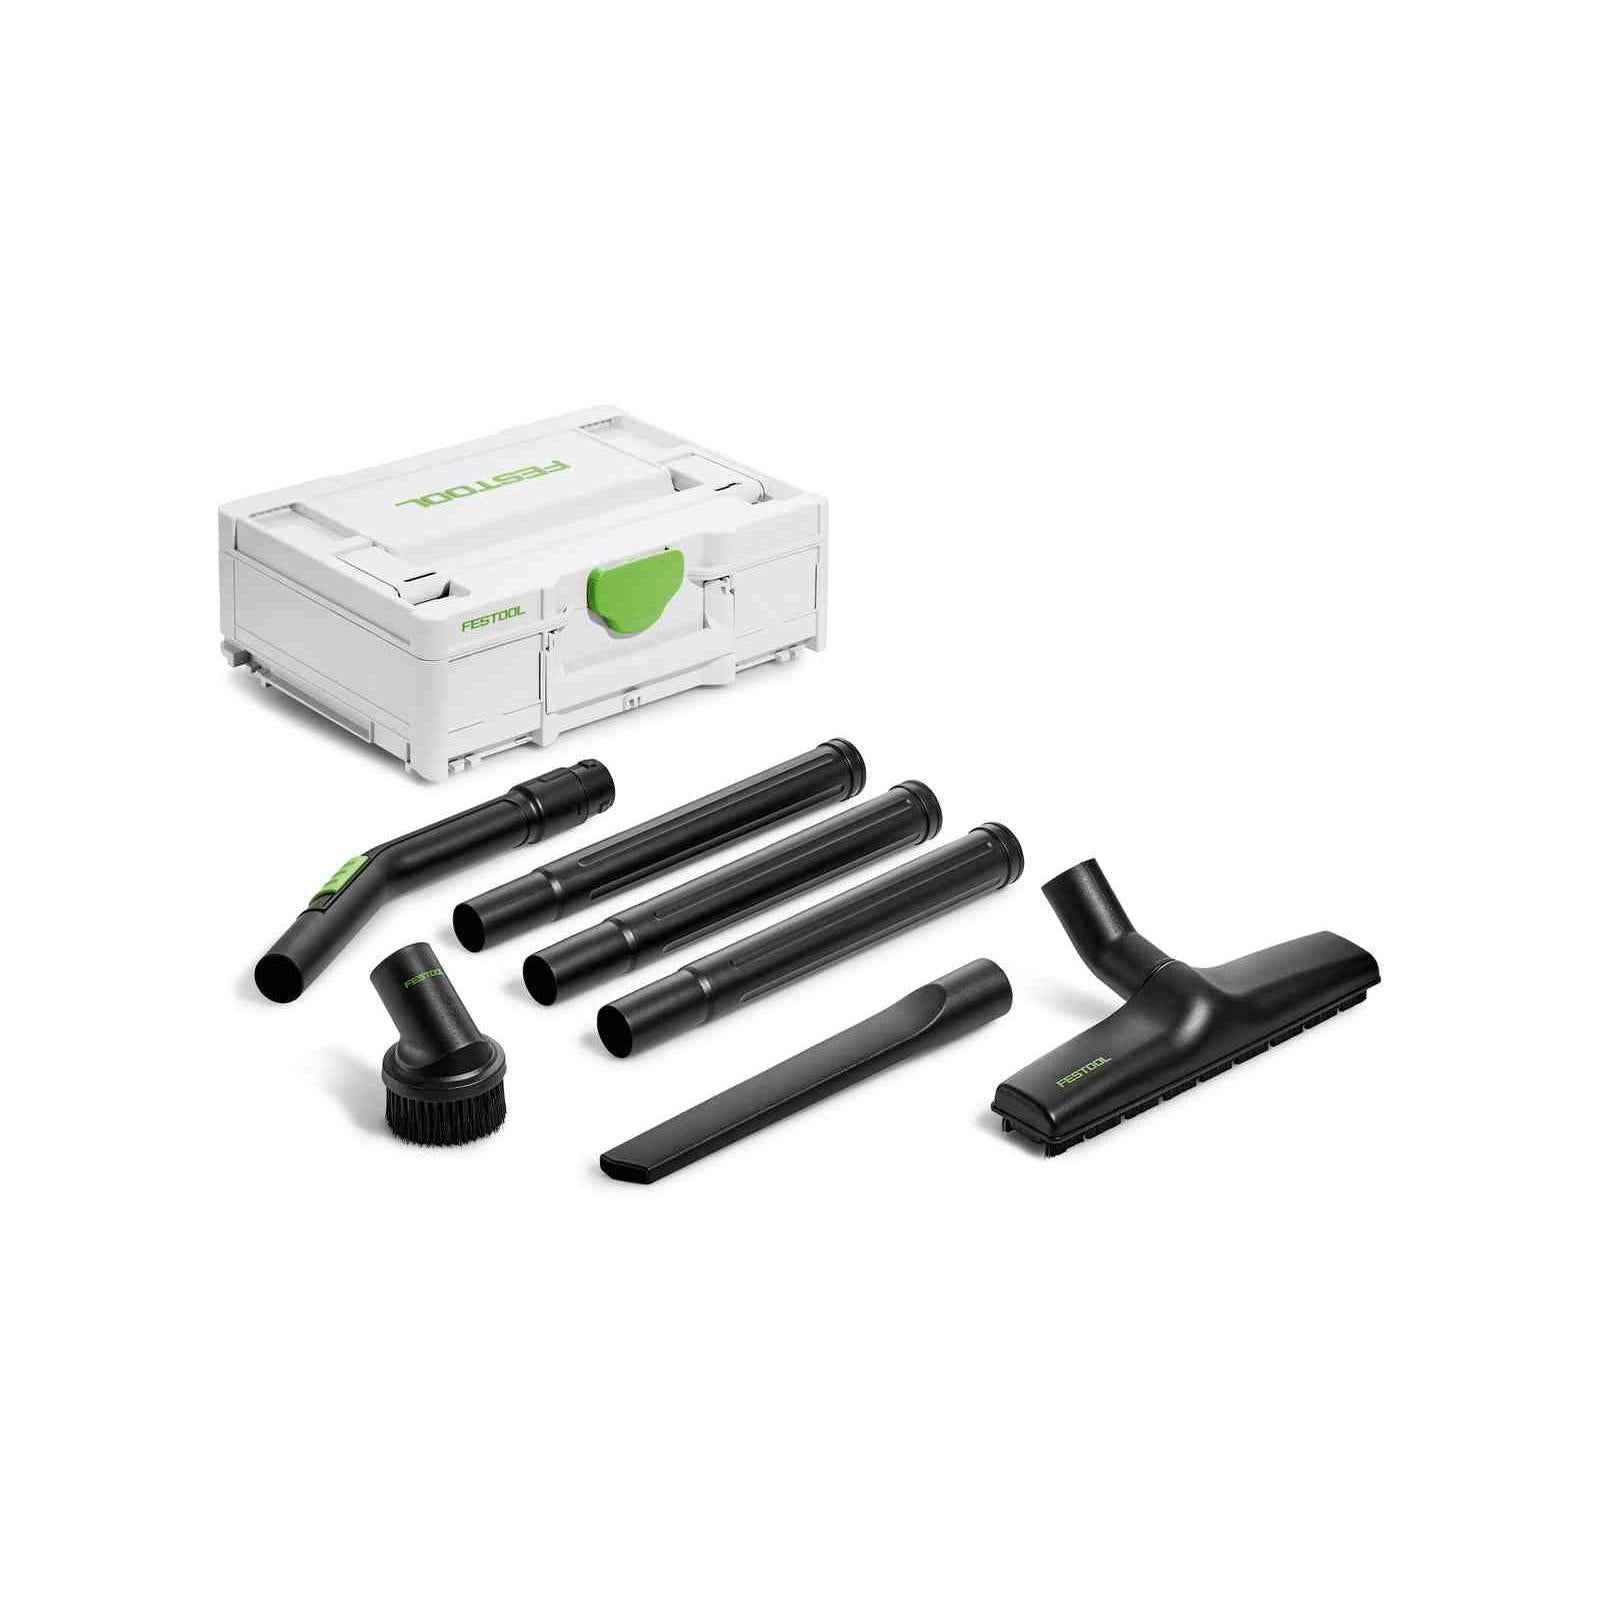
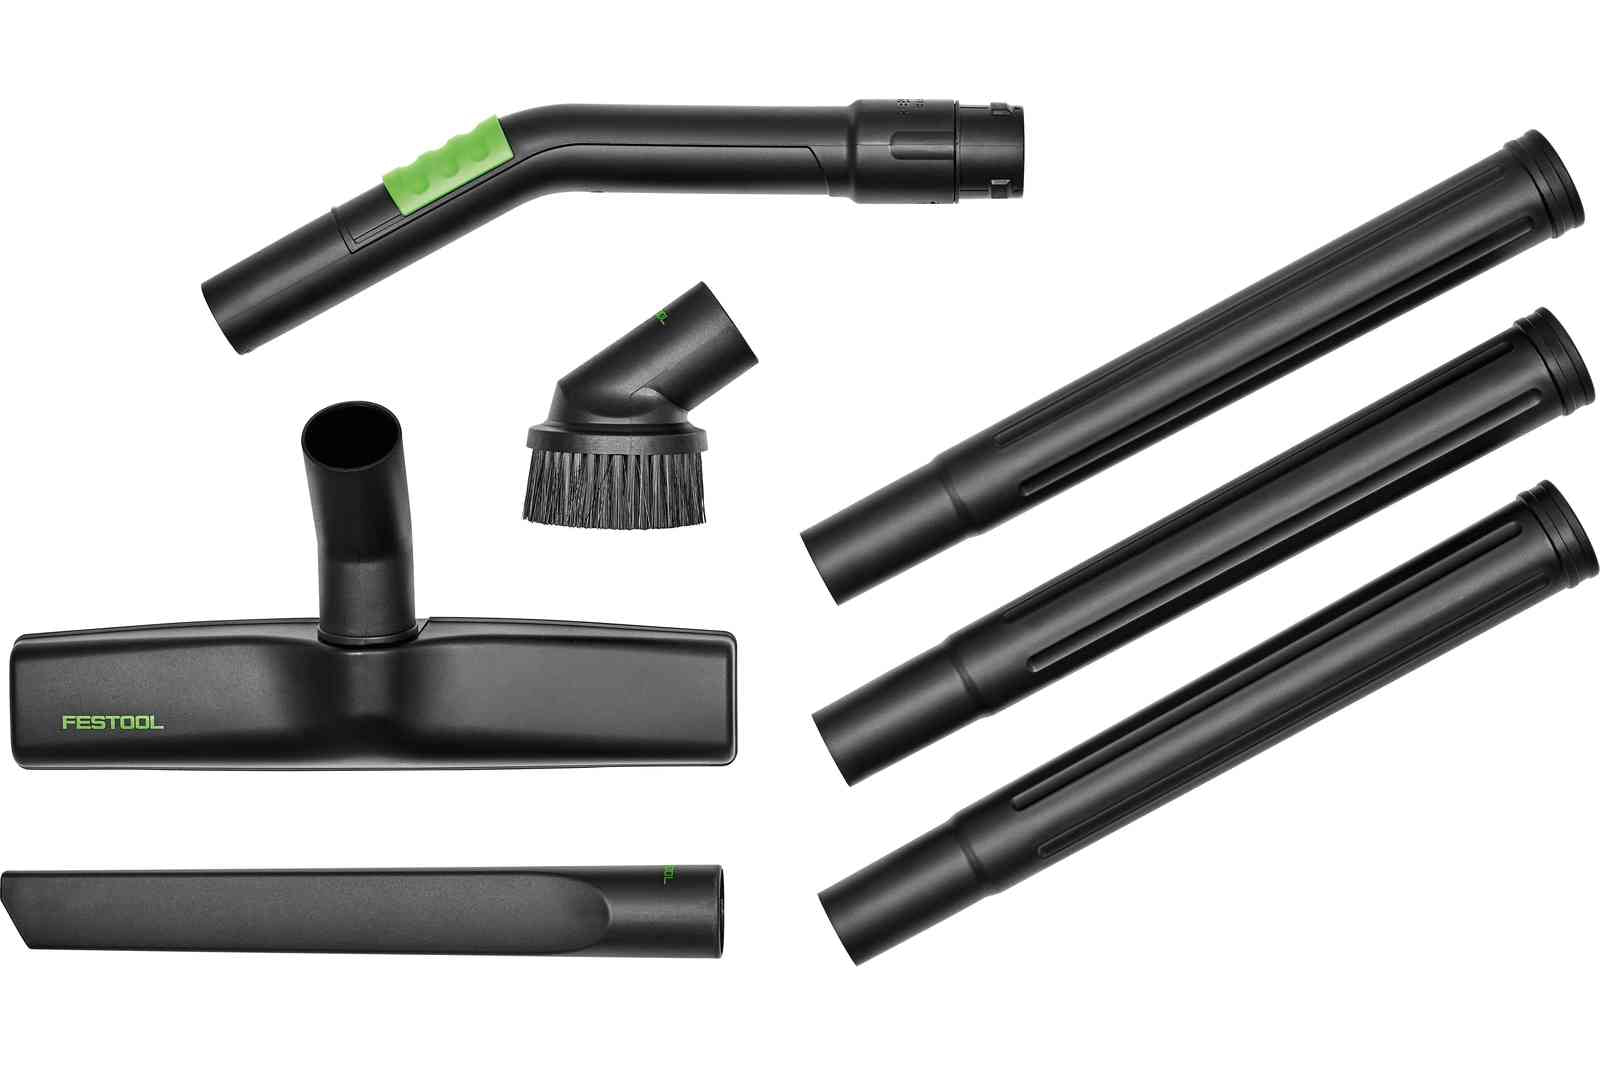
Dust Collection Kit:
- 1x 63.5mm Expandable Shop Vacuum Hose Kit
- 4x 63.5mm Hose Clamps
- 2x Foam Router Bit Tray
Cut List & Parts (Metric)
- 2x Side Panels: 12mm x 406mm x 502mm
- 1x Horizontal Divider: 12mm x 495mm x 679mm
- 2x Vertical Dividers: 12mm x 305mm x 495mm
- 1x Back Panel: 6mm x 406mm x 679mm
- Small Drawer Box:
- 8x Sides: 12mm x 76mm x 457mm
- 8x Front & Back: 12mm x 76mm x 144mm
- 4x Bottoms: 6mm x 154mm x 442mm
- 4x Drawer Faces: 12mm x 110mm x 189mm
- Large Drawer Box:
- 2x Sides: 12mm x 114mm x 457mm
- 2x Front & Back: 12mm x 114mm x 559mm
- 1x Bottom: 6mm x 442mm x 569mm
- 1x Drawer Face: 12mm x 159mm x 578mm
Step-by-Step Directions
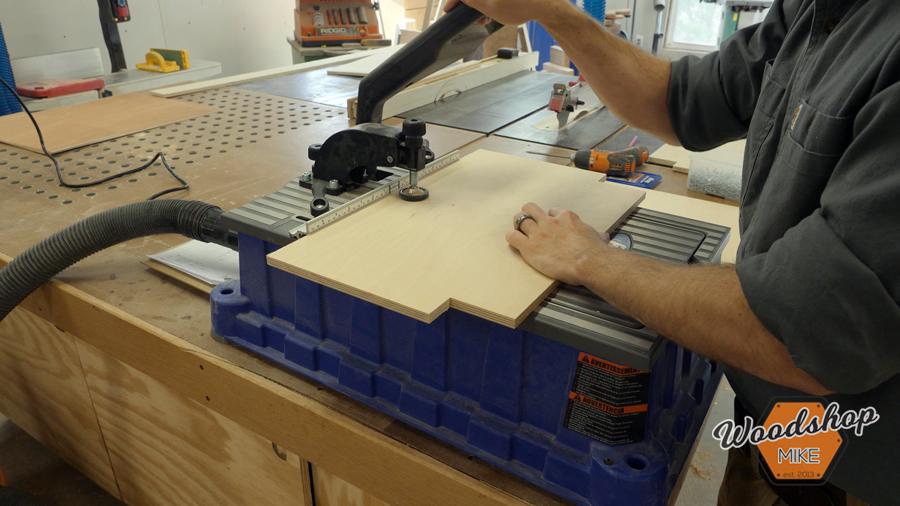
Step 1: Rough Cuts
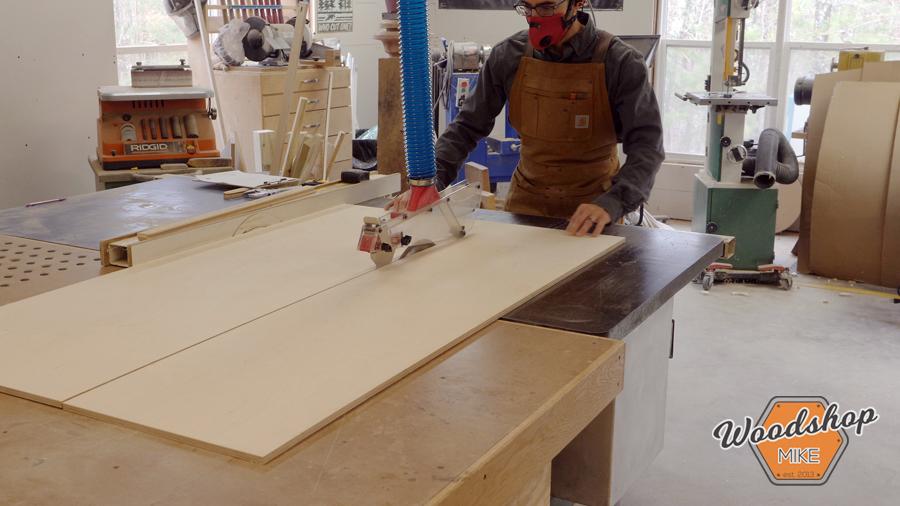
Start by cutting all the parts for the base of your router table using the cut list above. Focus on getting clean, straight cuts from the plywood sheets.
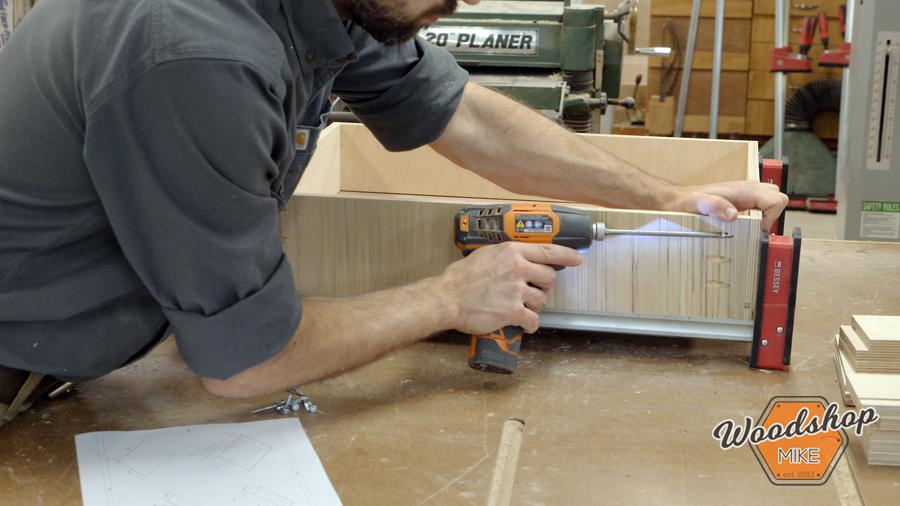
Step 2: Building the Router Table Base
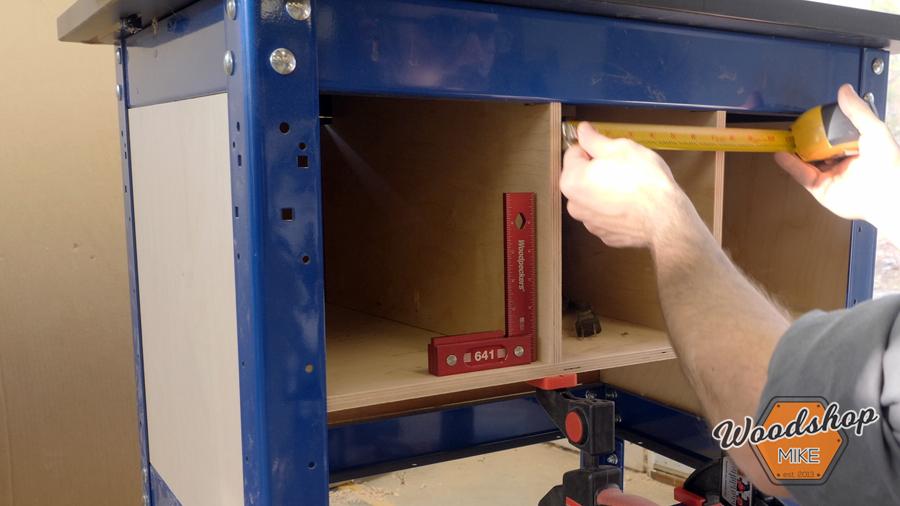
This step can be tricky, but clamps like BESSEY Trigger clamps help hold everything in place during assembly. Assemble the side panels, divider, and back using pocket holes for a solid frame.
Step 3: Switch Bracket
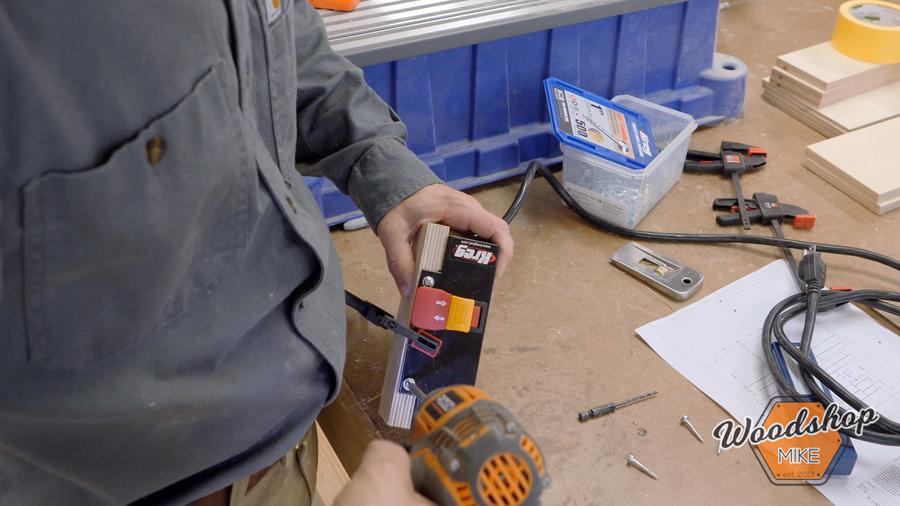
Since you may add drawers, create a bracket from scrap 19mm plywood to relocate the router switch for easier access.
Step 4: Pocket Holes for Assembly
Drill pocket holes in all the panels for easy assembly. This will help you join the pieces securely inside the base structure.
Step 5: Dust Collection Box Window

For visibility into your dust collection box, use the 6mm acrylic sheet. Mount the acrylic with four magnets, ensuring the window stays flush with the front of the drawer.
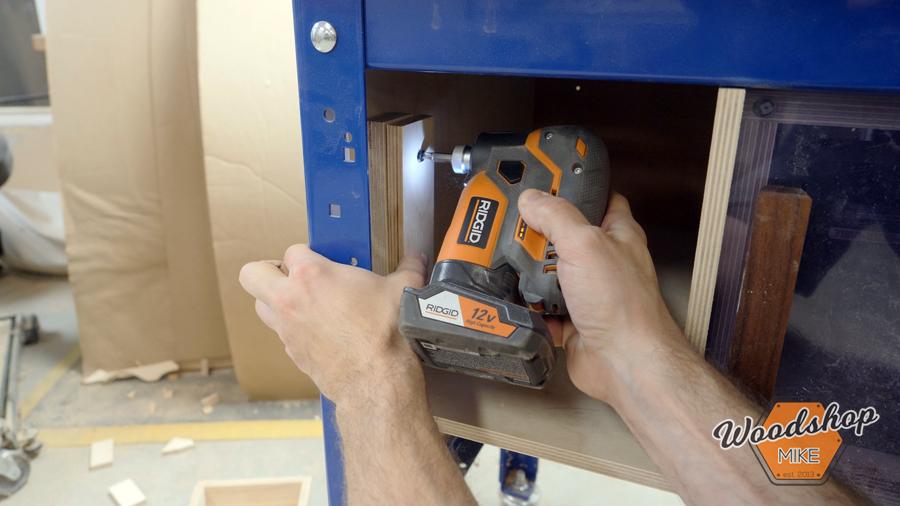
Step 6: Assembling the Drawer Boxes
Use pocket hole construction to build the drawer boxes. 12mm plywood works great for the sides, while 6mm plywood is ideal for the bottoms.
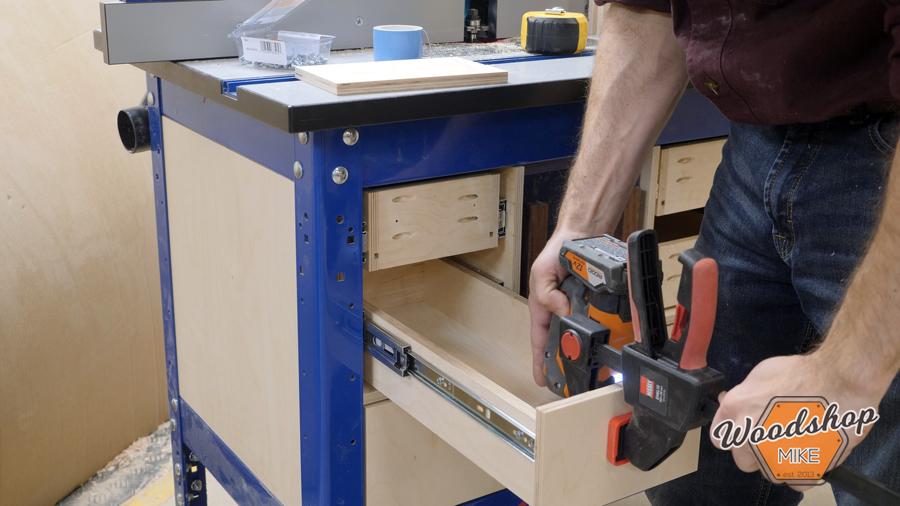
Step 7: Drawer Slides and Shims
Install push-to-open drawer slides. Depending on the thickness of the table’s frame, you may need shims (19mm, 12mm, and 6mm plywood) for proper alignment.
Step 8: Adding the Drawer Fronts
Attach the drawer fronts using double-sided tape temporarily, then secure them with screws from inside the drawer box.
Step 9: Dust Collection Setup
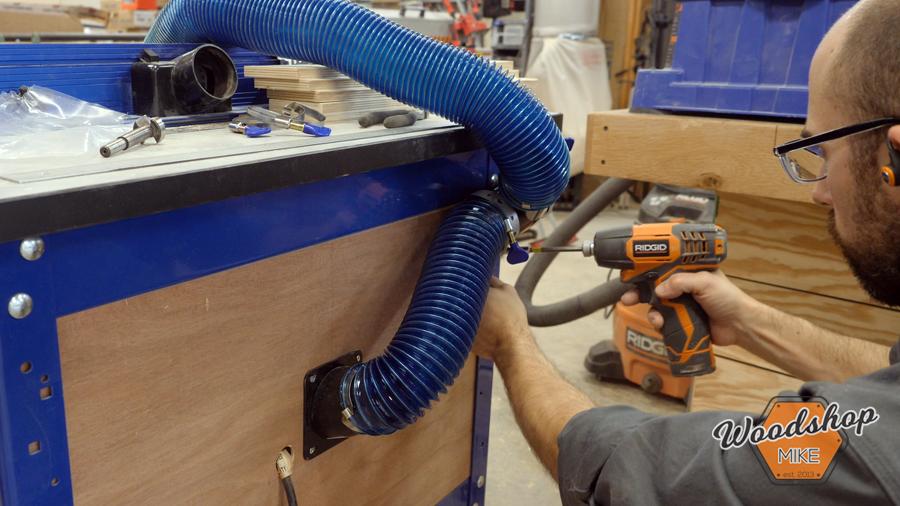
Set up dust collection using a 63.5mm expandable hose and a Y-fitting, securing them with hose clamps for easy connection to your shop vacuum system.
Step 10: Organizing Your Space
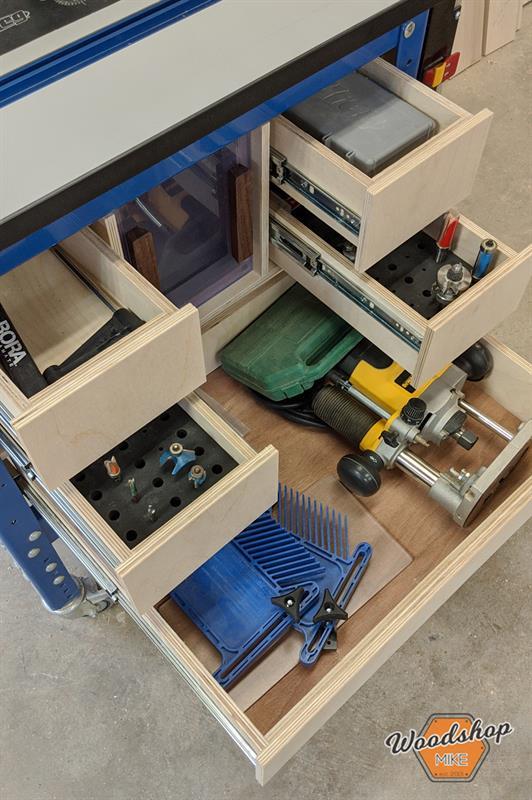
With the project complete, use the drawers and dust collection to store everything from router bits and wrenches to additional router tools.
Step 11: Final Touches

Add notches to the dust box dividers for improved dust collection. This will guide dust into the collection system more effectively.
Step 12: Watch the Build Video

To get a more detailed look, watch the build video for this project here. You'll find extra tips and tricks to help you with the build.
Project is available on kregtool.com